WoW Style Level Design in UDK

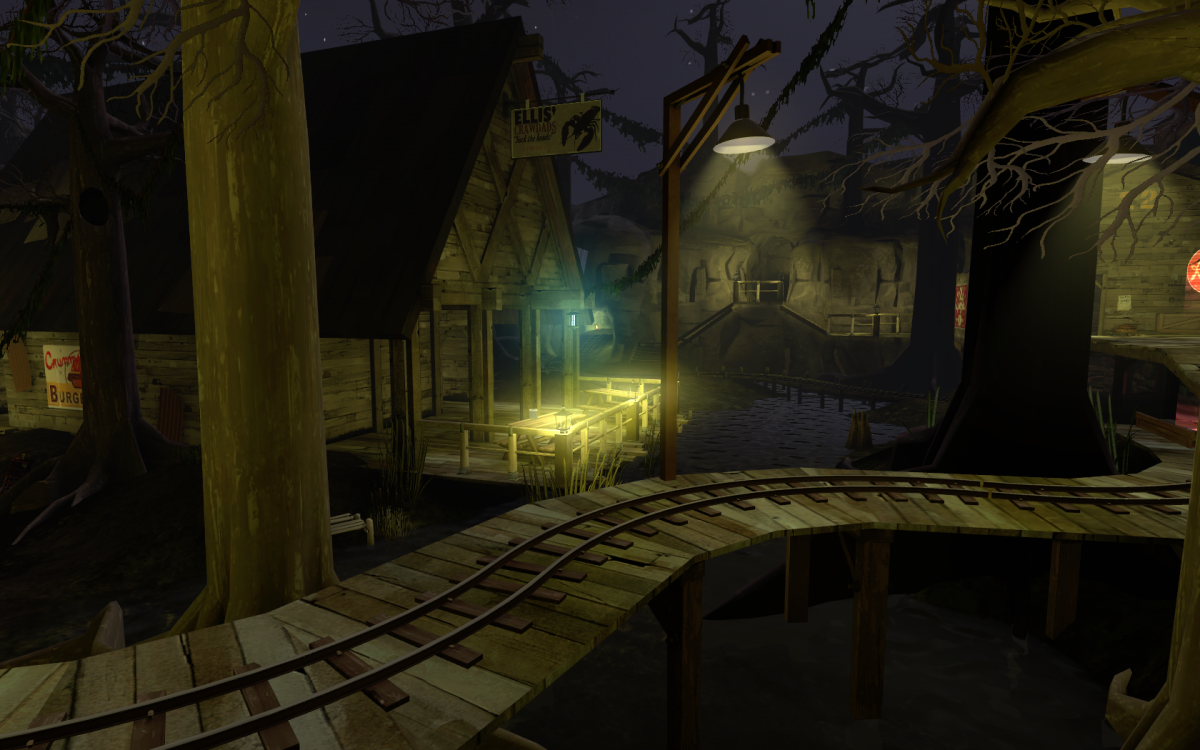
One big advantage of using UDK when making WoW machinima is you are no longer limited by the same old WoW environments. Instead, you can combine WoW models and textures with assets from other games (along with more advanced lighting and camera effects) to create something unique.

This assumes you have some WoW models to start with. See Converting WoW Models to UDK with WoW Model Viewer to get started.

Creating Terrain
1) In the UDK, go to Tools > New Terrain. Leave the options at their default setting.
2) Move and rescale the terrain as needed.
– The terrain size can be changed by using the scale tool.
3) With the terrain selected, press the “Terrain Editing Mode” button.
4) Select a material in the general browser.
5) In the terrain editor, right-click and select “New Terrain Setup Layer from material (auto-create)”.
6) Open the material properties and adjust the mapping scale as needed.
– WoW ground textures can be found using WoW Model Viewer in the Tileset directory. Makre sure the *.blp filter is on.
– Increase the tessellation to add more vertices.

Terrain Example

Lighting
– Since we are recreating an existing environment, it’s a good idea to take reference screenshots of the look we are trying to achieve.
– Lighting often requires a lot of trial and error to create the look you’re aiming for. Take note of light sources and color tones in the reference screenshots.
– Global lighting settings are contained in the DominantDirectionalLight and WorldInfo.
– A LightmassImportanceVolume should be around the whole map.
– Dynamic, Brightness, Light Color, Radius are the important light options.
– Place a light on streetlamps, hanging lights, etc.
– Adding fog can often help a scene.
– DOF and Bloom are defined in the WorldInfo or in camera settings.
– The only lights I generally use are point lights and spot lights.
– The lighting quality option has 4 settings. It’s best to keep it on preview (the lowest one), or else it can take a very long time to compile.
– Place a light to hide any ugly seams or shadows. Lighting can usually fix a map that doesn’t look right.

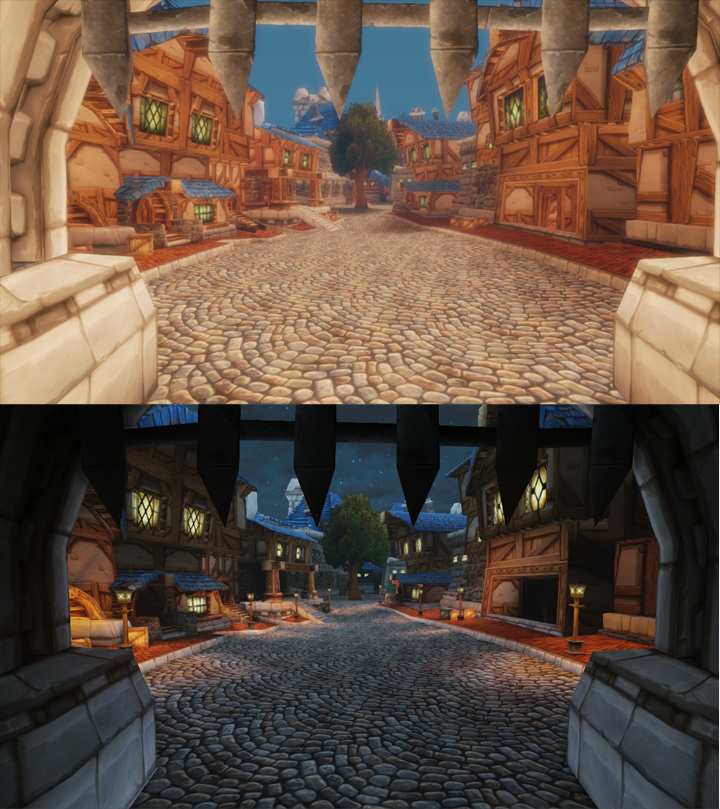
A comparison of how lighting can set the mood.
Skyboxes
Outdoor environments will need a skybox.
– Skybox models can be exported with both WoW Model Viewer and Machinima Studio. However, only Machinima Studio exports all the needed textures.
– Skyboxes are animated for the day/night cycle, you can preview their animation in WoW Model Viewer.
See also: Converting WoW Models to UDK with Machinima Studio.

Skybox Example

Foliage (Flowers, Grass, etc)
Foliage is a great way to add detail to your maps. Common examples include flowers and grass.
Most of the ground meshes can be found by searching for “detail” in WoW Model Viewer.
1) Select the mesh in the general browser.
2) Enable the “Foliage Mode” button on the left menu.
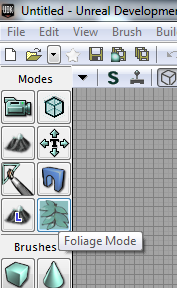
3) Drag the mesh into the Foliage box. Adjust the settings.
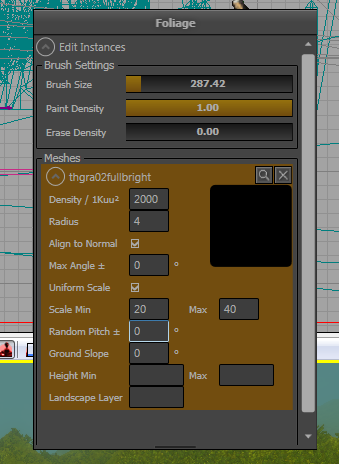
4) Use CTRL+Mouse1 to add meshes. Use CTRL+Shift+Mouse1 to remove meshes.
– Foliage can be applied to both terrain and meshes.
– Using emissive materials on foliage will often look better.

Foliage Example

Water
Adding water is the same process you would follow for creating brushes.
1) Create a box brush and select CSG Add.
2) Apply the water material.
3) Adjust “Surface Properties” to stretch the material if needed.
– A fog volume can be added to the water to create a cloudy effect.

Water Example

Particle Effects
Smoke, fire, explosions, spells, and embers, are examples of particles.
– The WoW particles can be previewed in WoW Model Viewer under Spells. You can export their textures (File > Export Model > FBX), but it is not possible to import the particle animation into the UDK. However, you can try to create a similar effect using the UDK Cascade editor. The sample particles in the UDK can provide a good starting point.
– The order of emitters determines how the particles are rendered. You can use the arrow keys to change the emitter position.
You can export emitters by right-clicking and selecting Emitter > Export Emitter (make sure your new particle is open so it knows where to export it to).
See also: Unreal Cascade User Guide

Particle Example

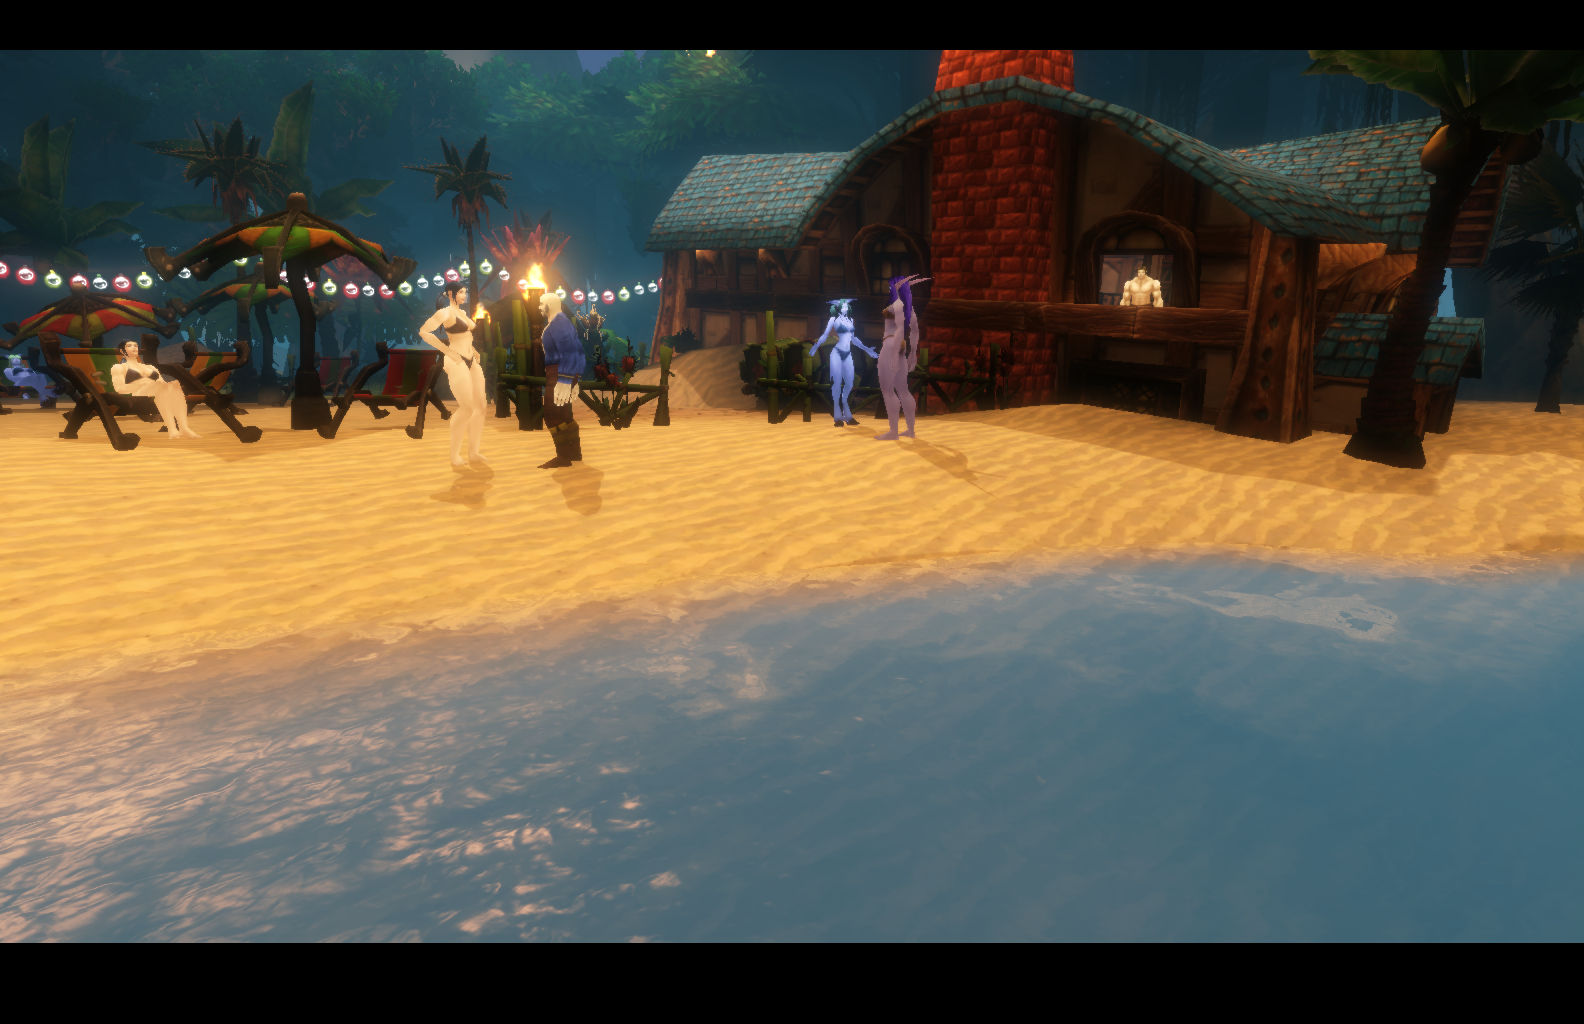
With a little work you can create a custom environment that still retains the WoW look.
Tips
– Terrain meshes can be exported with Machinima Studio which is detailed here.
– The more detail the better. This is not a gameplay map so we don’t need to worry about the frame rate dropping. Add as much detail and lights as you want.
– DominantDirectionalLight can be used to emulate sun streaks.
– Adding a Depth of Field effect in the post processing options may help to hide low resolution textures or jagged edges.

Problems and fixes
1) Where meshes meet there’s a color disparity
– Try adding a light to the area to help hide this.
2) I am unable to move the camera above or below a certain point in the map.
– Open WorldInfo and change the Stall Z and Kill Z settings to to 1000000.
3) There’s ugly shadows in parts of the map.
– Make sure the LightmassImportanceVolume includes this area. Turning off model shadows or adding lights to this area can also help.
4) InterpActors aren’t moving correctly in Matinee.
– Open the InterpActor properties and enable the force tick update option.
5) Decals are not displaying properly when using Matinee
– Open the camera properties and disable the “Constrain aspect ratio” option.
6) Replacing materials on a model crashes the UDK.
– Make sure a map file is not open which contains the model.
FaceFX Tutorial

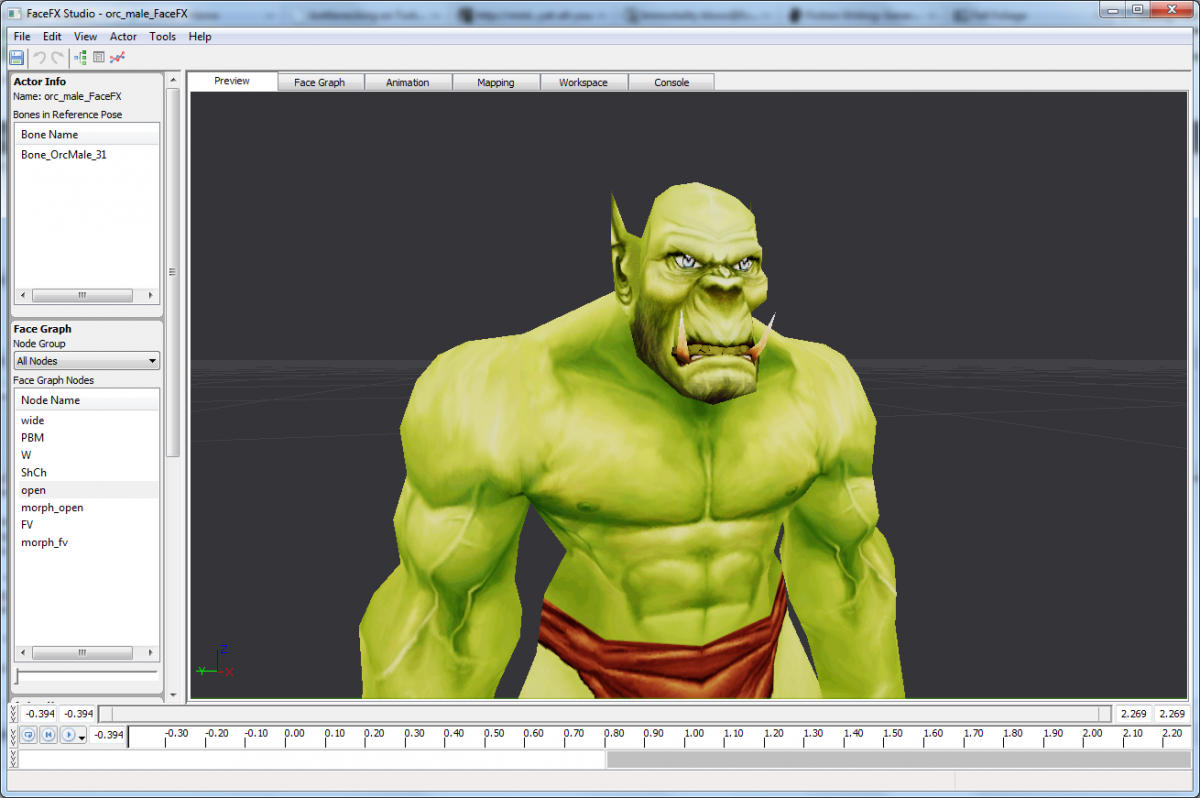
FaceFX is a program included with the UDK which is primarily used to lipsync face animations. It is similar in functionality to Valve’s Faceposer. This tutorial assumes you have already created the needed assets.

Creating a face animation with FaceFX
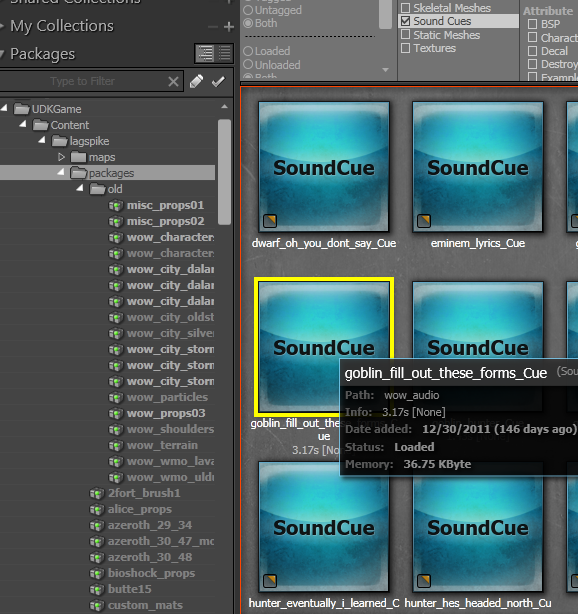
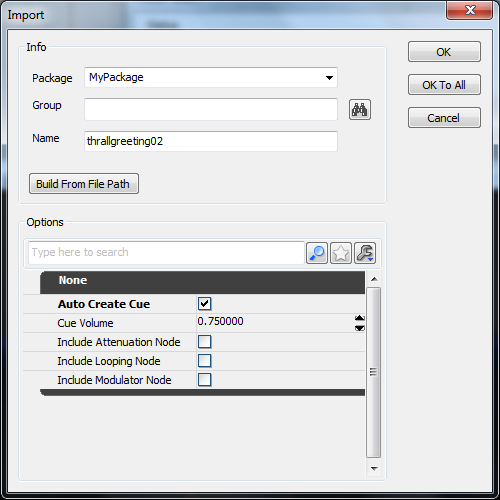
1) Import a sound file into the UDK, select the “Auto Create Cue” option.

2) Open the FaceFX asset for the character.

3) While leaving the FaceFX window open, select the newly created sound cue in the general browser.

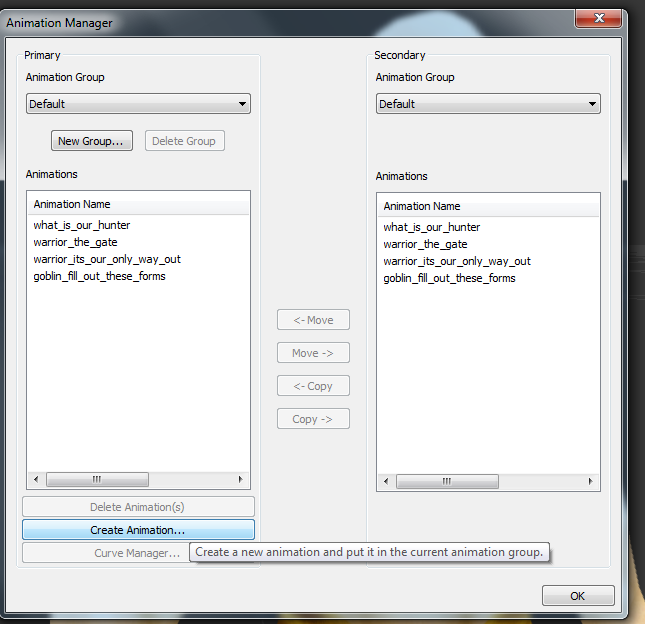
4) In FaceFX, Go to Actor > Animation Manager. Click “Create Animation”.

5) After several confirmation screens, you will be prompted to enter the words of the sound file.

Tips
– Double-click any of the tabs to undock them from the main FaceFX Studio. Right-click and select close to restore.
– Hit “sync current mapping” under the mapping tab to refresh the head movements.
– To manually edit the curve keyframes, right-click on the curve name and go to “Curve Properties”. Unselect “Owned by Analysis”.
– To extend the animation length, select the ending SIL phoneme and drag the ending to the right. You will need to close then reopen the animation for changed to take effect.
Materials can be used with FaceFX characters.

Decompiling Source Models

Decompiling Source MDL files to SMD format allows them to be imported into a program such as 3DS Max.

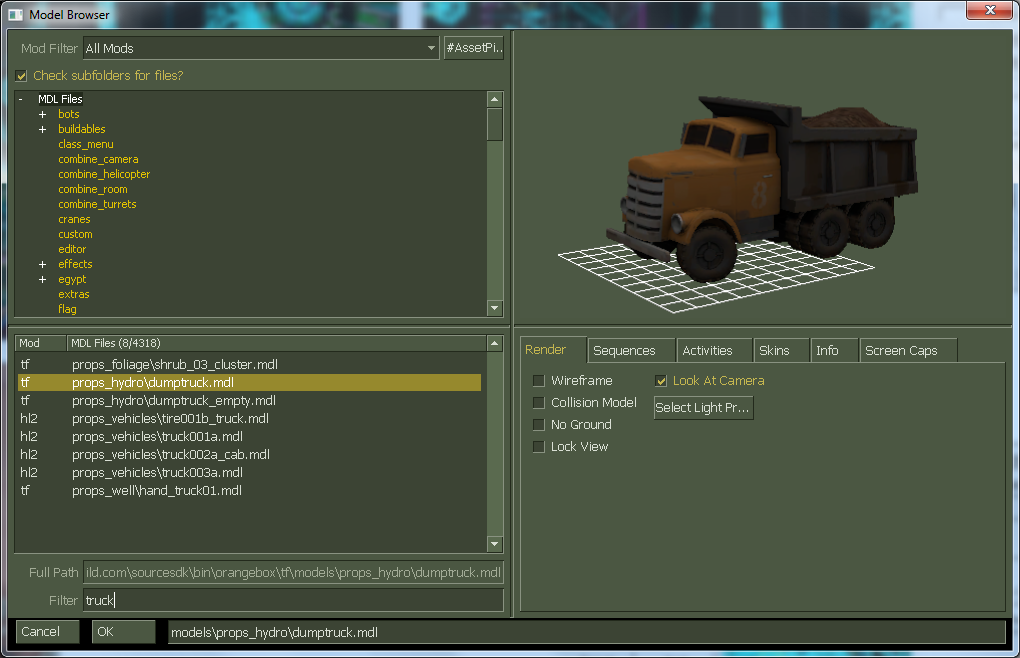
  1. Find the model you want to decompile. You can use the SDK Model Viewer for this, but I recommend using the model browser inside of Hammer (this has a search ability).
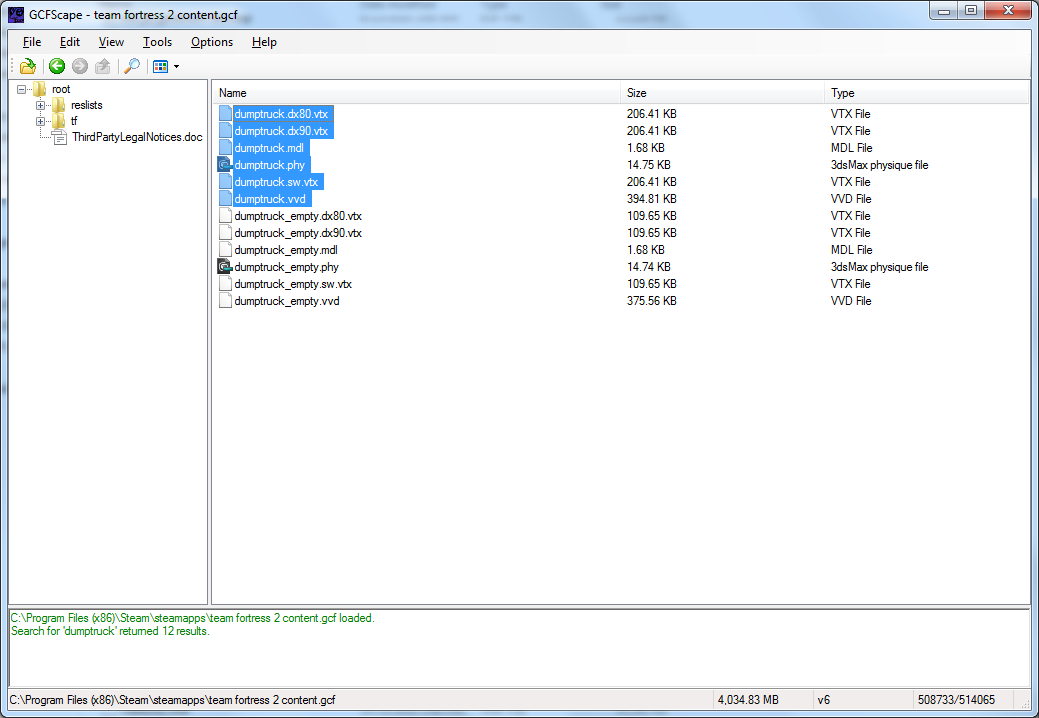
  2. Extract all the related files for the model (*.mdl, *.vtx, etc) from the game package (example: team fortress 2 content.gcf) to a new directory using GCFScape.
    – Make sure you are using “substring search“.
  3. Copy the toolbox folder to the new directory.
  4. Run decompile_source_models.bat.
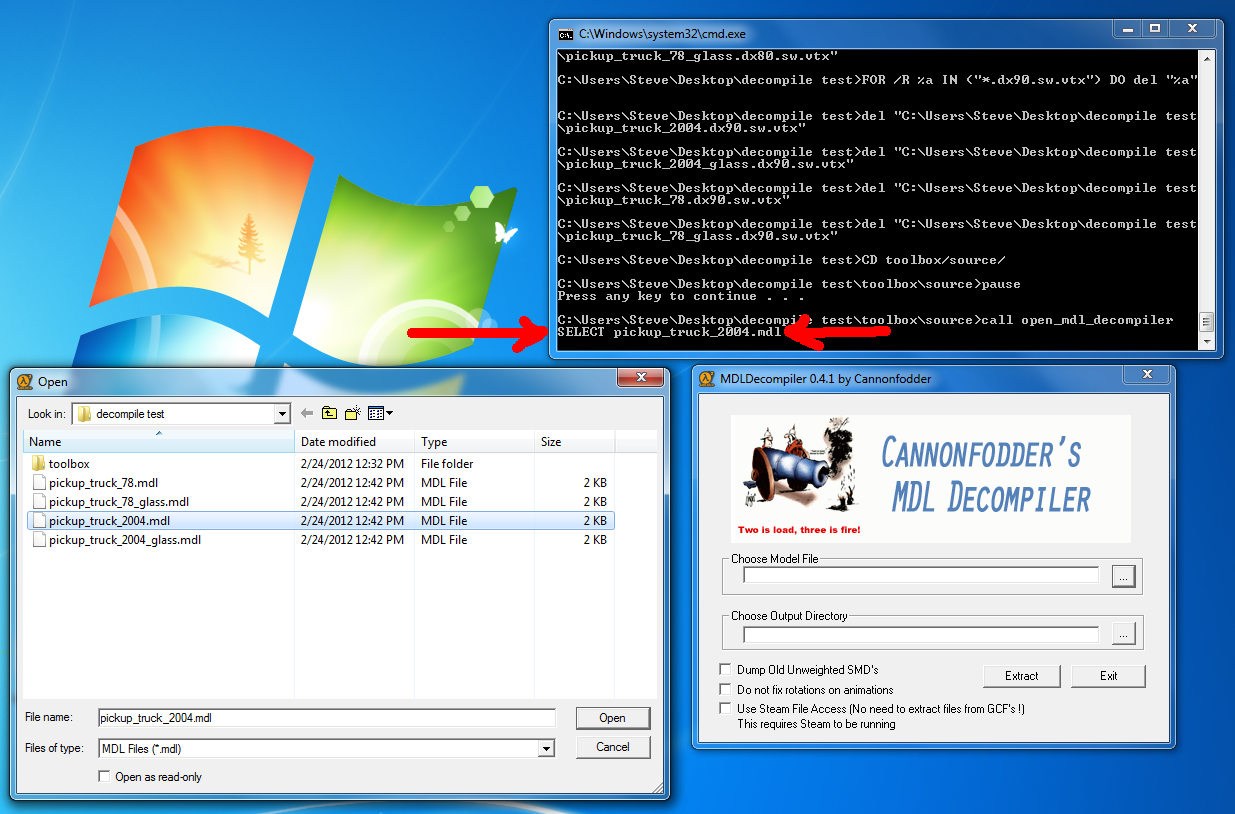
    – During the conversion MDLDecompiler will open. Select the file listed in the command window and decompile. Close MDLDecompiler when done to continue the conversion.
  5. During the conversion VTFEdit will open so you can batch convert any VTF textures. This step is optional. Simply close VTFEdit if you wish to skip it.
  6. You now have an SMD file that can be imported into 3D Studio Max.
    – Note: Any textures will need to be manually reapplied.

Decompiling Animations
Animations can be decompiled in the same manner as models.

  1. Extract the animation .mdl and the .ani that goes with it (if there is one) (ex: Alyx_animations.mdl and Alyx_animations.ani).
  2. Use MDLDecompiler to decompile.
  3. Import the animation .smd file into 3D Studio Max (you will need to have the reference .smd model already open).
    – The animations for games made after Episode 1 don’t decompile very well. Some TF2 animations will work. Left 4 Dead animations won’t decompile at all.

Old Manual Method

  1. Find the model you want to decompile. You can use the SDK Model Viewer for this, but I recommend using the model browser inside of Hammer (this has a search ability). [Pic]
  2. Extract all the related files for the model (*.mdl, *.vtx, etc) from the game package (example: team fortress 2 content.gcf) using GCFScape. [Pic]
  3. Open the .mdl file with a Hex Editor and change the first 5 characters so it reads “IDST,”. [Pic]
  4. Use MDLDecompiler to decompile the model. [Pic]
    – If using Left 4 Dead models, you will need to copy the .vtx file twice and rename the extensions to .dx80.vtx and .dx90.vtx before decompiling.
  5. You now have an SMD file that can be imported into 3D Studio Max. [Pic]

Textures
Extract the textures using GCFScape.

  1. The textures will be in VTF format and should be converted to TGA, this can be done from within VTFEdit.
  2. The material names can be found by opening the .mdl file with MDLTextureInfo.exe.
  3. The materials may be in a separate package (ex: team fortress 2 materials.gcf)
  4. VTFEdit has the ability to batch convert texture directories. Go to Tools -> Convert Folder.

Related Tools

  1. 3D Studio Max VTF Texture Plug-in – Allows you to use VTF textures in 3DS Max.
  2. MDL Texture Info – A small console app that will tell you the textures used by a MDL file. [Download]
  3. GCFScape – A tool for browsing and extracting from Valve package files (GCF, VPK, etc) [Download]
  4. Hex Editor – A basic hex editor for modifying MDL files so they can be decompiled without errors. [Download]
  5. MDLDecompiler – A tool to decompile MDL files to SMD format. [Download]
  6. Fix L4D Files – A small batch script to fix L4D/L4D2 files so they can be decompiled.

Problems and fixes

  1. The textures on decompiled characters look warped.
    1. Fixing facial textures on decompiled human models.
  2. I tried decompiling weapons, but they don’t look right.
    1. Many Source games have several models for a single weapon. These may include w_models (worldmodels), v_models (viewmodels), and c_models (a combination of w_models and v_models.). Generally you want to decompile the w_model, as this is the third person model and won’t have missing sides.

Creating a Crowd in UDK

While the UDK has a built in crowd system (which you can find an example of in ExampleMap.udk), it is primarily to have character meshes run through waypoints. I like to create crowds of spectators, which requires a different technique.

Creating a crowd of spectators

  1. Place the actor in the level as a SkeletalMeshActorMat.
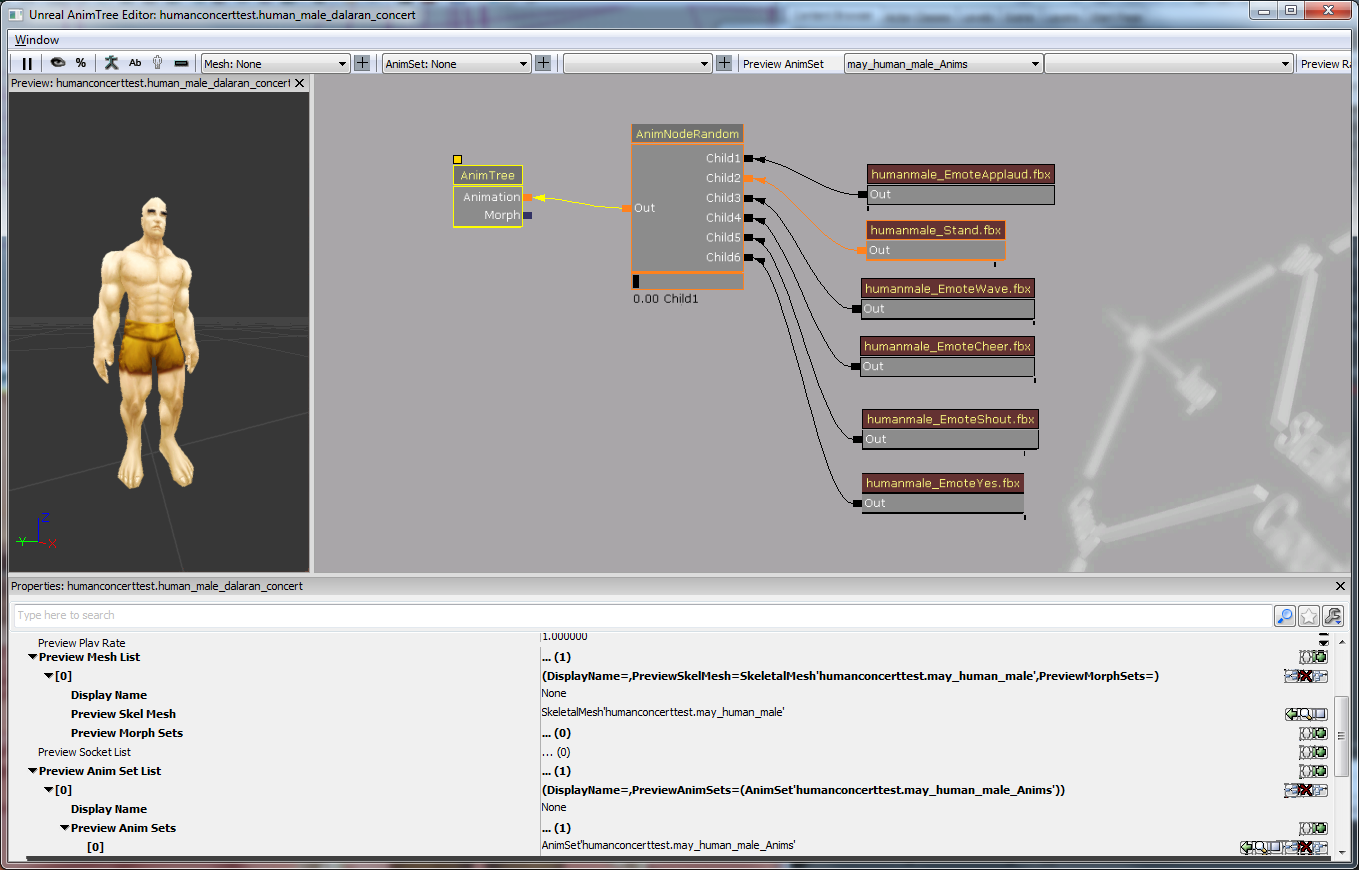
  2. Create an AnimTree for the actor, which includes a number of different animations that are randomly played.
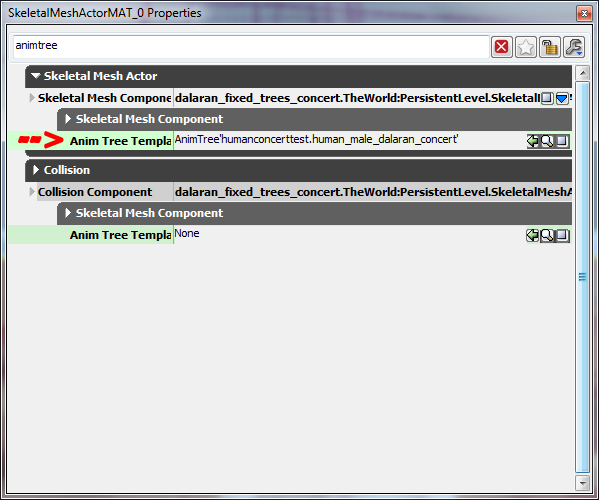
  3. Open the SkeletalMeshActorMat properties and add the AnimTree.
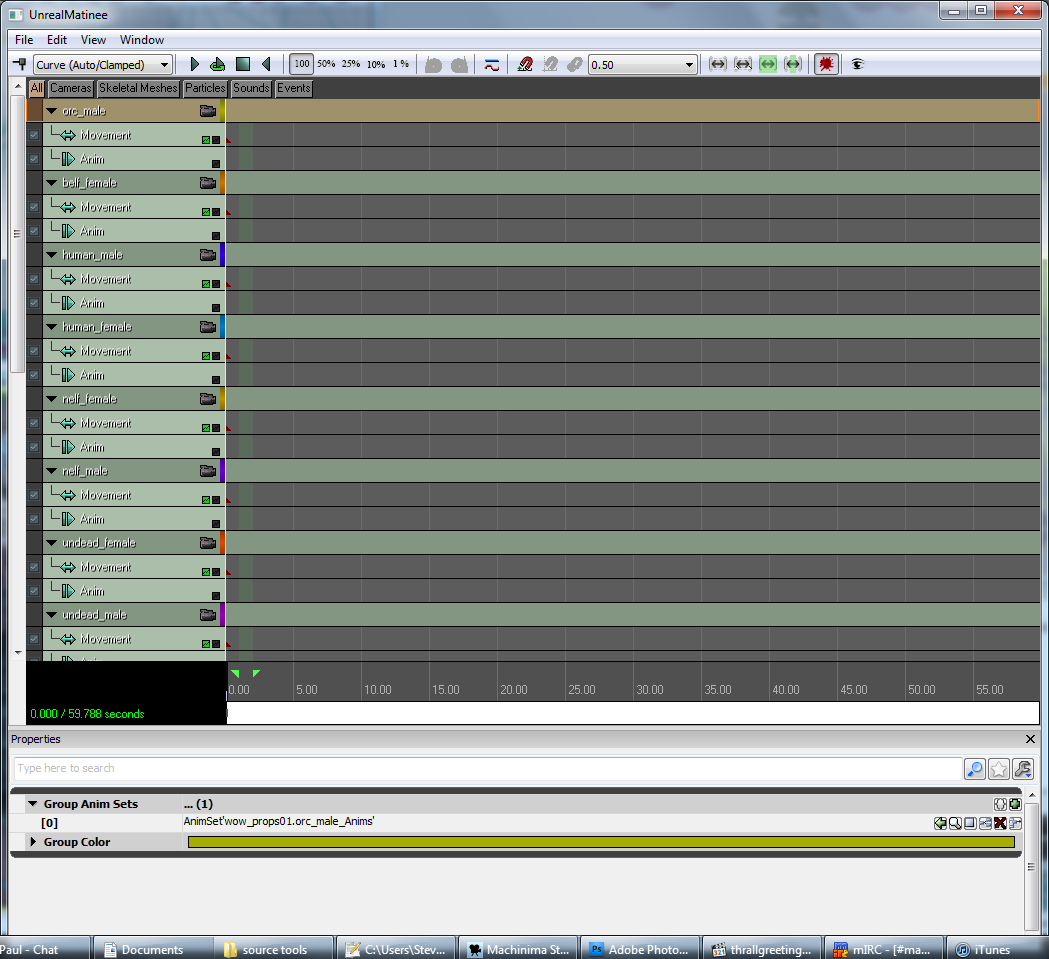
  4. Create a new matinee sequence. Add the actor and set the Anim Sets just like you would for any other matinee scene.
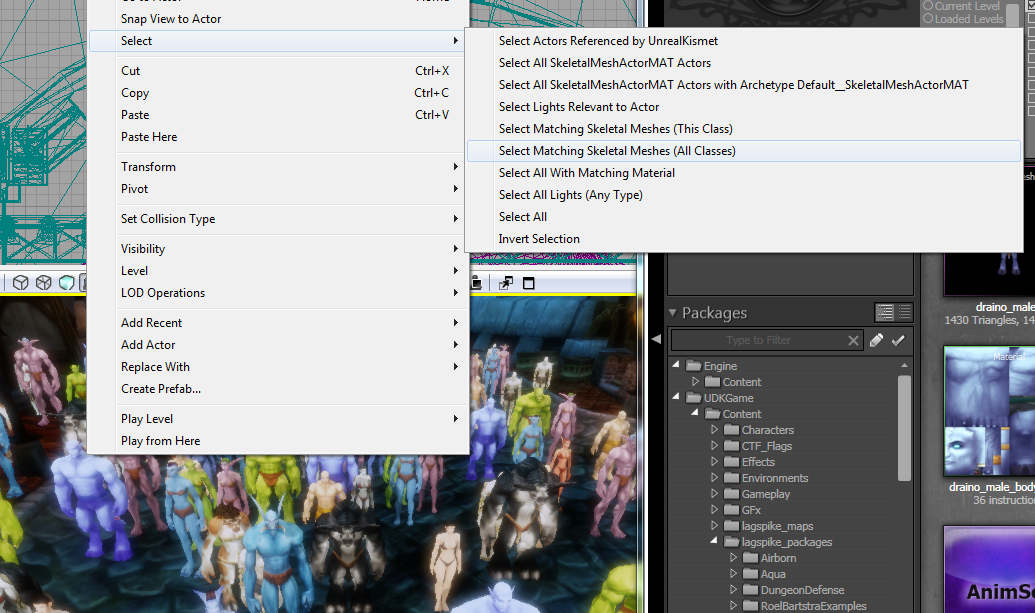
  5. Create copies of the SkeletalMeshActorMat in the level. Select them all by right-clicking in the viewport and going to Select > Select Matching Skeletal Meshes.
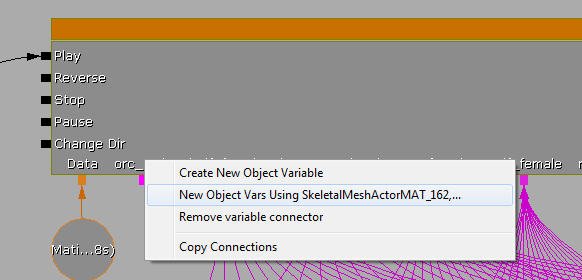
  6. With the meshes still selected, open Kismet and right-click on the matinee connector for the actor and select “New Object Vars Using…”.

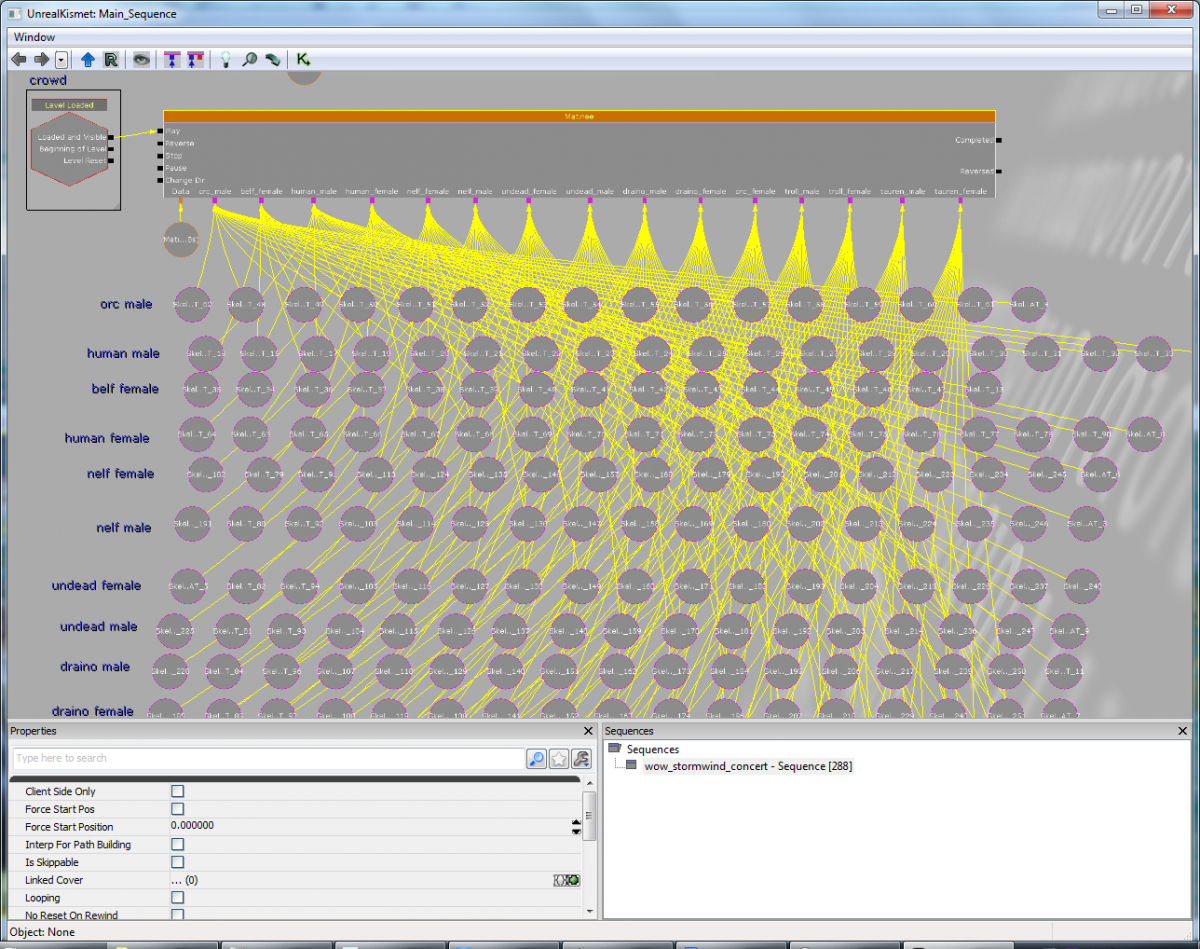
Your kismet will end up looking really complex, but it’s actually pretty simple (just a lot of variables). Make sure you have an input to activate the Matinee Sequence (I use Level Loaded).

GameAssassin Tutorial

Note: I would recommend you try using 3D Ripper DX before using GameAssassin. It can be difficult to work with and should be more of a last resort option for ripping models. 

GameAssassin is a tool for capturing 3D geometry. It has a similar functionality to 3D Ripper DX, although it is a lot more tricky to use. The program is made by a Chinese developer and not everything has been translated properly, so it may be a bit difficult to work with. Start by downloading the “Share” version of the program.
Note: I have only tested this program with a few games, so this tutorial is more of a guide.

Capturing
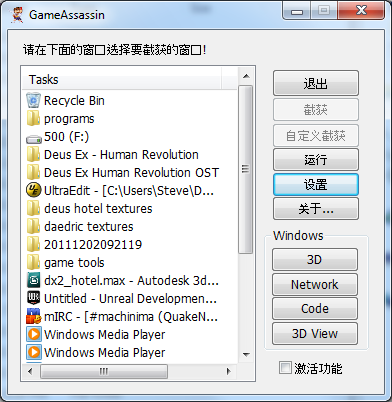
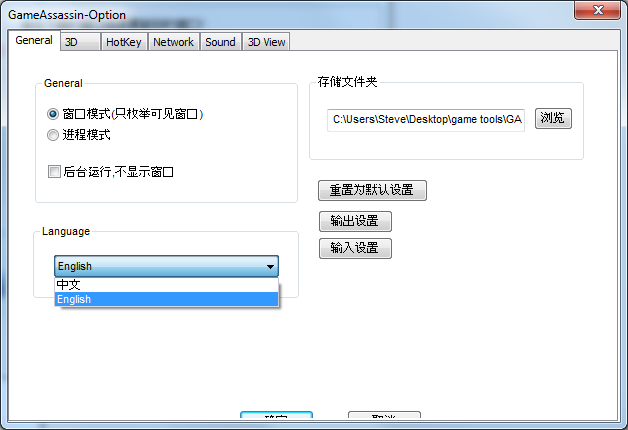
The first thing you will want to do after opening the program is changing the language to English. Do this by pressing this highlighted button.

Use the dropdown to select English, then restart the program so the options are updated. You can set the save directory path in the same menu.

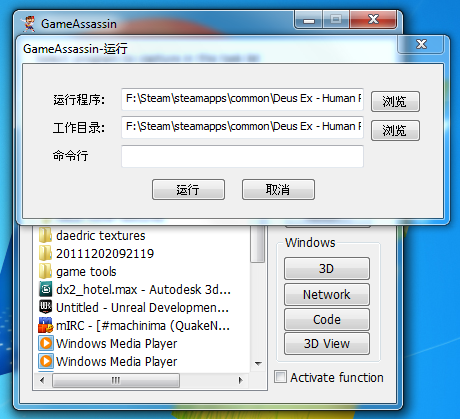
Press the load button. On the load panel, use the top button to select the game EXE. The second path will be filled in automatically. Leave the bottom option blank.

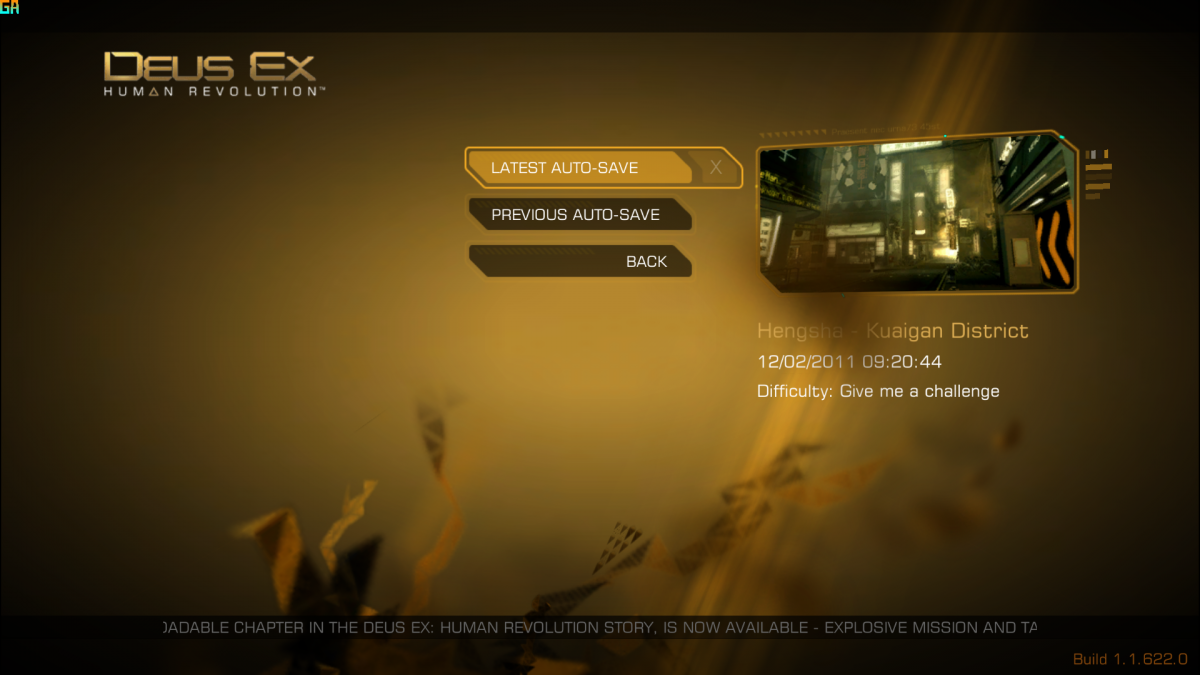
If everything worked the game should launch and you will see a blinking “GA” graphic in the top left corner.

Press Alt + F7 to capture.

Importing
You will need to install a 3DS Max plugin to import the model files. The 2011 import script does not work for me, my guess is it only works with 32 bit versions.
In the output directory there will be a file called AutoSave.lst. Import this into 3DS Max.

– The import options will ask you to set the FOV. This may take some experimenting to find the best setting. The default setting is 0.7.
– The imported models will be small and should be scaled up substantially. In this example, I’ve scale up by 20000%.
– The UV maps will likely be messed up (as is my experience) and will need to be manually fixed. [Pic]

Links
Reference for this guide
List of other model rippers

Tools
GameAssassin 3DS Max 2011 Importer
GameAssassin 3DS Max 9 Importer

Faceposer Tutorial

Faceposer is a choreography tool used for both facial and body animations. It is available in the SDK for all Valve games. Despite what you may have heard, Faceposer works fine on all versions of Windows, including Windows 7 and Vista.

Creating the VCD file

  1. Open Faceposer. Go to File > Load Model (This example uses player/demo.mdl).
  2. Go to Choreography > New. You will be prompted to save the file.
    – Make sure you are saving to the scenes directory of your game (example: Steam\steamapps\account name\team fortress 2\tf\scenes). If there is no scenes directory, just create it.
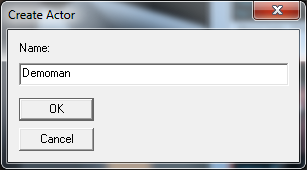
  3. After saving you will be prompted to enter an actor name, for this example I’ll use “Demoman”.
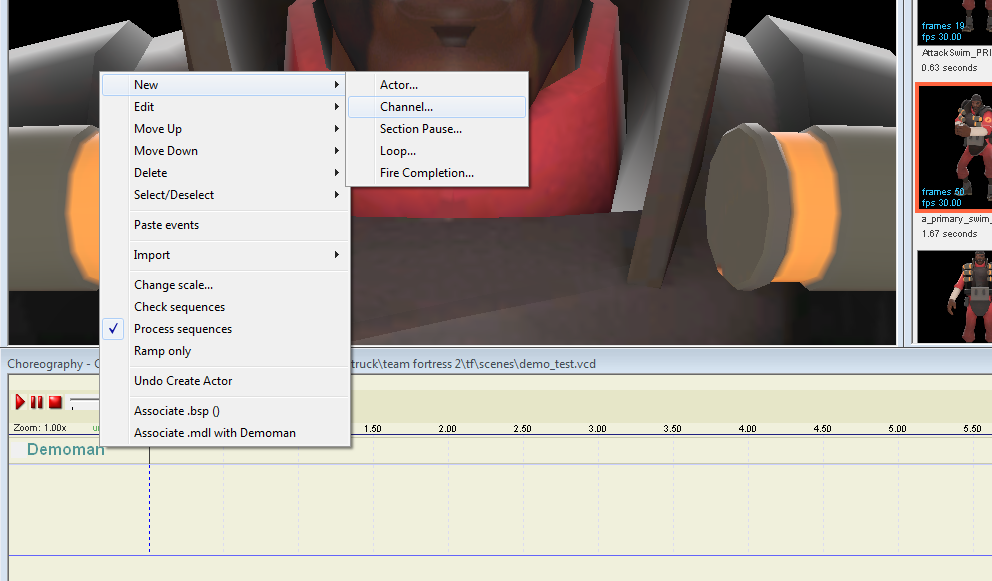
  4. Right-click on the Actor name and go to New > Channel. The name of this is just for your own reference, we’ll call it “Voice”.

Using the Phoneme Editor on a .wav file

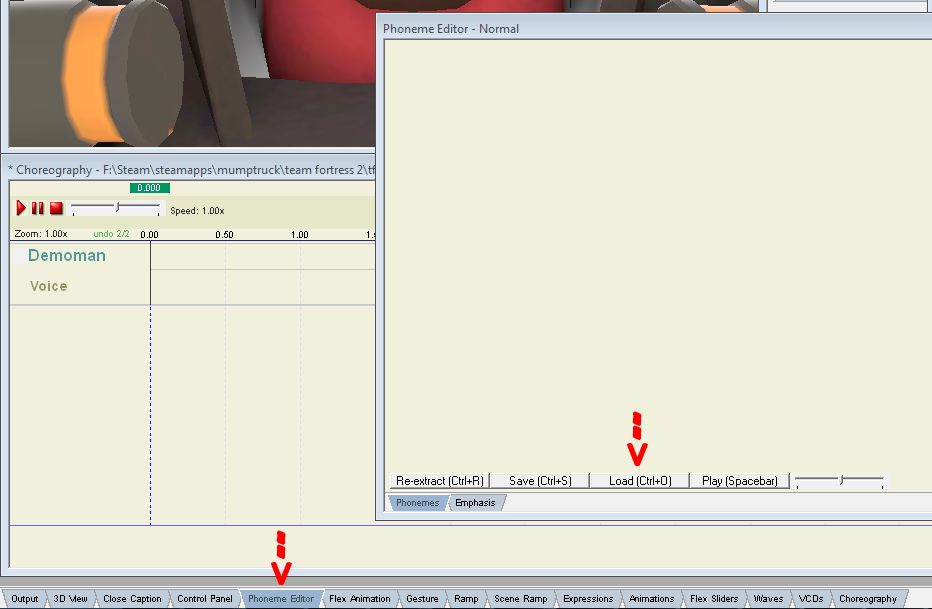
  1. Double click the “Phoneme Editor” tab at the bottom of the screen. Click the load button.

    – The file you are loading should be in .wav format and located in the sound directory of your game. [Pic]
    – The TF2 sound directory is Steam\steamapps\account name\team fortress 2\tf\sound
    – The sound file used in this example can be downloaded here.
  2. Click the Re-extract button and transcribe the wav file.

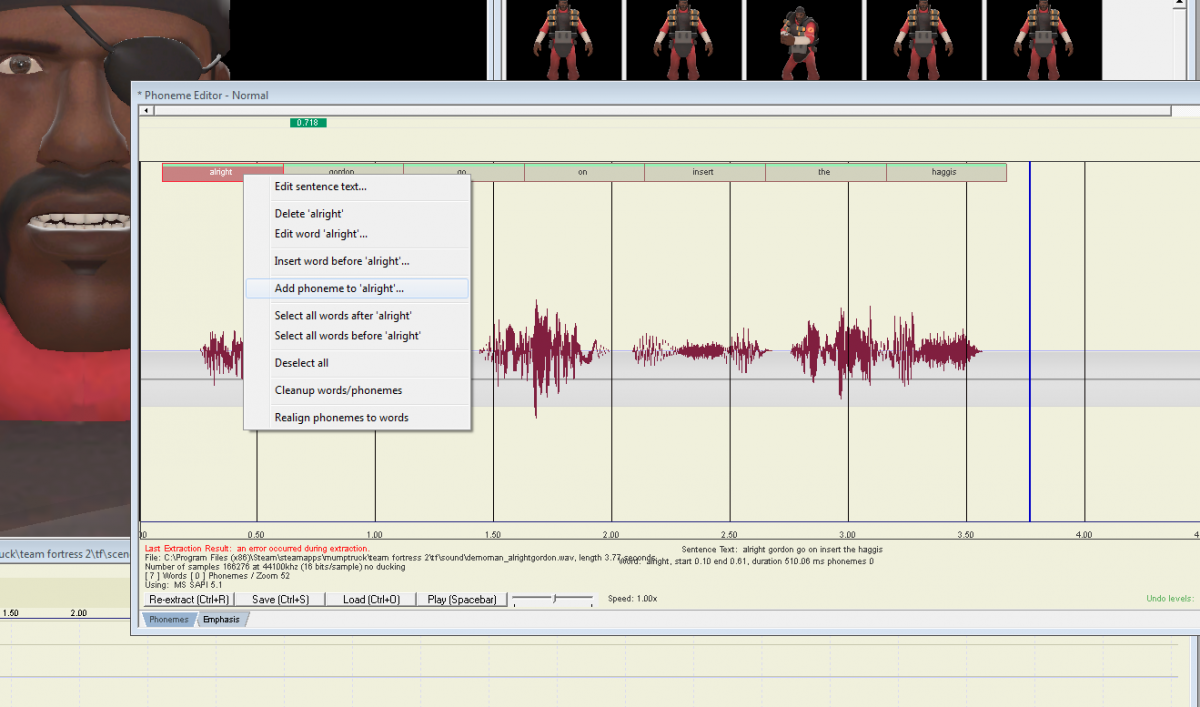
    – Note: This is where many people claim to have issues. You will probably see an error that says “Last Extraction Result: an error occurred during extraction”. This just means you will have to manually enter the phonemes (which is more accurate anyway). I’ve made a tool for this very purpose, you can find it here.
  3. Right click the words and select “Add phoneme me to <word>”. Copy and paste the output from the phoneme tool. Repeat for all the words.
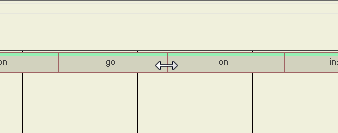
  4. You will now need to adjust the words slightly so they match up with the voice. Hold CTRL when mousing over the line between words. Left-click to adjust the duration.

    – You can preview with the play button. Press Save when finished.

Adding the .wav file to the scene
Go back to the main Faceposer window.
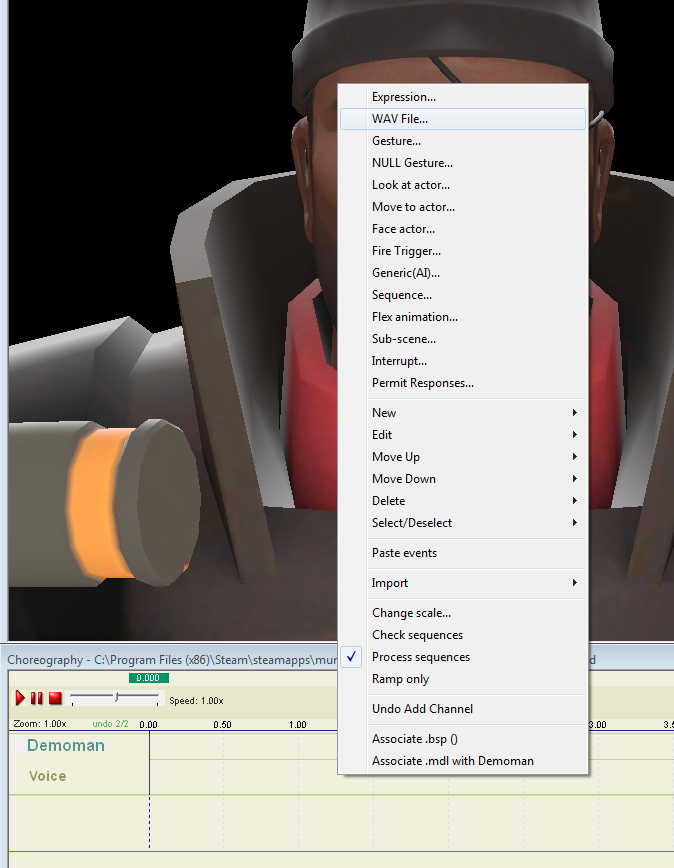
1) Right click the channel name select WAV File.

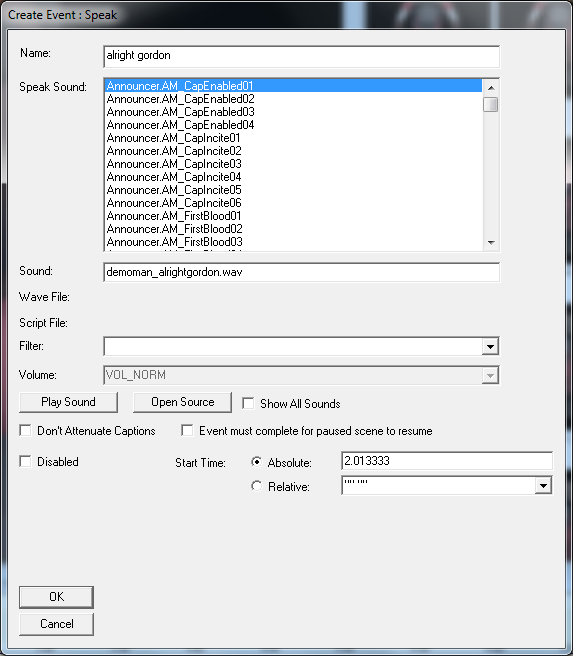
2) You will be prompted to enter the audio info. The “Name” field is just for your own reference. For “Sound” enter the wav file name. Press Ok.

You can now preview the result using the play button.

Adding Animations (Optional)

  1. Use the animations window to find the animation you wish to use.
  2. Click and drag the animation onto the timeline.

Testing the VCD in game

  1. When you are done creating the VCD, go to Choreography > Save. Then do File > Rebuild scenes.image.
  2. Launch TF2. Set sv_cheats to 1 and spawn a bot using the console command “bot -team red -class soldier -name John”.
  3. While aiming at the bot, type the following in the console “tf_testvcd scenes/filename.vcd” (replace filename with the name of the VCD file).
    – You may need to switch the bots weapon (bot_selectweaponslot 2) for custom animations to display properly.

Adding TF2 Player Models to Garry’s Mod Faceposer
If you wish to open the TF2 characters with the the Garry’s Mod Faceposer, it’s as easy as copying a few files.

  1. Open “team fortress 2 materials.gcf”, located in Steam\steamapps.
  2. Copy the root\tf\models\player directory to Steam\steamapps\accountnamegarrysmod\garrysmod\models
  3. Copy the root\tf\materials\models\player directory to Steam\steamapps\accountname\garrysmod\garrysmod\materials\models

Problems and Fixes

  • Faceposer crashes while trying to position a word in the phoneme editor.
    – This will happen if there are words with no phonemes. Enter a phoneme for every word before adjusting their position.
  • The control buttons (play, pause, stop) are missing.
    – This is a bug which you can find a fix for here.

Links
Missing Faceposer Buttons
Valve Phoneme Tool
More info on scene choreography
Another Faceposer Tutorial

Rayfire Tutorial

Rayfire is a 3DS Max plugin that is used primarily to simulate environment destruction. This is a brief overview to get you understanding the basics.

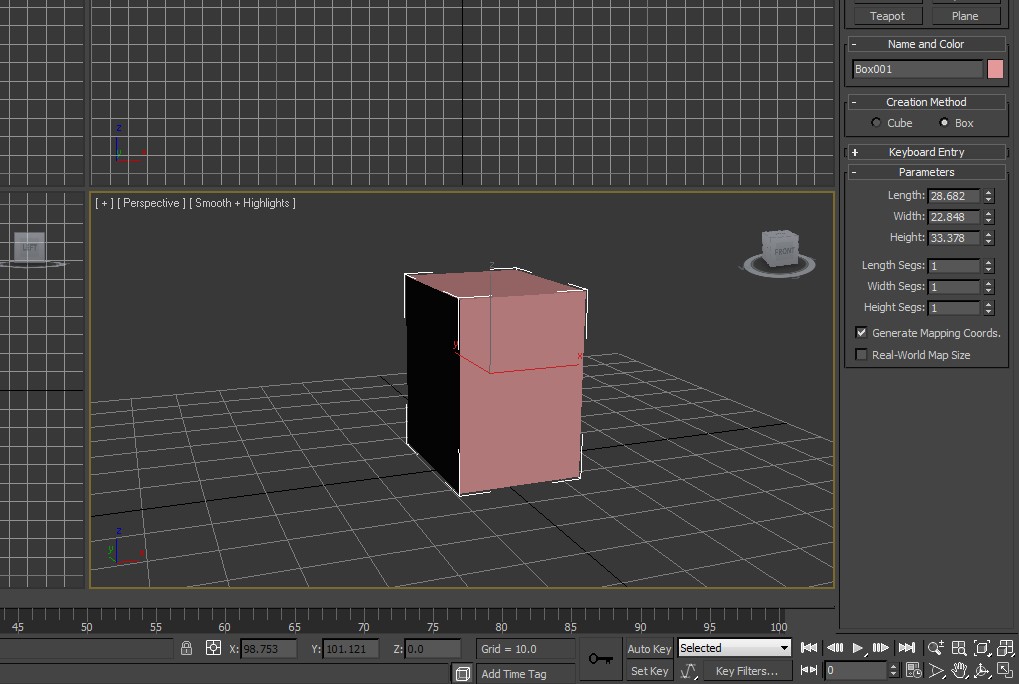
We’ll start with a basic mesh, for this example I made a box.

You should have a hotkey set to bring up the Rayfire window (I use CTRL+F5).
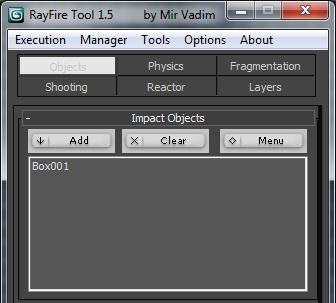
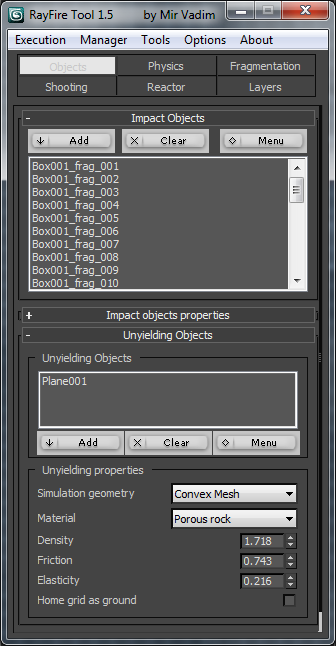
Under the objects tab you’ll set a section called “Impact Objects”, click the Add button with the box mesh selected.

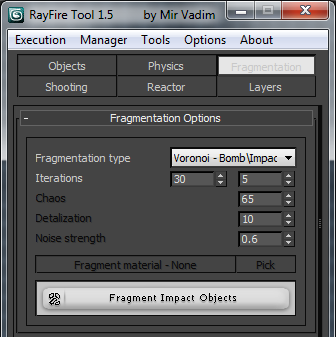
Now switch to the Fragmentation tab. Click the “Fragment Impact Objects” button. This will break the mesh up into pieces.

For most animations you’ll want to make a ground plane, or else the objects will just fall forever.
We’ll do that now. Add a plane to your 3DS Max scene.
Now switch back to the Objects tab and add the ground plane under “Unyielding Objects”.

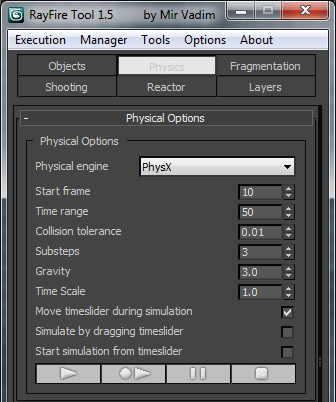
Now go to the Physics tab. This will allow you to preview the animation.
– Take note of the gravity setting. You will need to set it to 0 for certain effects.

Bake the animation when you are satisfied with the preview.

Exporting to the UDK
We will need to create a dummy bone structure to export this in ActorX.
1) Create a box and rename it root.
2) Select all the meshes (except root) and link them to root.
3) Select everything in the scene, then use the following ActorX settings to export the reference mesh. [Pic]
4) Export the animations.
5) In the UDK animation editor, make sure to untick “Anim Rotation Only”.

Rayfire Reference
Impact Objects – Gravity is applied to these objects.
Unyielding Objects – These are objects that are not affected by other objects, such as a ground plane.
Inactive Objects – These objects wont move unless struck.

Links
Thread on Rayfire at CGSociety
Youtube Rayfire Tutorial

Compositing in After Effects

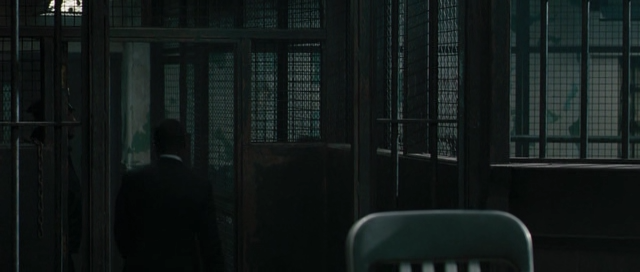
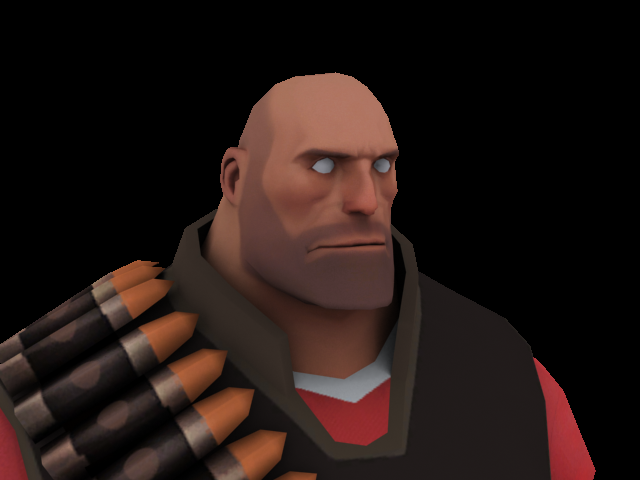
Compositing is the art of matching different elements to form a single image. While it’s pretty easy to put one video on top of another, it takes a lot more practice to create something that looks right. Here’s an example of some of the effects you might use.The goal is to match these two images so it looks like they’re part of the same scene. For this example I’ll use a screenshot from a movie as a background, and a 3DS MAX render (with alpha channel) for the foreground.

Adding both to a new After Effects composition doesn’t look too bad, but we can do a lot better.
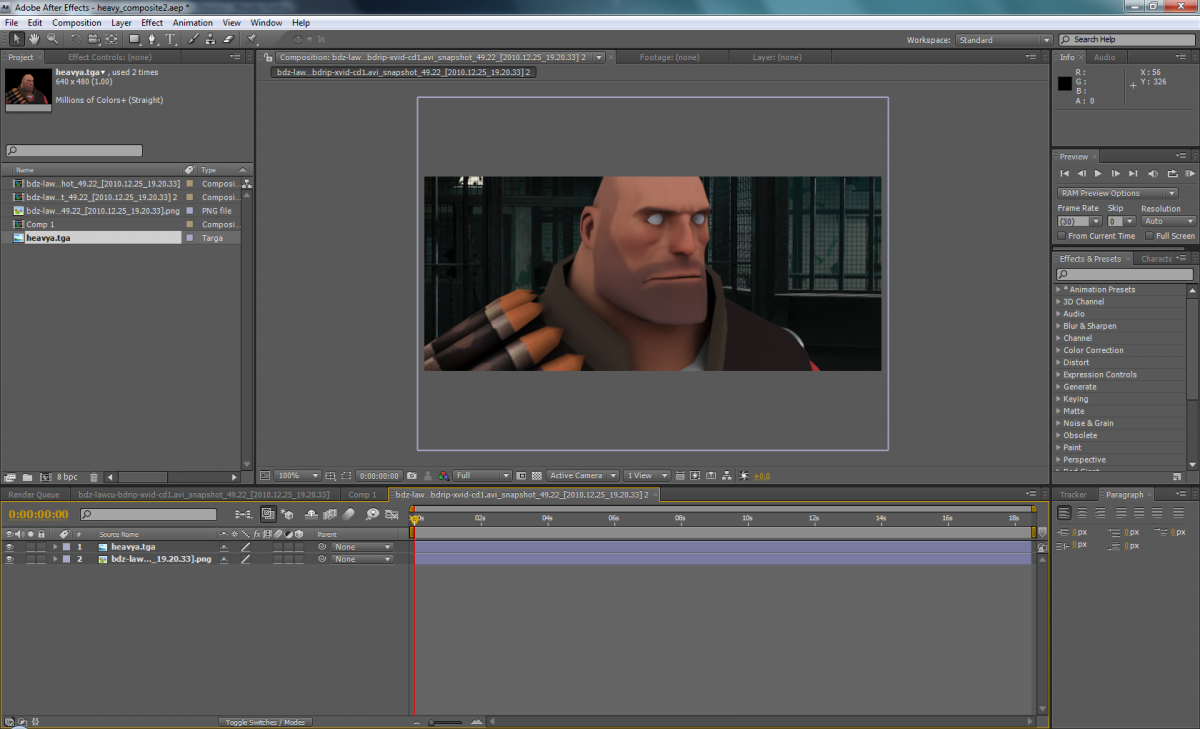
For the background layer we’ll add a Gaussian Blur, this will create a Depth of Field effect.
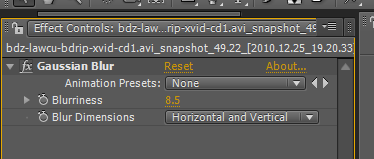
The foreground image will require a little more work. Start by resizing the image so it better fits the scene. Next, you will want to apply effects to match the background. Take note of the color and saturation of the background. From here it’s just a lot of experimenting to try and match the two images. I find these effects to be among the most useful:
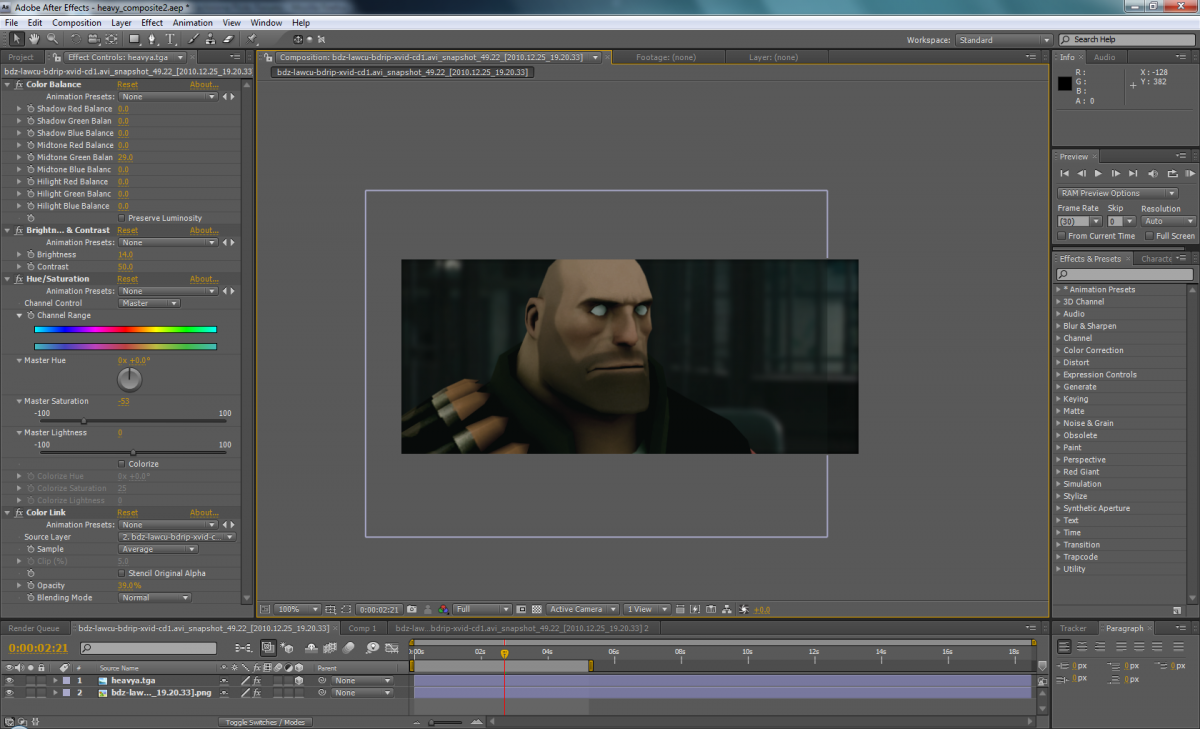
– Hue/Saturation
– Brightness & Contrast
– Color Balance
– Color Link
– Gaussian Blur

And here’s the finished composite (including the settings I used).

Here’s an example of how you can mix live action footage and animation. Note how the characters were matched to the backgrounds.

Umodel Tutorial

Umodel is a tool that allows you to extract content from Unreal engine games. You can find a list of supported games here.

How to Extract Content with Umodel

  1. Copy the packages you wish the extract to the umodel directory.
    – Some games will require any TFC files (such as textures.tfc) to be copied too. These contain high resolution textures.
  2. Run the following command from the command prompt: “umodel.exe -export file.upk”
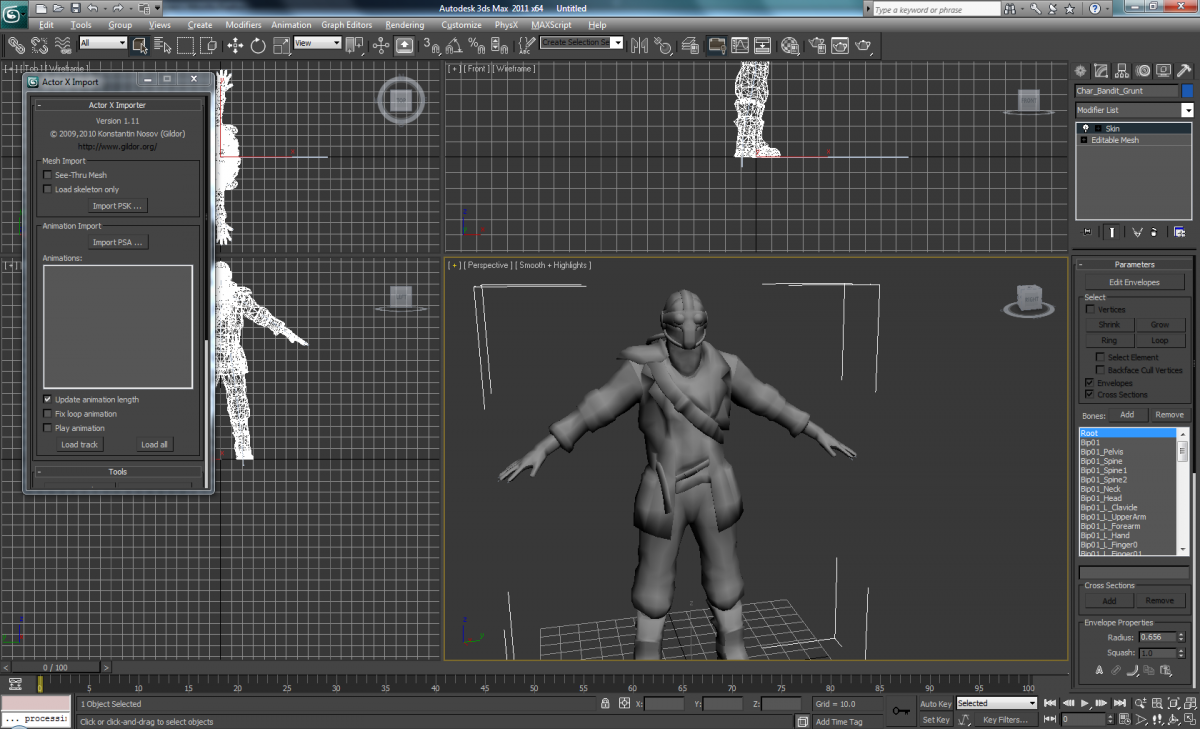
  3. Open 3D Studio Max and run the script ActorXImporter.ms. Import the PSK file.

Batch Extracting Content
If you wish to extract multiple packages, you can use a batch file to automate this process.

Extracting Bioshock & Bioshock 2 Content

  1. Copy the “BulkContent” directory to the umodel directory.
  2. Copy the .bsm file to the umodel directory (ex: 1-Welcome.bsm).
  3. Run the command “umodel.exe -export 1-Welcome.bsm”.

Converting a single model to UDK

  1. Import the PSK model into 3DS Max.
  2. Export as an ASE file to a new directory.
  3. Copy the toolbox folder to the directory.
  4. Export the Summary Info file in 3DS Max (File > Properties > Summary info. Press the “Save to File” button). Save to toolbox/summary_info.txt.
  5. Run convert_umodel_to_udk.bat.
    Import the textures into the UDK. Save.
    Import the ASE files into the UDK. Save.

Output Example #1

Batch Converting to ASE
Umodel now contains a batch exporter that can automate the conversion of models. More info can be found here.

  1. Select ASE as the export format.
  2. Select the directory containing the PSK (or PSKX) files.
    – The “Smoothing Groups” and “Smooth Mesh Export” options only affect FBX exports.
  3. Move the ASE files and the textures to the root directory.
  4. Run convert_umodel_to_udk.bat to fix the ASE files.
    Import the textures into the UDK. Save.
    Import the ASE files into the UDK. Save.

Example Game Paths and Package Files
Tron Evolution
H:\more games\Tron Evolution\GridGame\CookedPC
Package files: *.upk, *.umap

Alice Madness Returns
F:\Steam\steamapps\common\alice madness returns\AliceGame\CookedPC
Package files: *.upk, *.umap

Monday Night Combat
F:\Steam\steamapps\common\monday night combat\HostileGame
Package files: *.upk, *.hmap (rename the hmap files to upk).

Mirror’s Edge
F:\Steam\steamapps\common\mirrors edge\TdGame\CookedPC
Package files: *.me1, *.upk (rename the me1 files to upk).

Problems and Fixes

  • Where can I find the game packages?
    – Packages are usually located in the CookedPC directory where your game is installed. They may have different extensions (examples: *.hmap *.pcc *.udk *.ukx *.umap *.upk *.usx *.war *.xxx)
  • I’m getting the error “Too much unknown files – bad root directory?”
    Umodel will stop working if there are too many unknown files in the directory. You can make a new directory to work around this limitation.
  • Can these models be converted to the Source Engine?
    – Yes. Once the model is loaded into 3DS MAX, continue by following the steps in this tutorial.
  • Can sounds or FaceFX files be exported?
    Yes. Sounds can be exported with -sounds and FaceFX can be exported with -3rdparty. You can find all the command line options here.

Tips
– AnimSet, SkeletalMesh, and Texture2D content can be imported directly into the UDK.
– Uncooking will prevent duplicate models from being extracting.
– Bulletstorm materials do not work.
– It is possible to convert maps (and models) from a few Unreal Engine games. See Converting a Mirror’s Edge map to UDK.

Extracting Unreal packages from Xbox games
Some Unreal3 Engine games are for the Xbox 360 only. To extract the packages there are a few options.
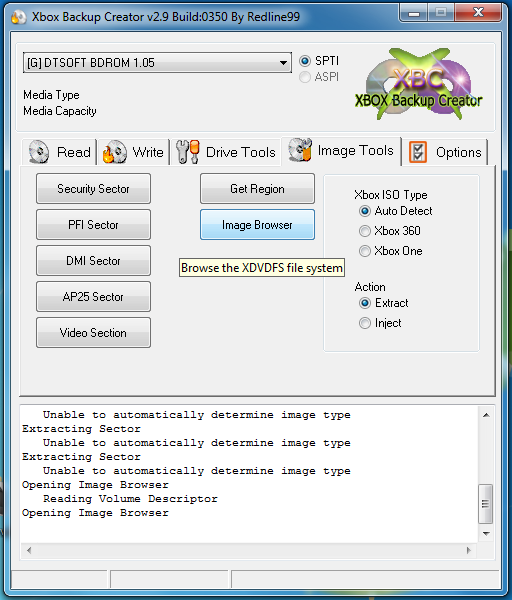
Xbox Backup Creator [Download]
wxRipper [Download]

Using Xbox Backup Creator

  1. Start Xbox Backup Creator.exe.
    – If you recieve an “MSCOMCTL.OCX” error, see this page for a fix.
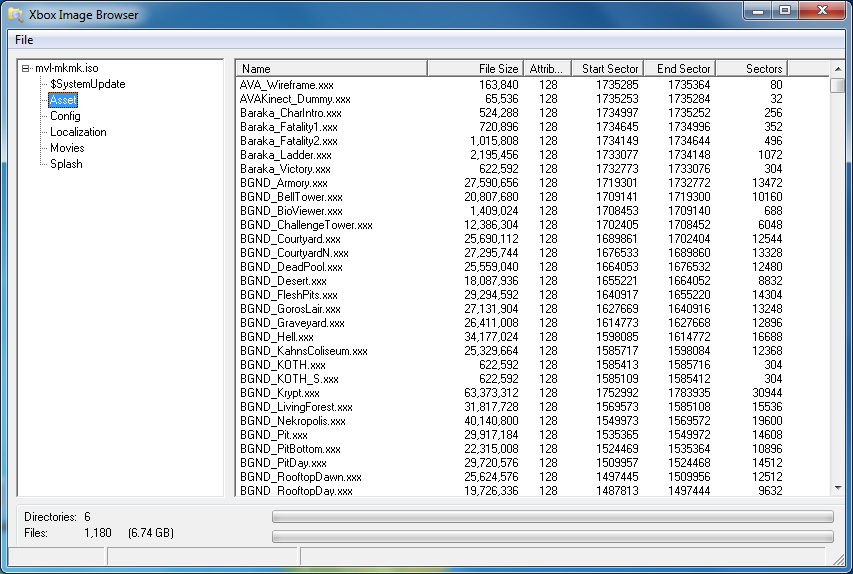
  2. Under the “Image Tools” tab, use the “Image Browser” button.
  3. Select the ISO file. Locate and extract the package files.
    At this point you can follow the Umodel steps above to convert the package files to 3DS Max.
Team Fortress 2 Machinima Info

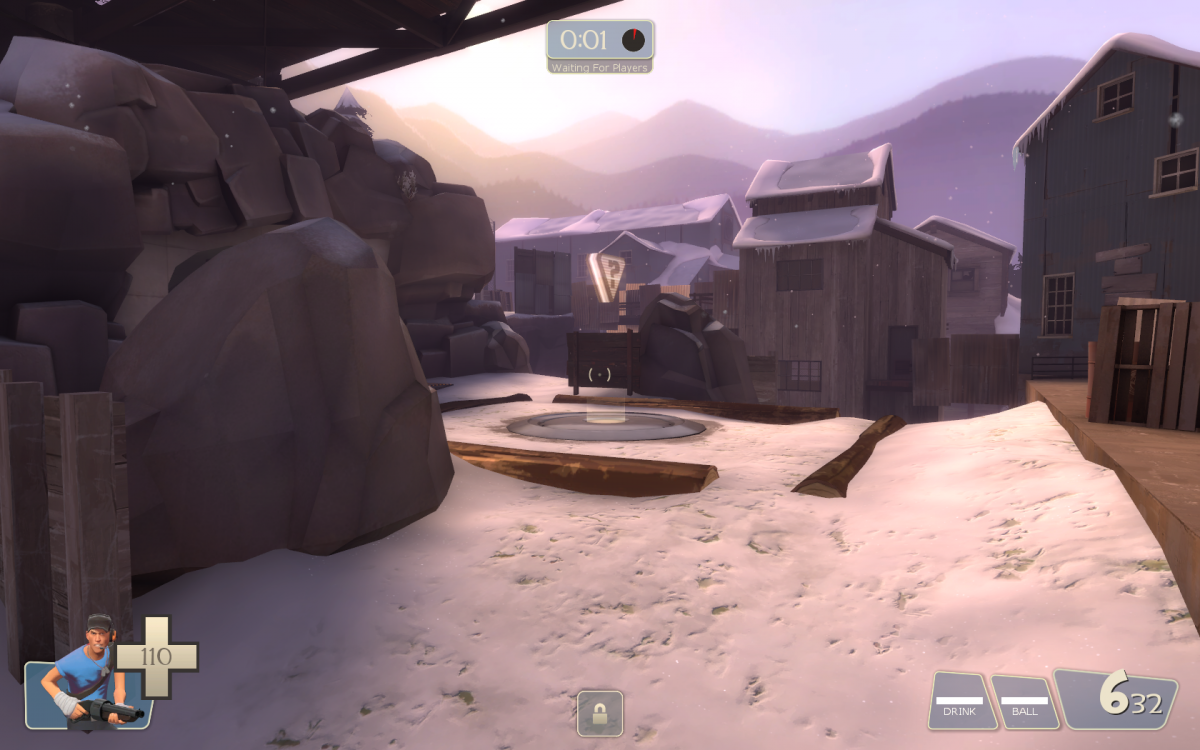
Team Fortress 2 has a unique visual style and a selection of original characters, which makes it a great choice for machinima. There are fewer command options than Half-Life 2, most noticeably the removal of NPC controls. TF2 content works well in Garry’s Mod, so if you’re looking for more functionality options you may want to consider using it for filming.

Camera options

  • Noclip – Typing “noclip” in the console will allow you to fly around the map.
  • Demo Smoother – The Source engine has a recording feature which I wouldn’t recommend for machinima, but may be useful for certain situations.
  • point_viewcontrol – Camera entities can be compiled into the map, however these are tricky to work with and require mapping knowledge to use.

Bots
TF2 has the ability to spawn bots, which can then play VCD files. However, the bots are very basic compared to HL2 NPCs. Movement can’t be scripted and multiple bots can’t be controlled at the same time. It’s more of a test feature, but still has it’s uses in machinima.

Links
TF2Maps.net Tutorials Forum
Useful binds for TF2 Machinima
TF2 Bot Commands
Creating TF2 style textures from photos
TF2 Fonts

Console Commands
It’s a good idea to create binds for some of these frequently used commands.

  • Remove the HUD and weapon: cl_drawhud 0; r_drawviewmodel 0
  • Spawn a TF2 bot: sv_cheats 1;mp_teams_unbalance_limit 0;bot -team red -class soldier -name John
  • Play a vcd file: tf_testvcd “scenes/toast.vcd”
  • Use higher quality TF2 models: mat_picmip -10;mp_usehwmmodels 1;mp_usehwmvcds 1
  • Change noclip speed: sv_noclipspeed 1

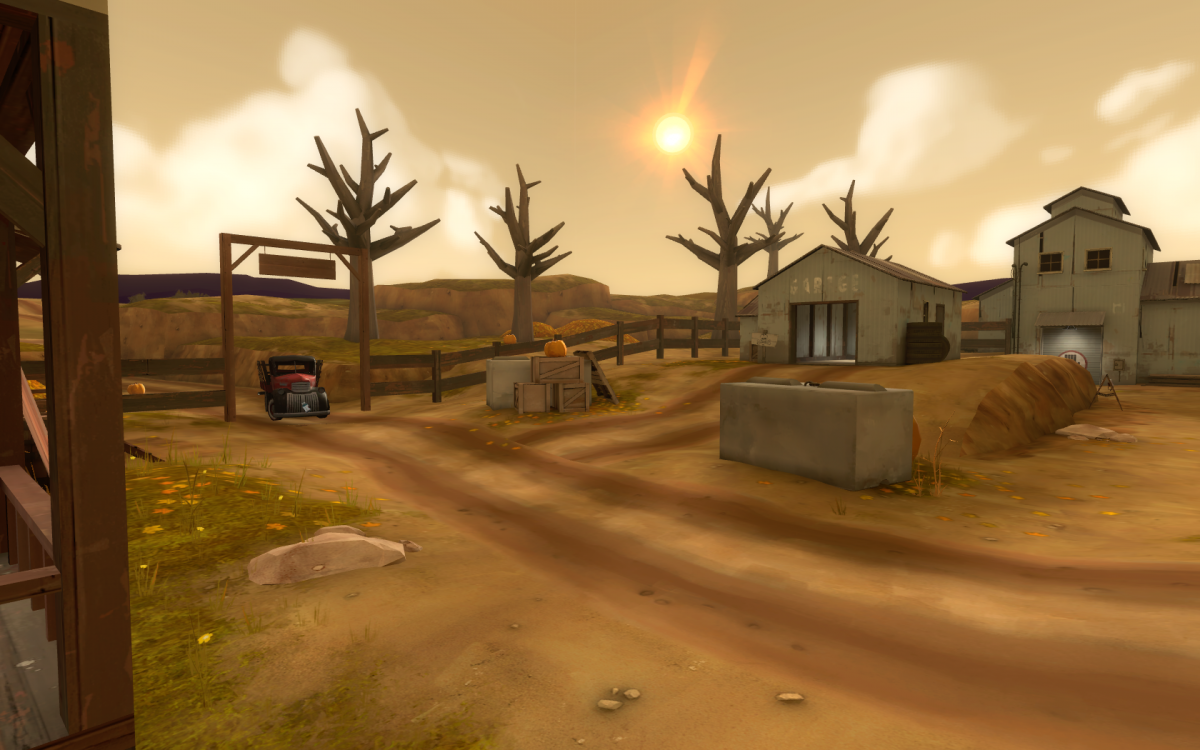
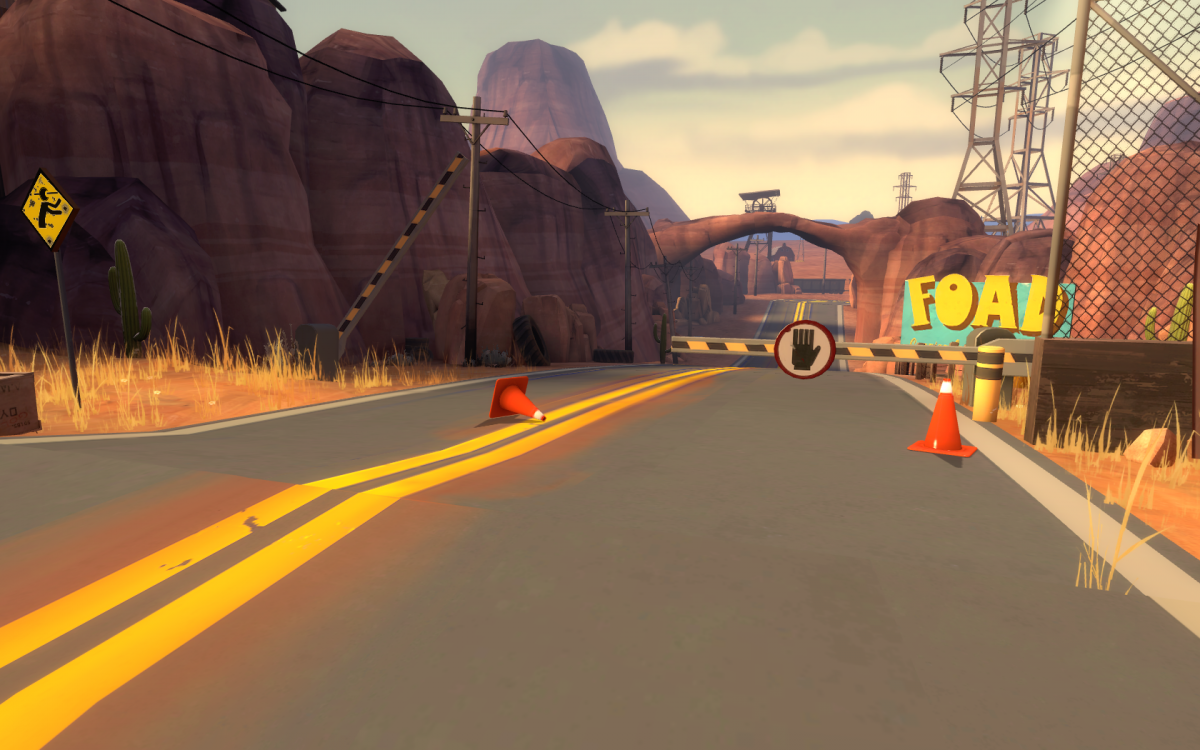
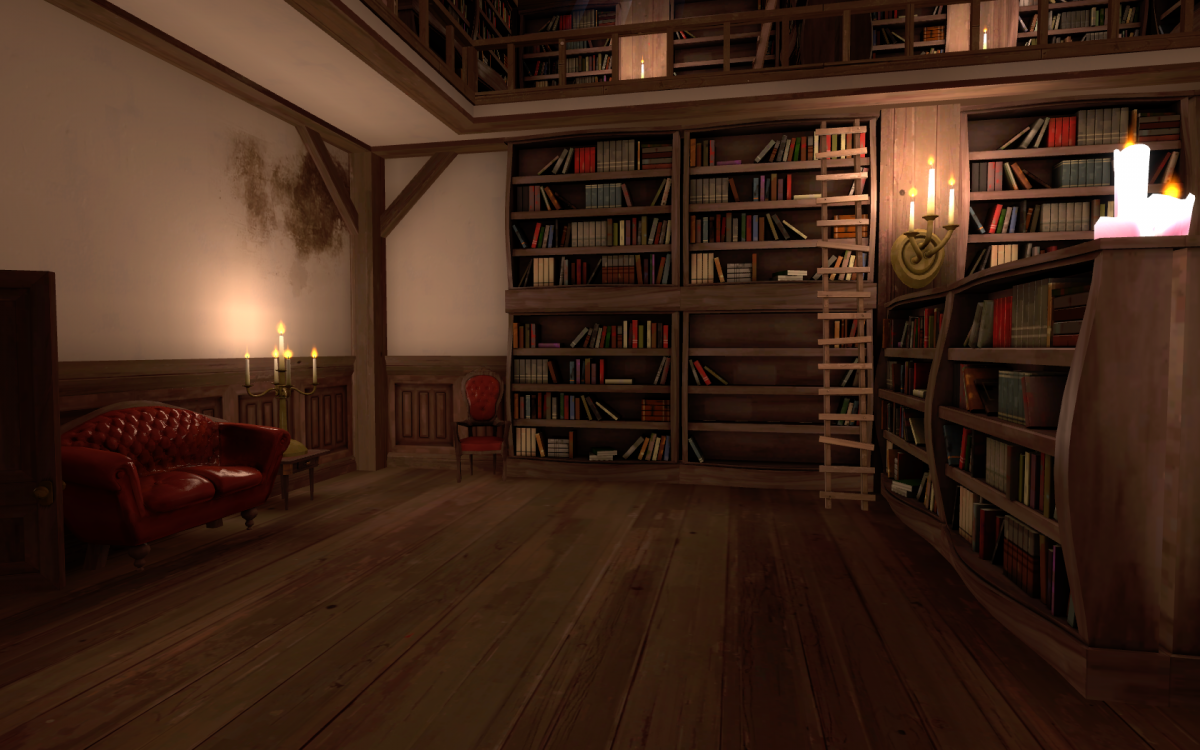
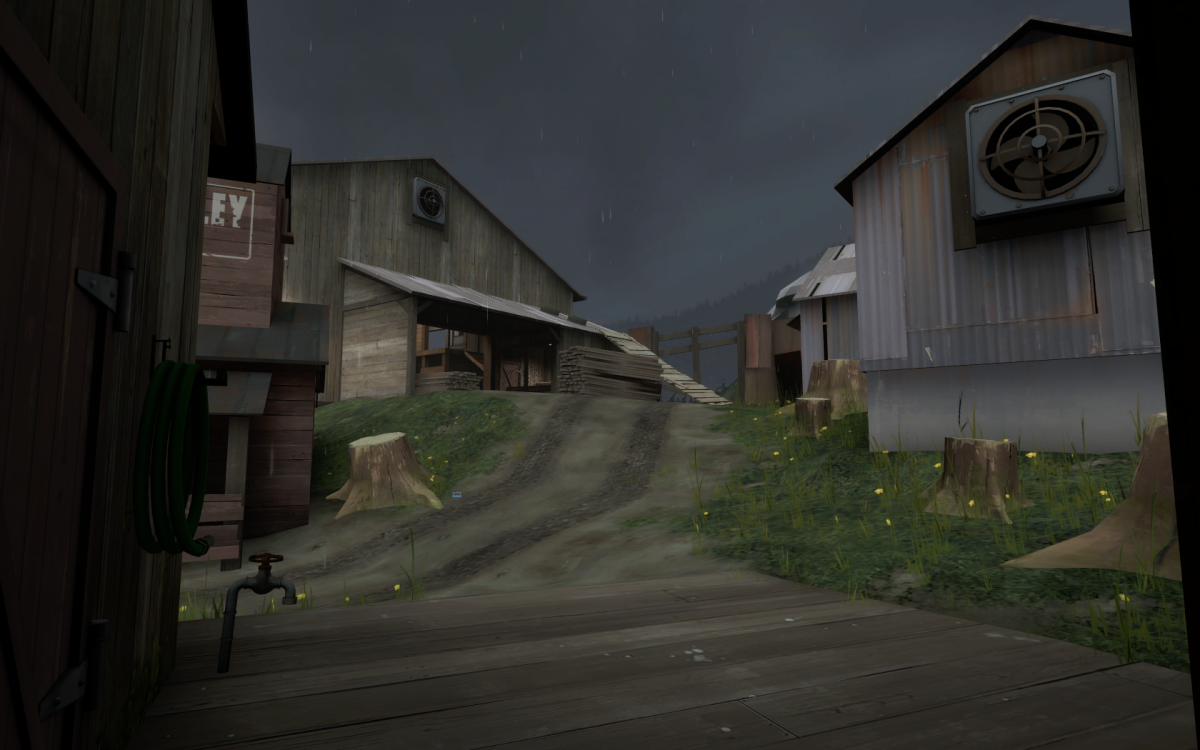
TF2 Maps
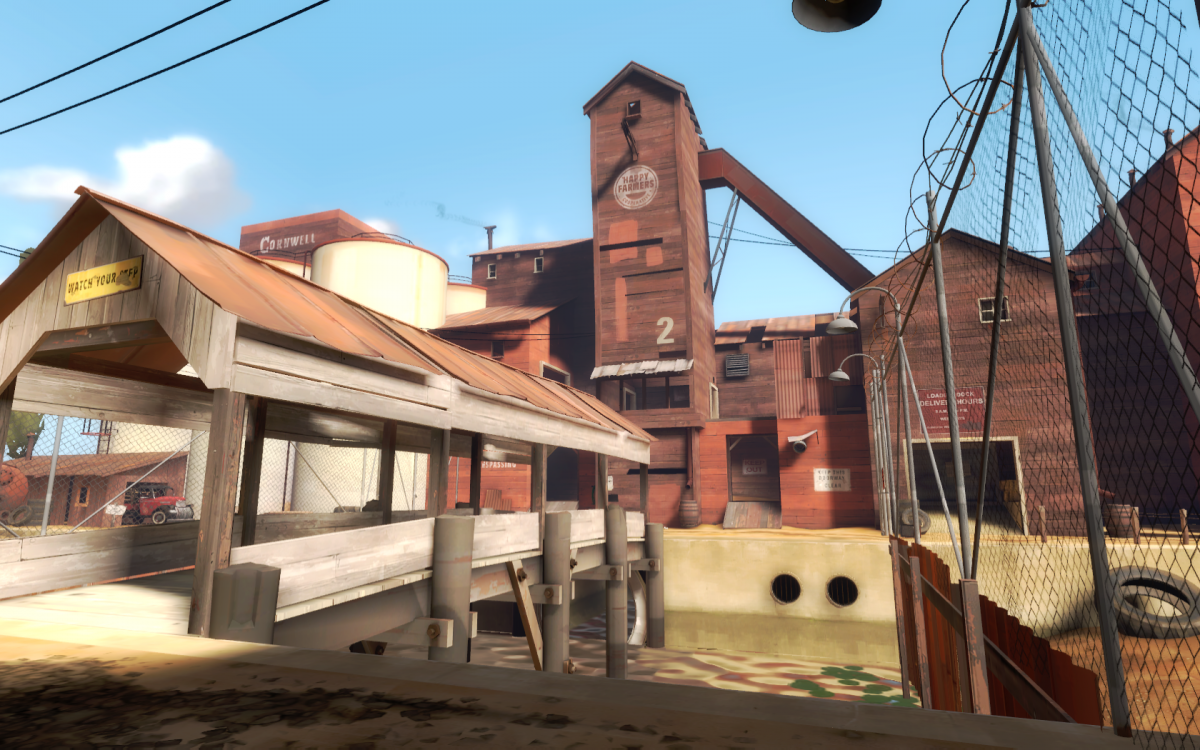
A few examples of TF2 maps with unique visual styles.

koth_viaduct

pl_crazy_petes_bog

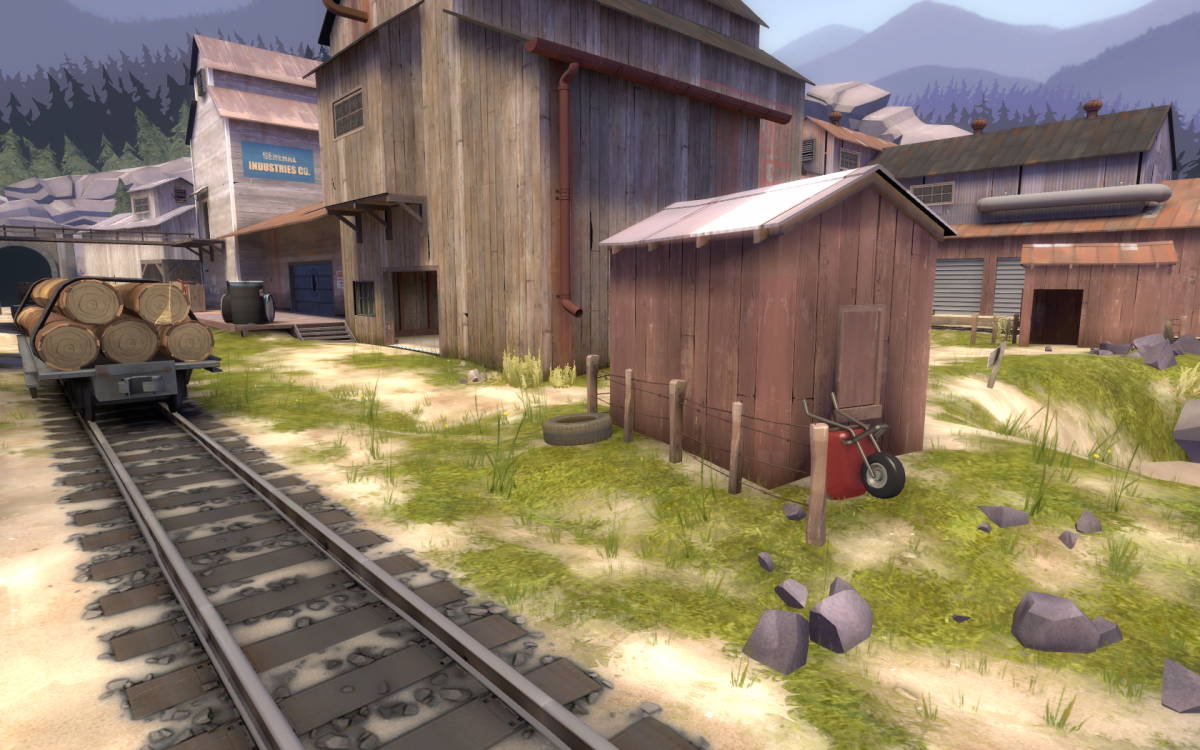
arena_lumberyard

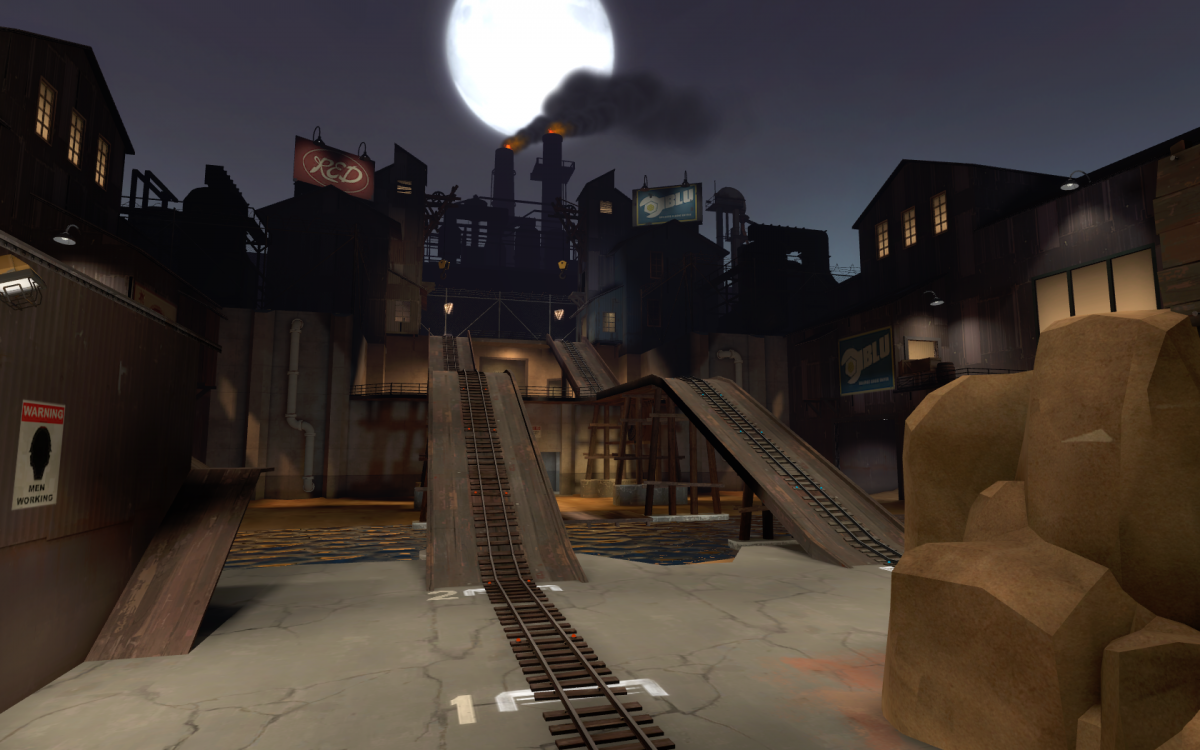
plr_pipeline

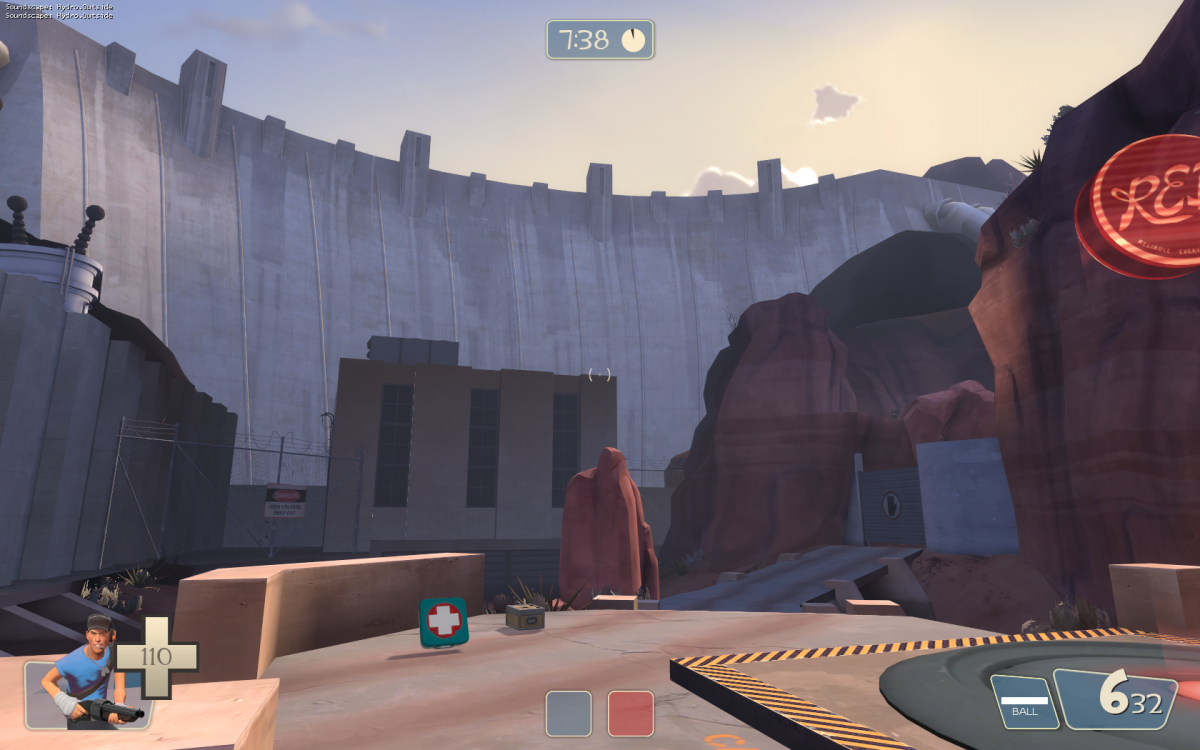
tc_hydro

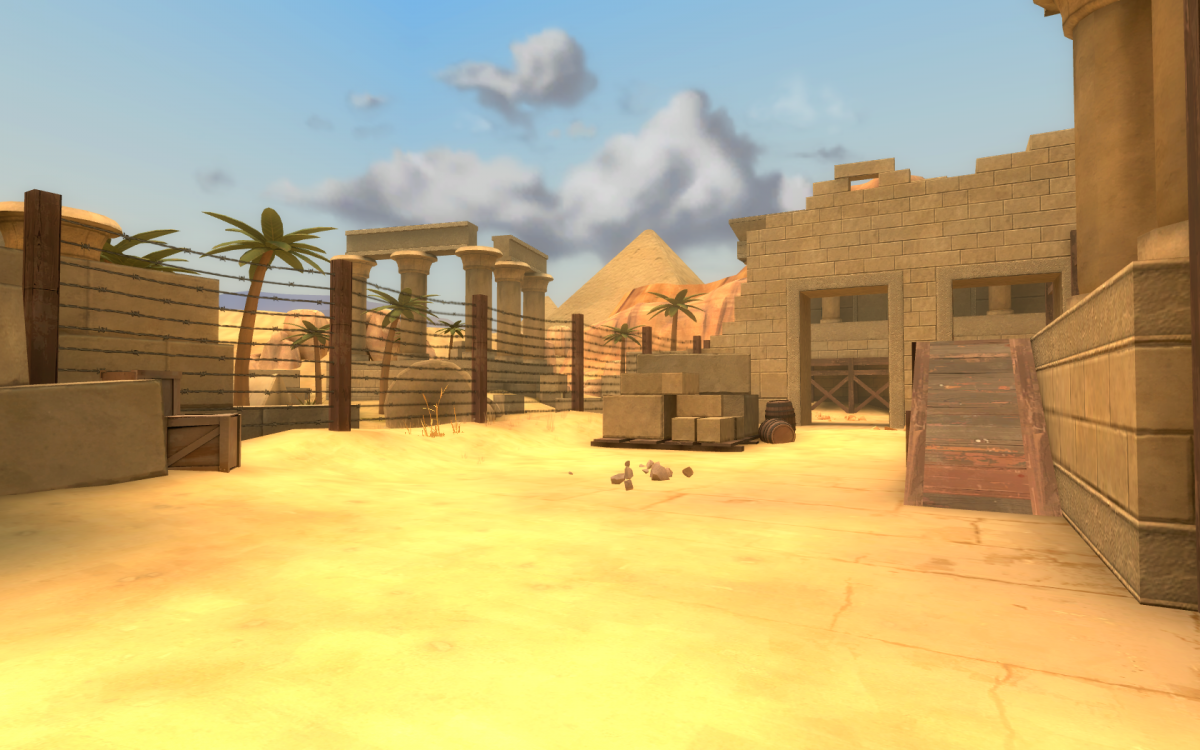
cp_egypt_final

cp_coldfont

ctf_2fort

koth_harvest

cp_degrootkeep

pl_outback_rc4

cp_manor_event

ctf_sawmill