- Export files using the SC2 Archive Browser. Models are in M3 format, textures are in DDS format.
- Make sure to add your SC2 texture directory to 3DS Max by going to Customize > Configure User Paths prior to importing models.
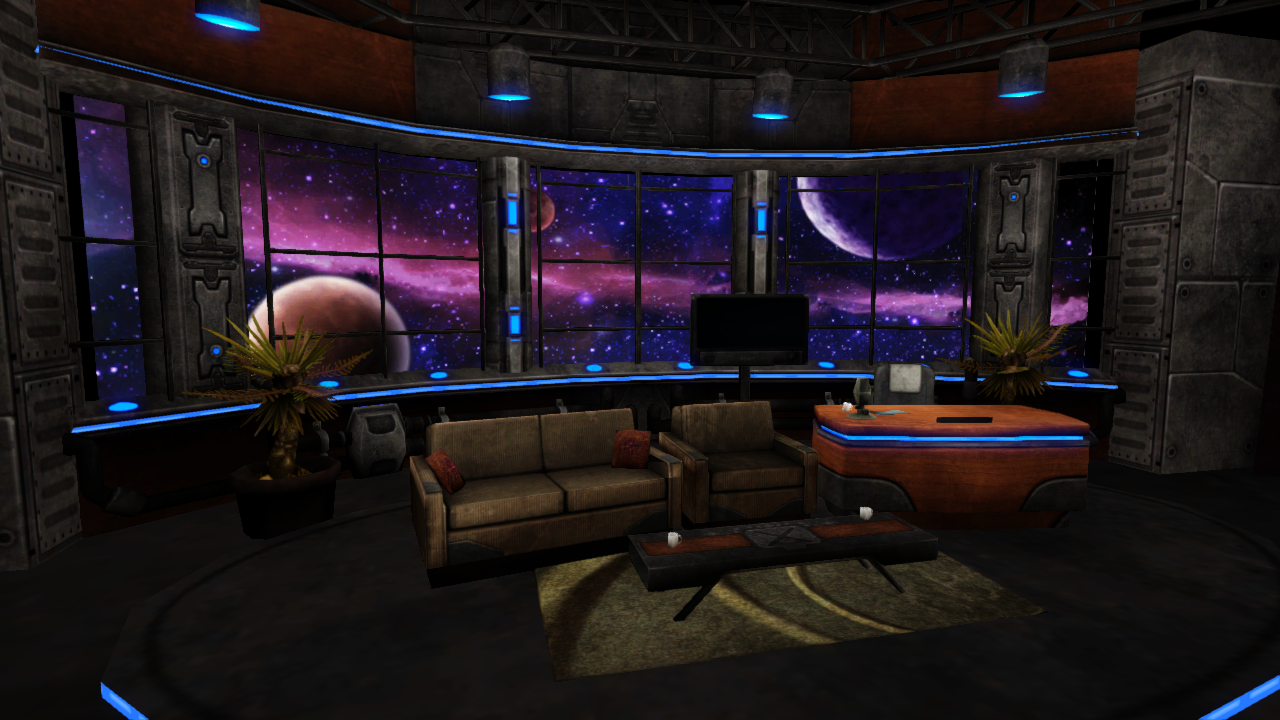
- Most of the background environments can be found in StoryModeSets > Terran.
- Make sure to add your SC2 texture directory to 3DS Max by going to Customize > Configure User Paths prior to importing models.
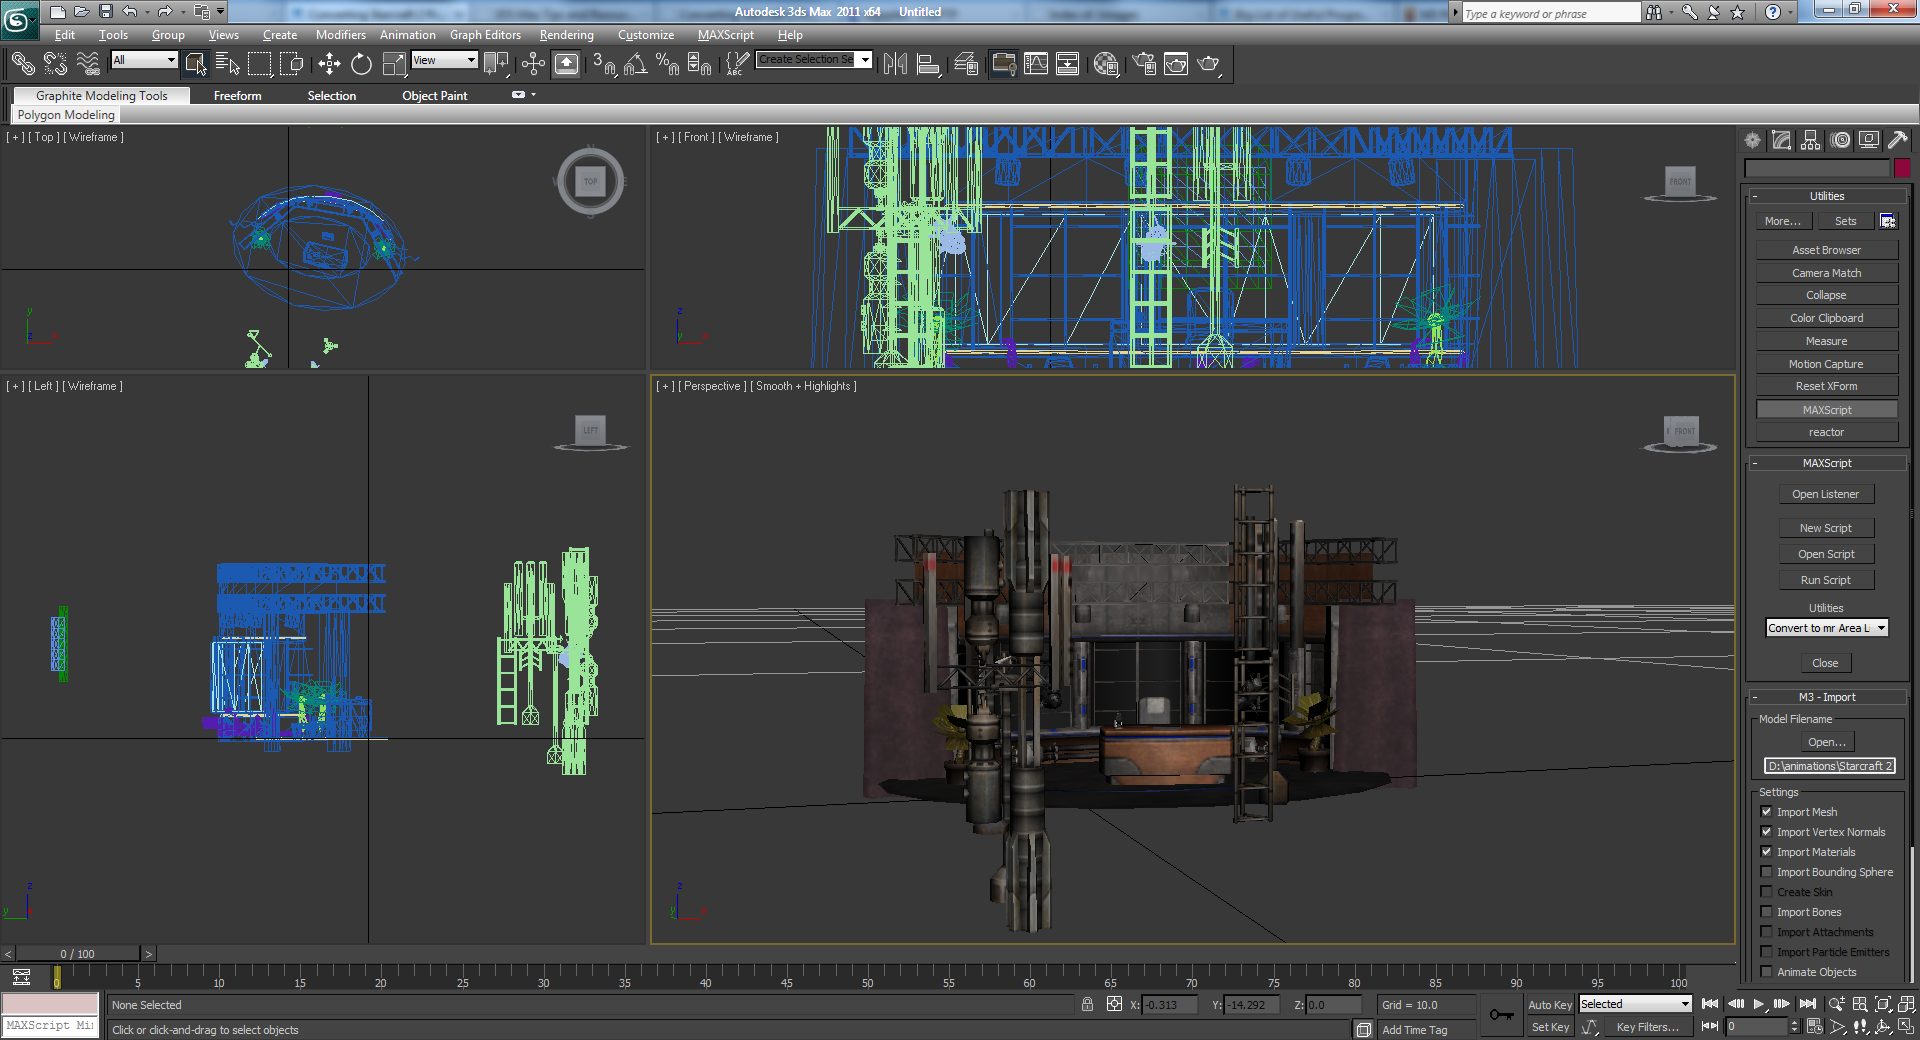
- Import the M3 model files into 3DS Max using m3_import_v0.31_lagspike.ms, which is a slightly modified version of this plugin. [Pic] Make sure sc2_objects.ms is in your 3DS Max plugins folder prior to this.
- Some scenes will have multiple M3 files (name_00.m3, name_01.m3, etc). They can take up to 3 minutes to import.
- If you are importing multiple m3 files of the same name, you will need to rename the meshes after everything is imported (Tools > Rename Objects). [Pic]
- Select everything and scale by 250%.
- Clear the extra UV channels.
- Some models have emissive textures and will need a second UV channel.
- Export all the meshes in ASE format to a new directory.
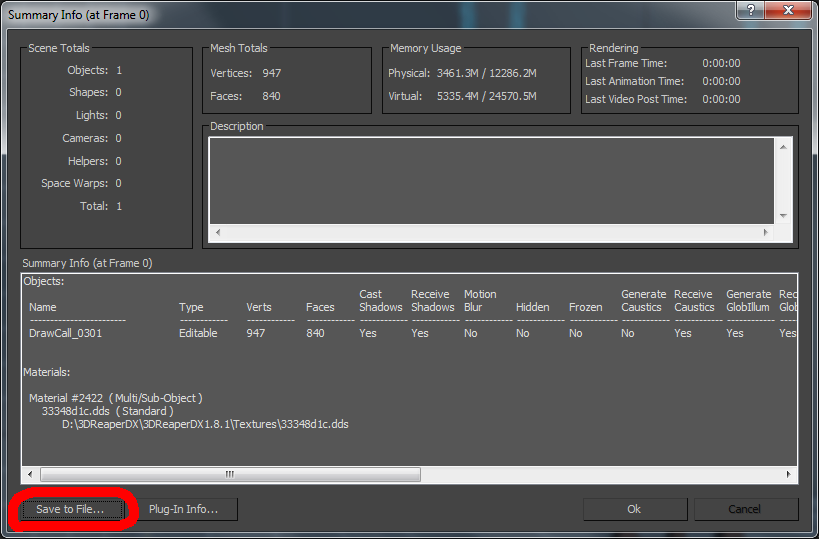
- Export the Summary Info file in 3DS Max (File > Properties > Summary info. Press the “Save to File” button). Save as summary_info.txt to the new directory.
- Copy the toolbox folder to the new directory.
- Optional: Run copy_m3_textures.bat to copy *all* textures (normal, light map, etc).
- Run convert_sc2_models_to_udk.bat.
- Import the textures into UDK.
- Save the package.
- Import the ASE files into UDK.
- Save the package.
- Import t3doutput.t3d into UDK.
- Alpha materials will have to be manually fixed in UDK.
![[Pic]](https://www.lagspike.com/images/m3_import_settings.png)
![[Pic]](https://www.lagspike.com/images/max_rename_objects.png)
Helpful Links
SC2 Model Previews
This tutorial has been updated 1/28/16.