Creating custom skins for WoW models is a lot easier than you may think. The whole process just involves editing textures.
- Locate and export the textures you wish to edit.
– When you export models using WoW Model Viewer, it will include the textures.
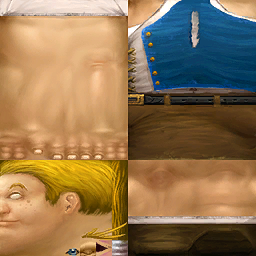
- Open the texture in Photoshop (or any other image editor). Edit the image to your liking.
- Save the finished texture.
– It is recommended you save in either PNG or TGA format.
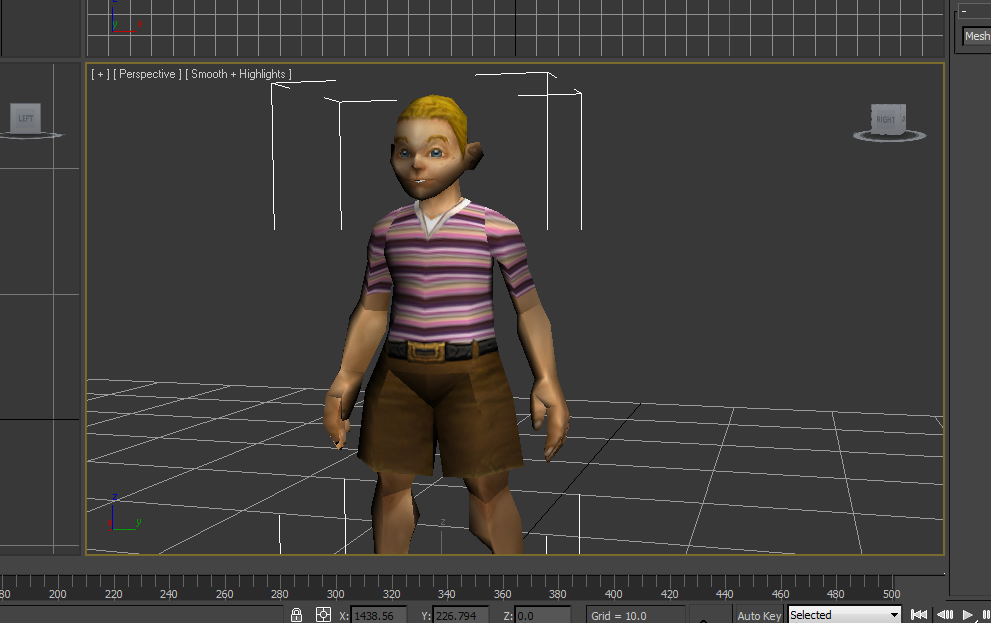
– You can use 3D Studio Max (or another 3D program) to preview the results.
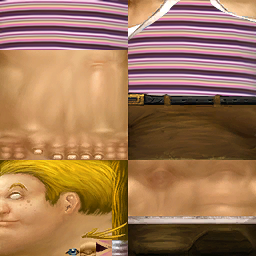
Smoothing textures
By using a few Photoshop filters, you can give custom textures a more cartoonish look. This method is copied from this tutorial.
- Open the texture in Photoshop.
- Apply Blur > Smart Blur. Try the values I used, Radius 10 and Threshold of 30.
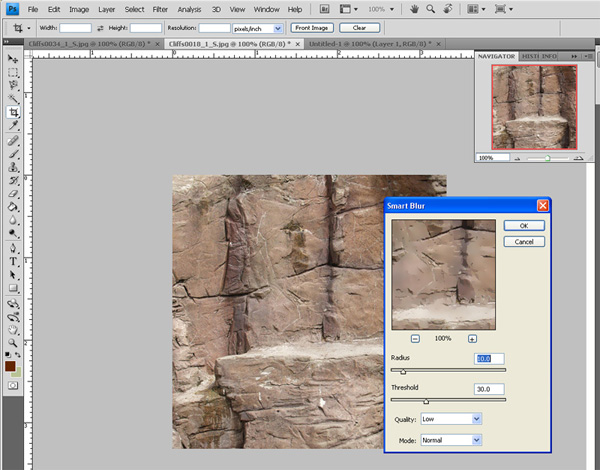
- Apply Stylize > Diffuse. Make sure it is set to Anisotropic. This will give you a nice brush stroke effect.

When you are happy with the result, play with Levels or Brightness/Contrast to tweak the color value of the texture. Your end result should be something like this.

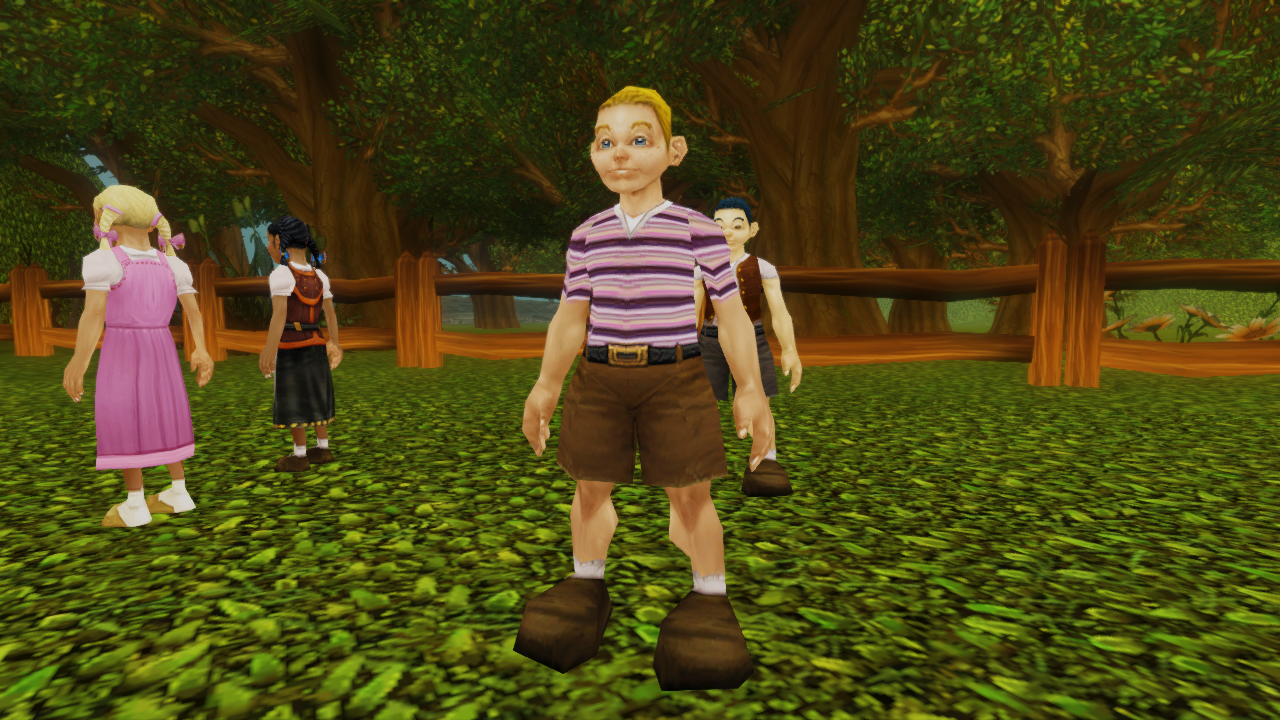
once the image file has been edited how the heck do you add it to the original file to apply the changes to the working model?