FaceFX is a program included with the UDK which is primarily used to lipsync face animations. It is similar in functionality to Valve’s Faceposer. This tutorial assumes you have already created the needed assets.
Creating a face animation with FaceFX
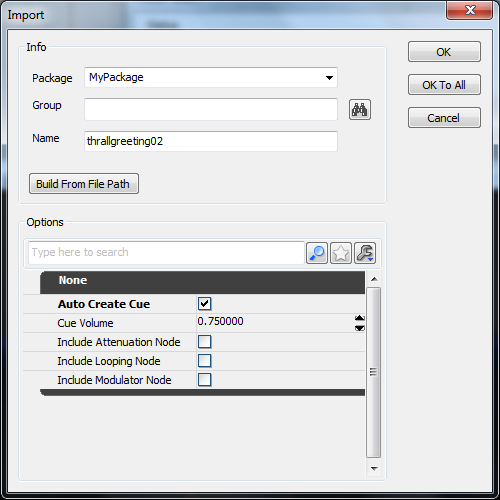
1) Import a sound file into the UDK, select the “Auto Create Cue” option.
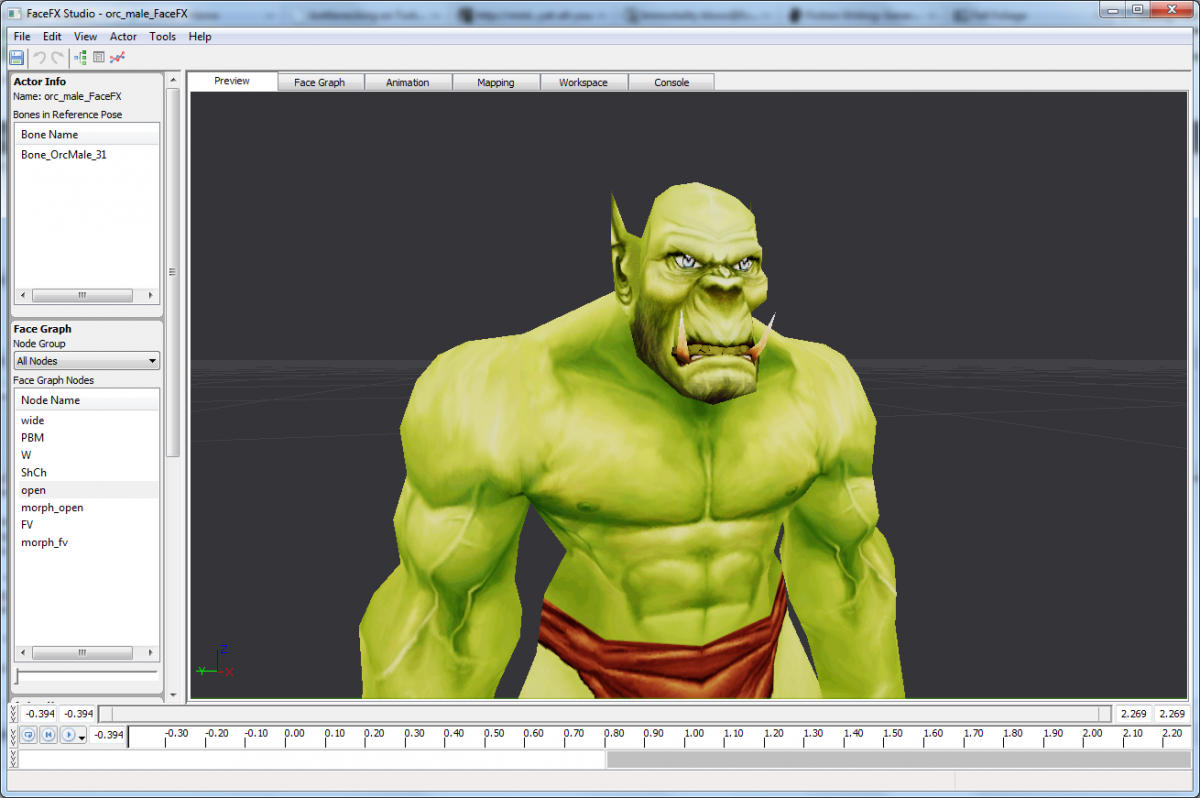
2) Open the FaceFX asset for the character.
3) While leaving the FaceFX window open, select the newly created sound cue in the general browser.

4) In FaceFX, Go to Actor > Animation Manager. Click “Create Animation”.
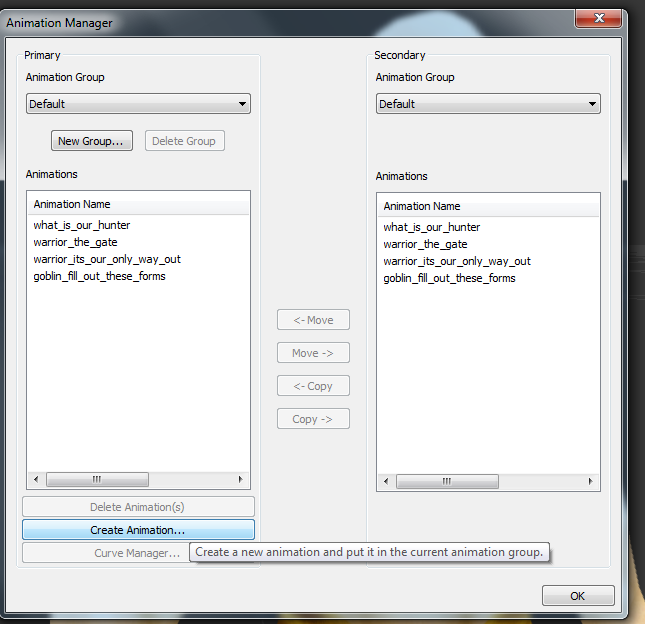
5) After several confirmation screens, you will be prompted to enter the words of the sound file.
Tips
– Double-click any of the tabs to undock them from the main FaceFX Studio. Right-click and select close to restore.
– Hit “sync current mapping” under the mapping tab to refresh the head movements.
– To manually edit the curve keyframes, right-click on the curve name and go to “Curve Properties”. Unselect “Owned by Analysis”.
– To extend the animation length, select the ending SIL phoneme and drag the ending to the right. You will need to close then reopen the animation for changed to take effect.
– Materials can be used with FaceFX characters.
One thought on “FaceFX Tutorial”