Faceposer is a choreography tool used for both facial and body animations. It is available in the SDK for all Valve games. Despite what you may have heard, Faceposer works fine on all versions of Windows, including Windows 7 and Vista.
Creating the VCD file
- Open Faceposer. Go to File > Load Model (This example uses player/demo.mdl).

- Go to Choreography > New. You will be prompted to save the file.
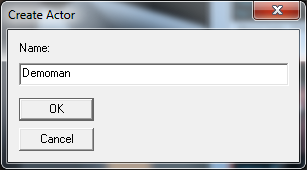
– Make sure you are saving to the scenes directory of your game (example: Steam\steamapps\account name\team fortress 2\tf\scenes). If there is no scenes directory, just create it. - After saving you will be prompted to enter an actor name, for this example I’ll use “Demoman”.
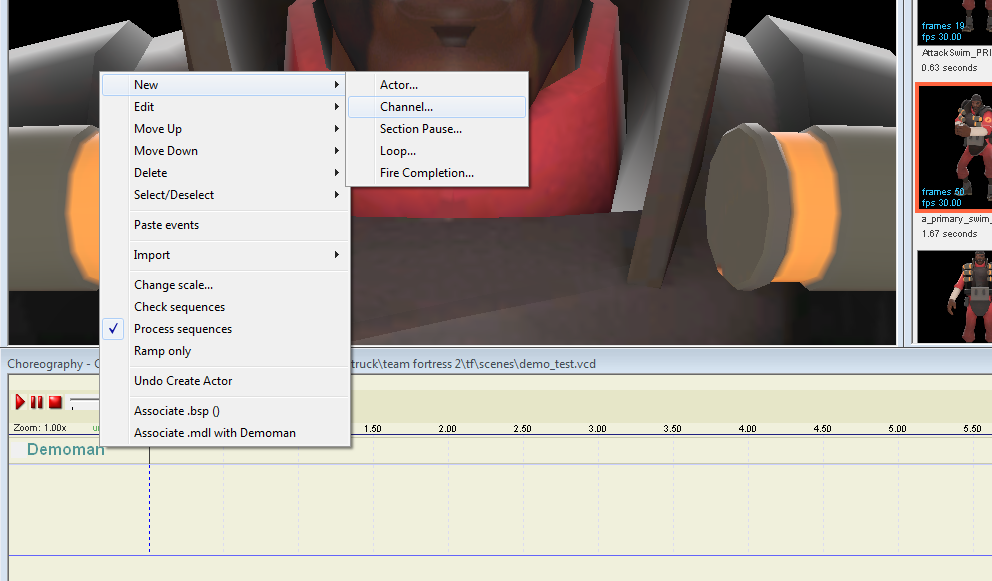
- Right-click on the Actor name and go to New > Channel. The name of this is just for your own reference, we’ll call it “Voice”.
Using the Phoneme Editor on a .wav file
- Double click the “Phoneme Editor” tab at the bottom of the screen. Click the load button.
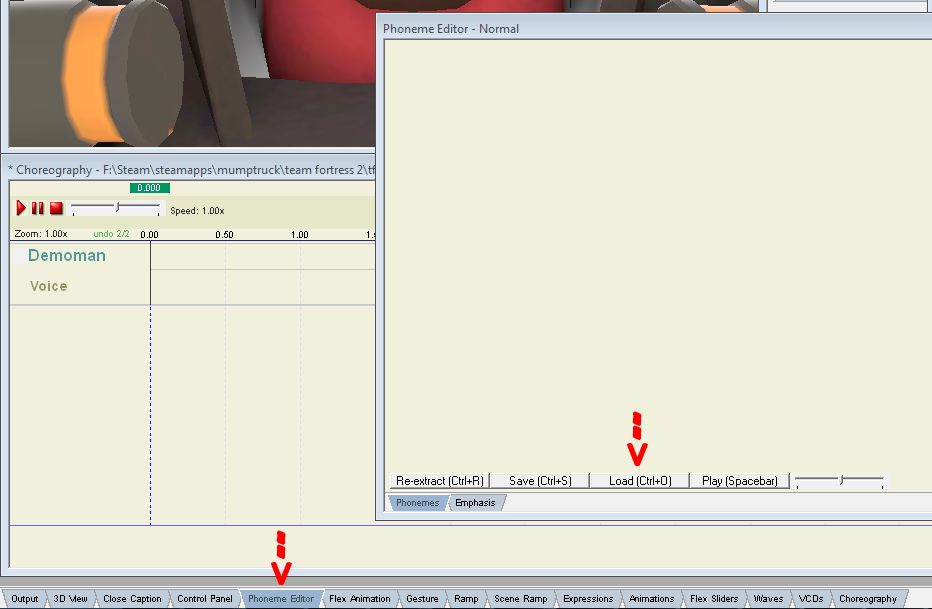
– The file you are loading should be in .wav format and located in the sound directory of your game. [Pic]
– The TF2 sound directory is Steam\steamapps\account name\team fortress 2\tf\sound
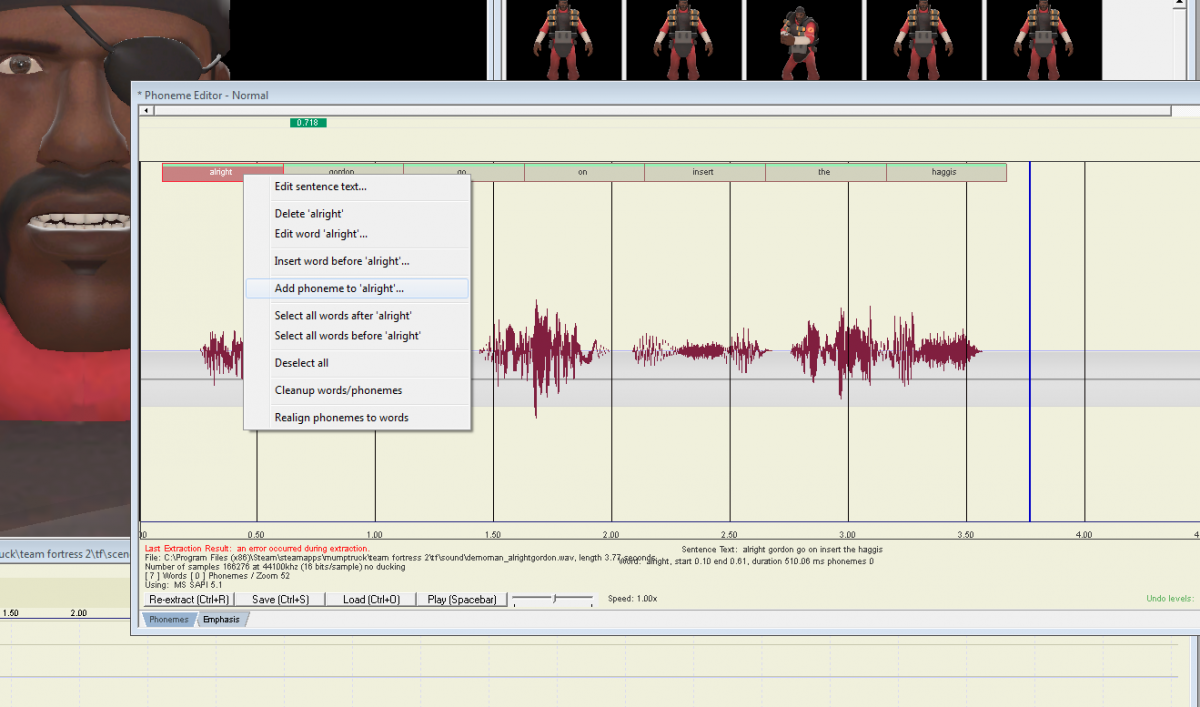
– The sound file used in this example can be downloaded here. - Click the Re-extract button and transcribe the wav file.
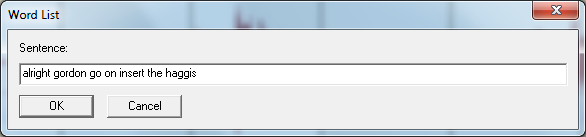
– Note: This is where many people claim to have issues. You will probably see an error that says “Last Extraction Result: an error occurred during extraction”. This just means you will have to manually enter the phonemes (which is more accurate anyway). I’ve made a tool for this very purpose, you can find it here. - Right click the words and select “Add phoneme me to <word>”. Copy and paste the output from the phoneme tool. Repeat for all the words.
- You will now need to adjust the words slightly so they match up with the voice. Hold CTRL when mousing over the line between words. Left-click to adjust the duration.
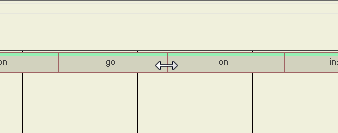
– You can preview with the play button. Press Save when finished.
![[Pic]](https://www.lagspike.com/images/faceposer5.png)
Adding the .wav file to the scene
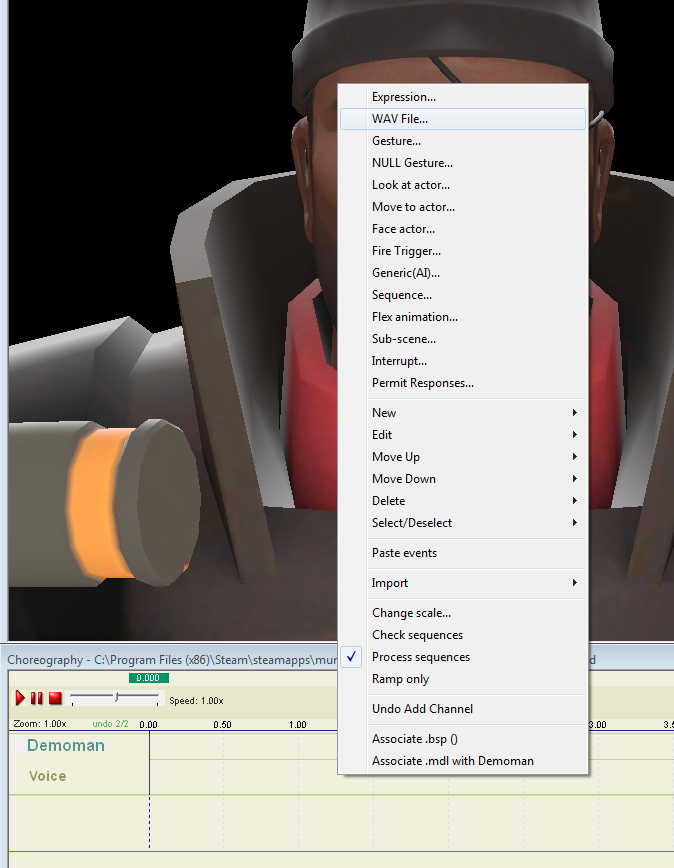
Go back to the main Faceposer window.
1) Right click the channel name select WAV File.
2) You will be prompted to enter the audio info. The “Name” field is just for your own reference. For “Sound” enter the wav file name. Press Ok.
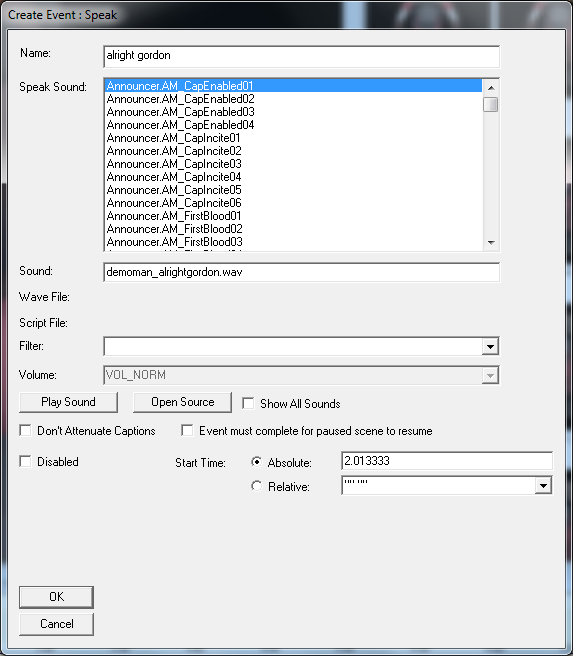
You can now preview the result using the play button.
Adding Animations (Optional)
- Use the animations window to find the animation you wish to use.
- Click and drag the animation onto the timeline.
Testing the VCD in game
- When you are done creating the VCD, go to Choreography > Save. Then do File > Rebuild scenes.image.
- Launch TF2. Set sv_cheats to 1 and spawn a bot using the console command “bot -team red -class soldier -name John”.
- While aiming at the bot, type the following in the console “tf_testvcd scenes/filename.vcd” (replace filename with the name of the VCD file).
– You may need to switch the bots weapon (bot_selectweaponslot 2) for custom animations to display properly.
Adding TF2 Player Models to Garry’s Mod Faceposer
If you wish to open the TF2 characters with the the Garry’s Mod Faceposer, it’s as easy as copying a few files.
- Open “team fortress 2 materials.gcf”, located in Steam\steamapps.
- Copy the root\tf\models\player directory to Steam\steamapps\accountnamegarrysmod\garrysmod\models
- Copy the root\tf\materials\models\player directory to Steam\steamapps\accountname\garrysmod\garrysmod\materials\models
Problems and Fixes
- Faceposer crashes while trying to position a word in the phoneme editor.
– This will happen if there are words with no phonemes. Enter a phoneme for every word before adjusting their position. - The control buttons (play, pause, stop) are missing.
– This is a bug which you can find a fix for here.
Links
Missing Faceposer Buttons
Valve Phoneme Tool
More info on scene choreography
Another Faceposer Tutorial
One thought on “Faceposer Tutorial”