Rayfire is a 3DS Max plugin that is used primarily to simulate environment destruction. This is a brief overview to get you understanding the basics.
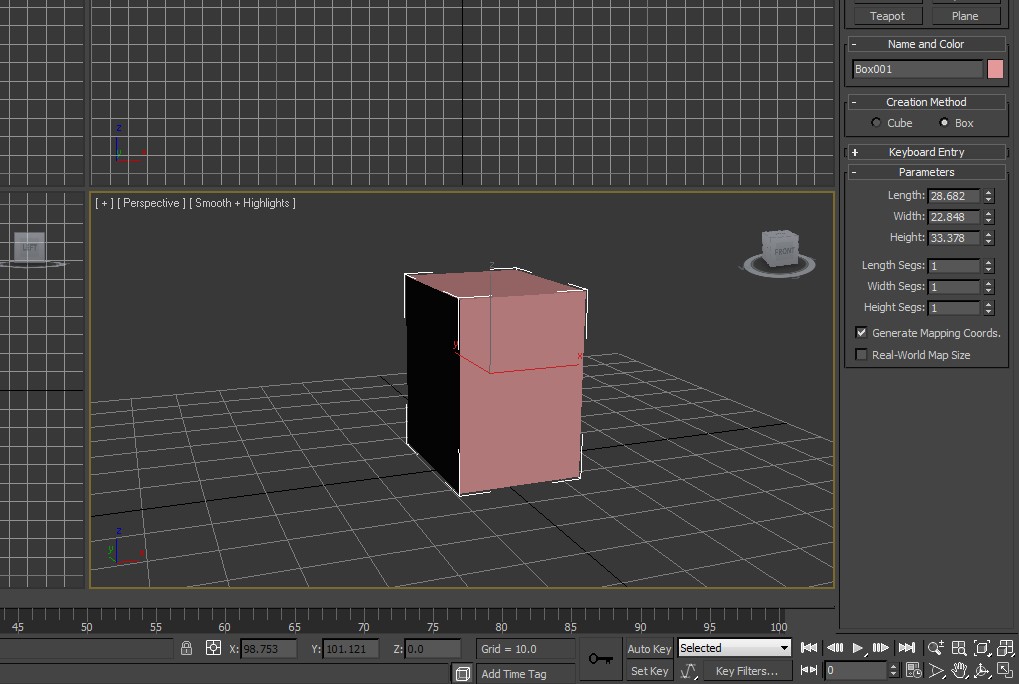
We’ll start with a basic mesh, for this example I made a box.
You should have a hotkey set to bring up the Rayfire window (I use CTRL+F5).
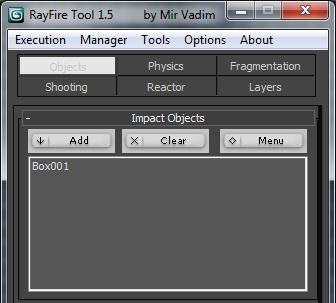
Under the objects tab you’ll set a section called “Impact Objects”, click the Add button with the box mesh selected.
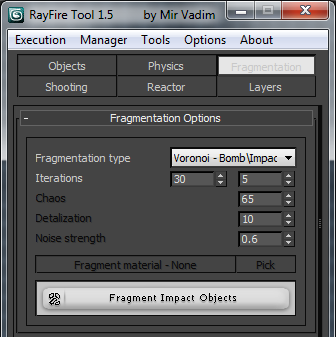
Now switch to the Fragmentation tab. Click the “Fragment Impact Objects” button. This will break the mesh up into pieces.
For most animations you’ll want to make a ground plane, or else the objects will just fall forever.
We’ll do that now. Add a plane to your 3DS Max scene.
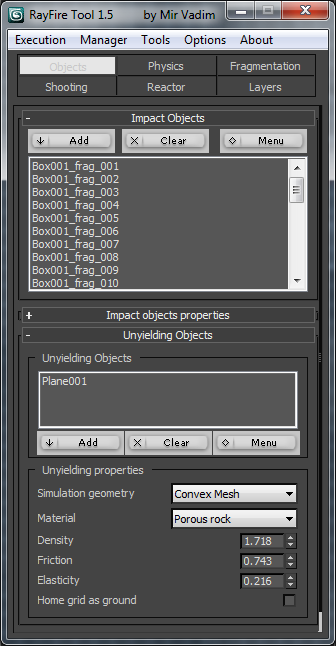
Now switch back to the Objects tab and add the ground plane under “Unyielding Objects”.
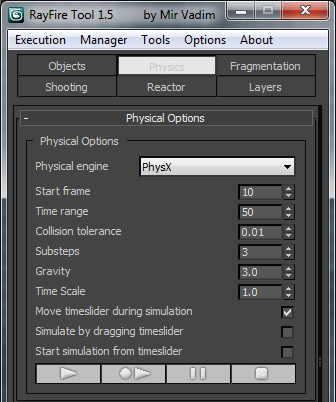
Now go to the Physics tab. This will allow you to preview the animation.
– Take note of the gravity setting. You will need to set it to 0 for certain effects.
Bake the animation when you are satisfied with the preview.
Exporting to the UDK
We will need to create a dummy bone structure to export this in ActorX.
1) Create a box and rename it root.
2) Select all the meshes (except root) and link them to root.
3) Select everything in the scene, then use the following ActorX settings to export the reference mesh. [Pic]
4) Export the animations.
5) In the UDK animation editor, make sure to untick “Anim Rotation Only”.
![[Pic]](https://www.lagspike.com/images/rayfire6.png)
Rayfire Reference
Impact Objects – Gravity is applied to these objects.
Unyielding Objects – These are objects that are not affected by other objects, such as a ground plane.
Inactive Objects – These objects wont move unless struck.
Links
Thread on Rayfire at CGSociety
Youtube Rayfire Tutorial