Umodel is a tool that allows you to extract content from Unreal engine games. You can find a list of supported games here.
How to Extract Content with Umodel
- Copy the packages you wish the extract to the umodel directory.
– Some games will require any TFC files (such as textures.tfc) to be copied too. These contain high resolution textures. - Run the following command from the command prompt: “umodel.exe -export file.upk”
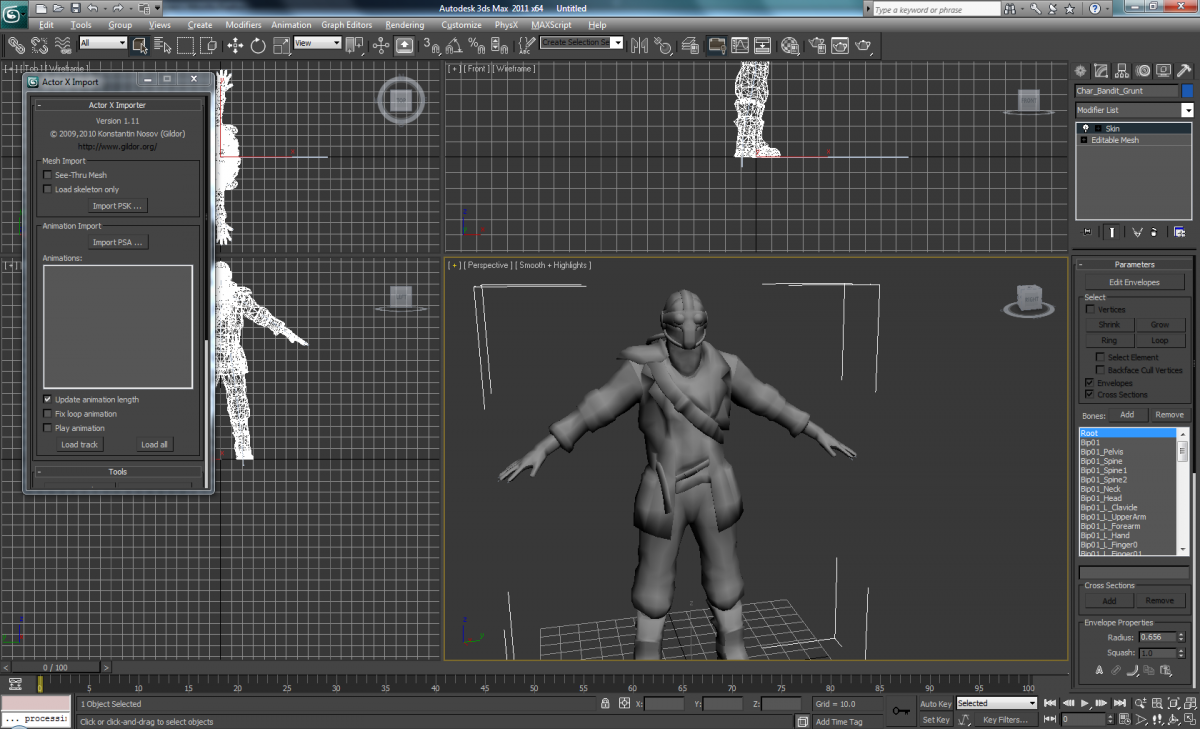
- Open 3D Studio Max and run the script ActorXImporter.ms. Import the PSK file.
Batch Extracting Content
If you wish to extract multiple packages, you can use a batch file to automate this process.
Extracting Bioshock & Bioshock 2 Content
- Copy the “BulkContent” directory to the umodel directory.
- Copy the .bsm file to the umodel directory (ex: 1-Welcome.bsm).
- Run the command “umodel.exe -export 1-Welcome.bsm”.
Converting a single model to UDK
- Import the PSK model into 3DS Max.
- Export as an ASE file to a new directory.
- Copy the toolbox folder to the directory.
- Export the Summary Info file in 3DS Max (File > Properties > Summary info. Press the “Save to File” button). Save to toolbox/summary_info.txt.
- Run convert_umodel_to_udk.bat.
Import the textures into the UDK. Save.
Import the ASE files into the UDK. Save.
Batch Converting to ASE
Umodel now contains a batch exporter that can automate the conversion of models. More info can be found here.
- Select ASE as the export format.
- Select the directory containing the PSK (or PSKX) files.
– The “Smoothing Groups” and “Smooth Mesh Export” options only affect FBX exports.

- Move the ASE files and the textures to the root directory.
- Run convert_umodel_to_udk.bat to fix the ASE files.
Import the textures into the UDK. Save.
Import the ASE files into the UDK. Save.
Example Game Paths and Package Files
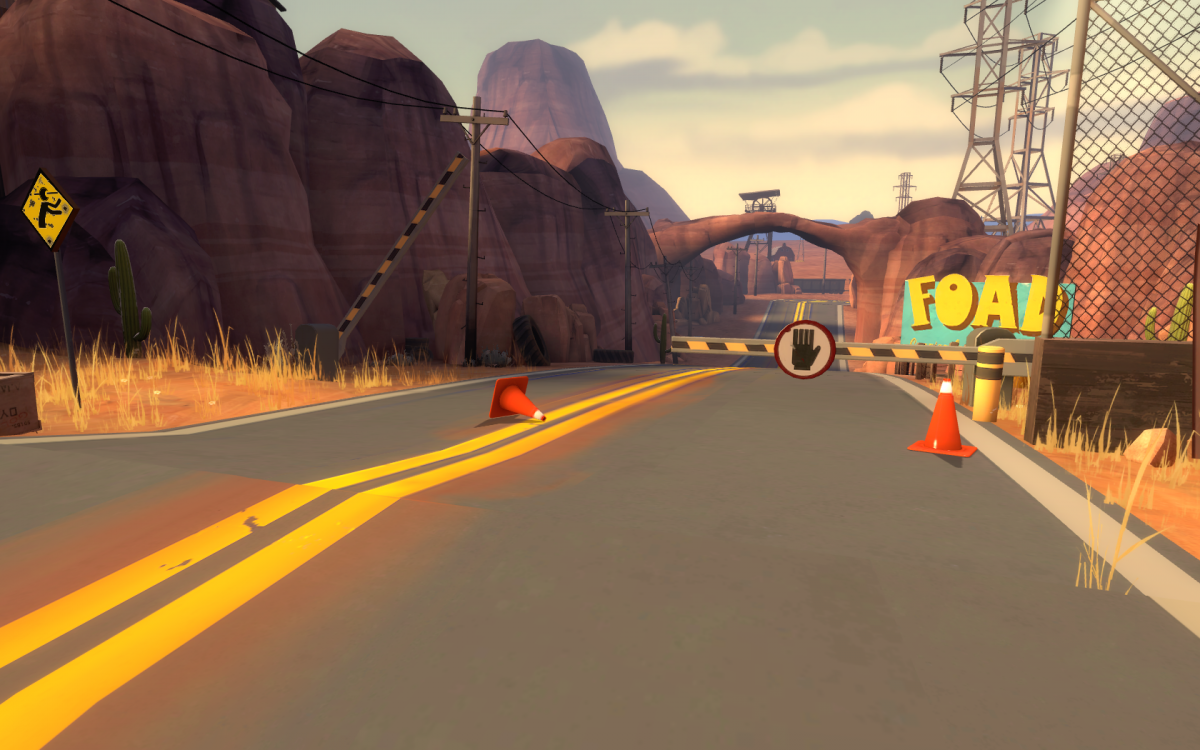
Tron Evolution
H:\more games\Tron Evolution\GridGame\CookedPC
Package files: *.upk, *.umap
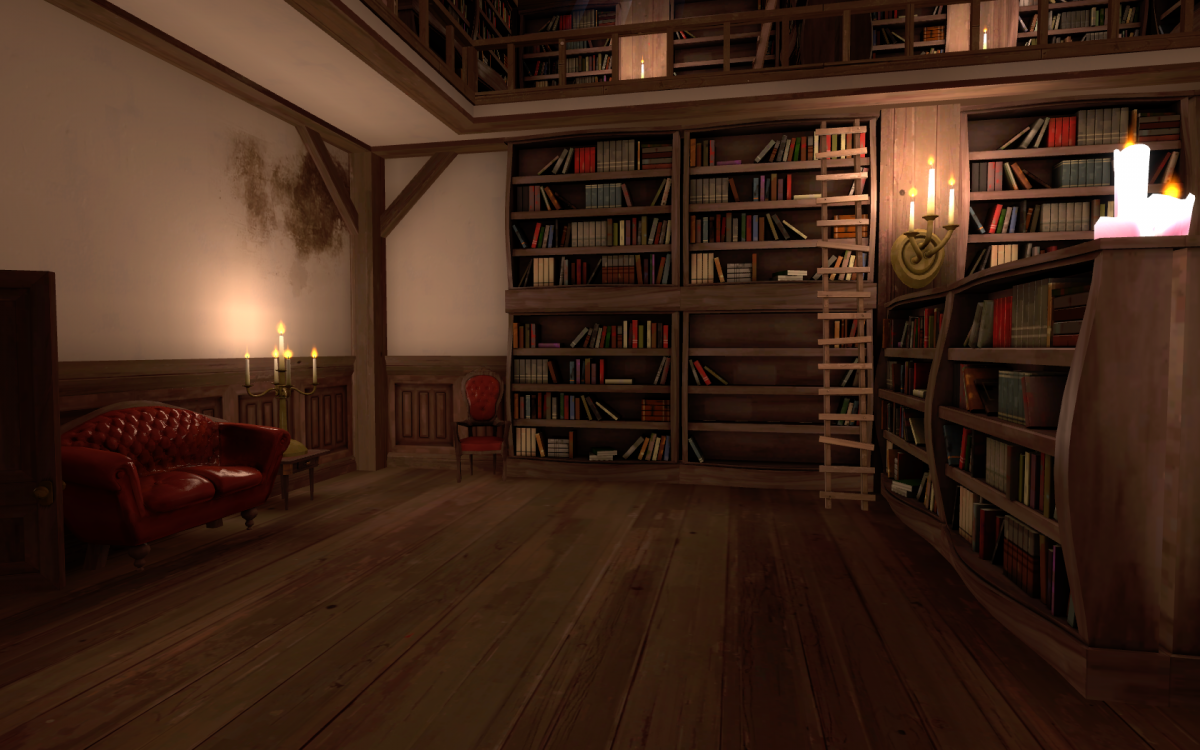
Alice Madness Returns
F:\Steam\steamapps\common\alice madness returns\AliceGame\CookedPC
Package files: *.upk, *.umap
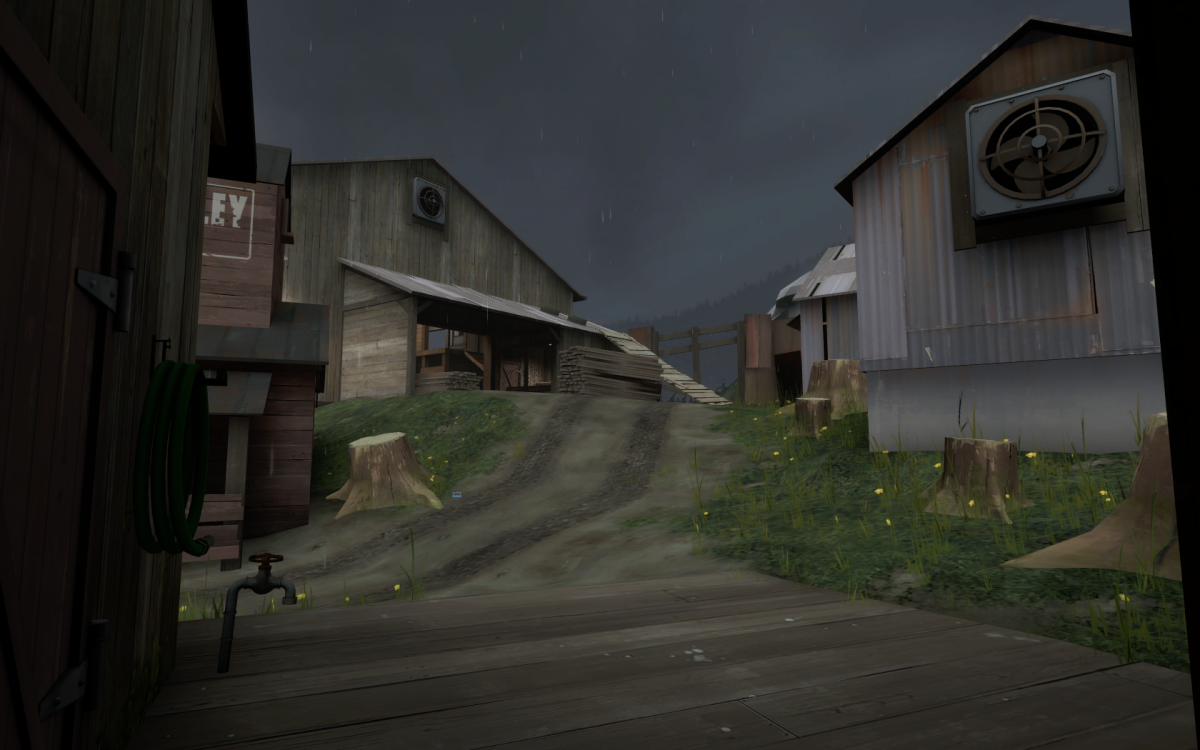
Monday Night Combat
F:\Steam\steamapps\common\monday night combat\HostileGame
Package files: *.upk, *.hmap (rename the hmap files to upk).
Mirror’s Edge
F:\Steam\steamapps\common\mirrors edge\TdGame\CookedPC
Package files: *.me1, *.upk (rename the me1 files to upk).
Problems and Fixes
- Where can I find the game packages?
– Packages are usually located in the CookedPC directory where your game is installed. They may have different extensions (examples: *.hmap *.pcc *.udk *.ukx *.umap *.upk *.usx *.war *.xxx) - I’m getting the error “Too much unknown files – bad root directory?”
– Umodel will stop working if there are too many unknown files in the directory. You can make a new directory to work around this limitation. - Can these models be converted to the Source Engine?
– Yes. Once the model is loaded into 3DS MAX, continue by following the steps in this tutorial. - Can sounds or FaceFX files be exported?
Yes. Sounds can be exported with -sounds and FaceFX can be exported with -3rdparty. You can find all the command line options here.
Tips
– AnimSet, SkeletalMesh, and Texture2D content can be imported directly into the UDK.
– Uncooking will prevent duplicate models from being extracting.
– Bulletstorm materials do not work.
– It is possible to convert maps (and models) from a few Unreal Engine games. See Converting a Mirror’s Edge map to UDK.
Extracting Unreal packages from Xbox games
Some Unreal3 Engine games are for the Xbox 360 only. To extract the packages there are a few options.
Xbox Backup Creator [Download]
wxRipper [Download]
Using Xbox Backup Creator
- Start Xbox Backup Creator.exe.
– If you recieve an “MSCOMCTL.OCX” error, see this page for a fix. - Under the “Image Tools” tab, use the “Image Browser” button.
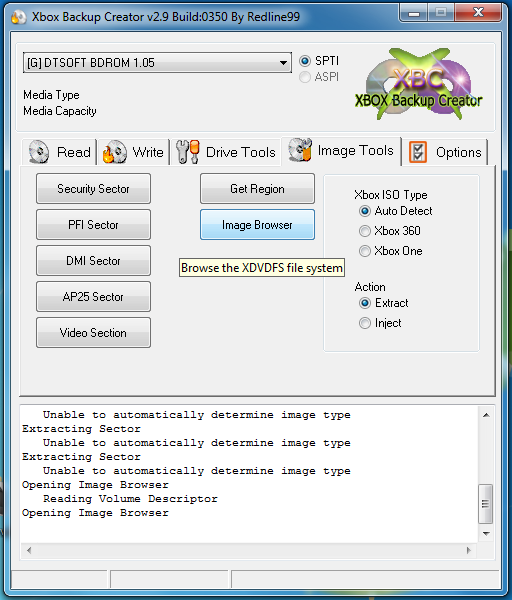
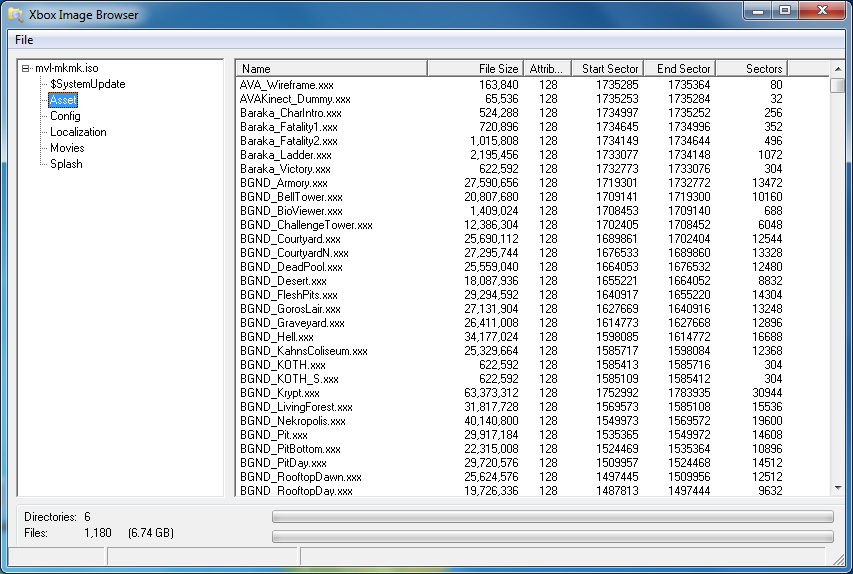
- Select the ISO file. Locate and extract the package files.
 At this point you can follow the Umodel steps above to convert the package files to 3DS Max.
