Noesis Tutorial

Noesis is a tool for extracting game assets from a number of games including Duke Nukem Forever and Star Wars: The Force Unleashed.1) Download and run Noesis.exe.
2) Open the game content and locate the .dat files.

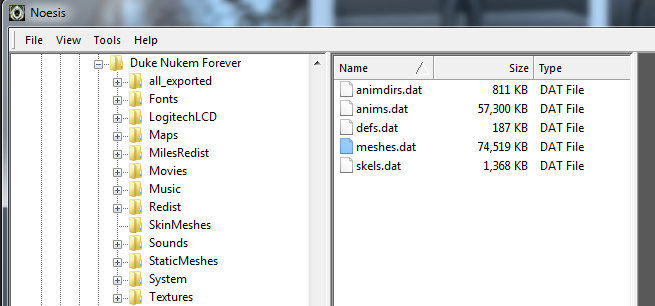
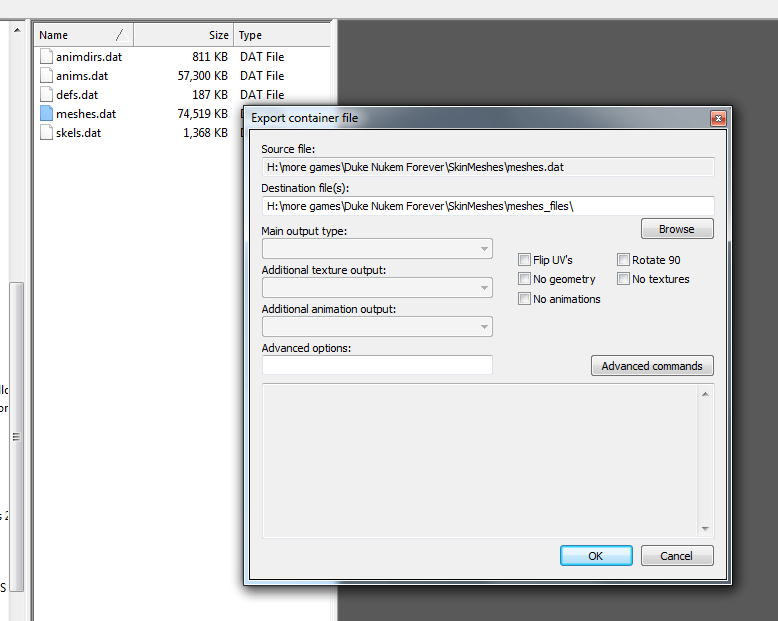
3) Double click on a .dat file and you will be prompted to extract it.

4) After the extract is finished, you can browse and preview the .msh files.
– Note: You may be prompted to select .skl or .def files, you can click cancel to these messages.

5) The model can now be exported to a number of formats (File > Export).
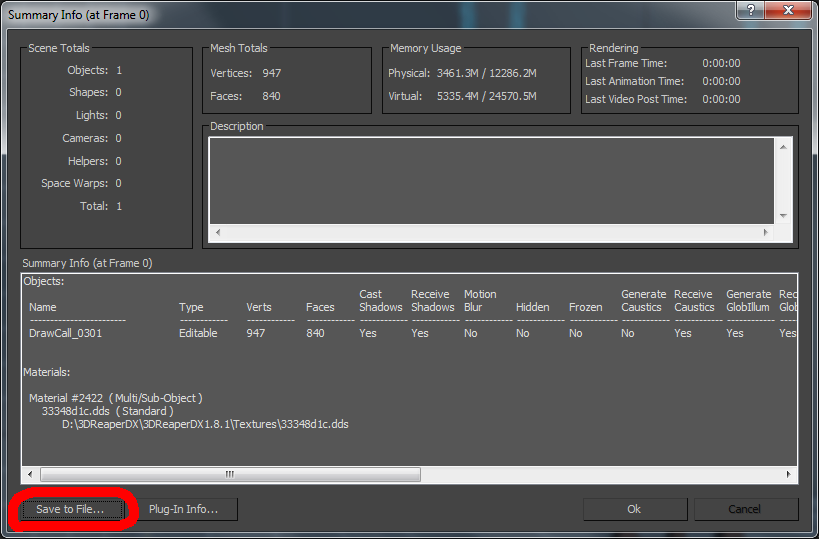
– Most models will not export with textures, you will need to manually find and export them.
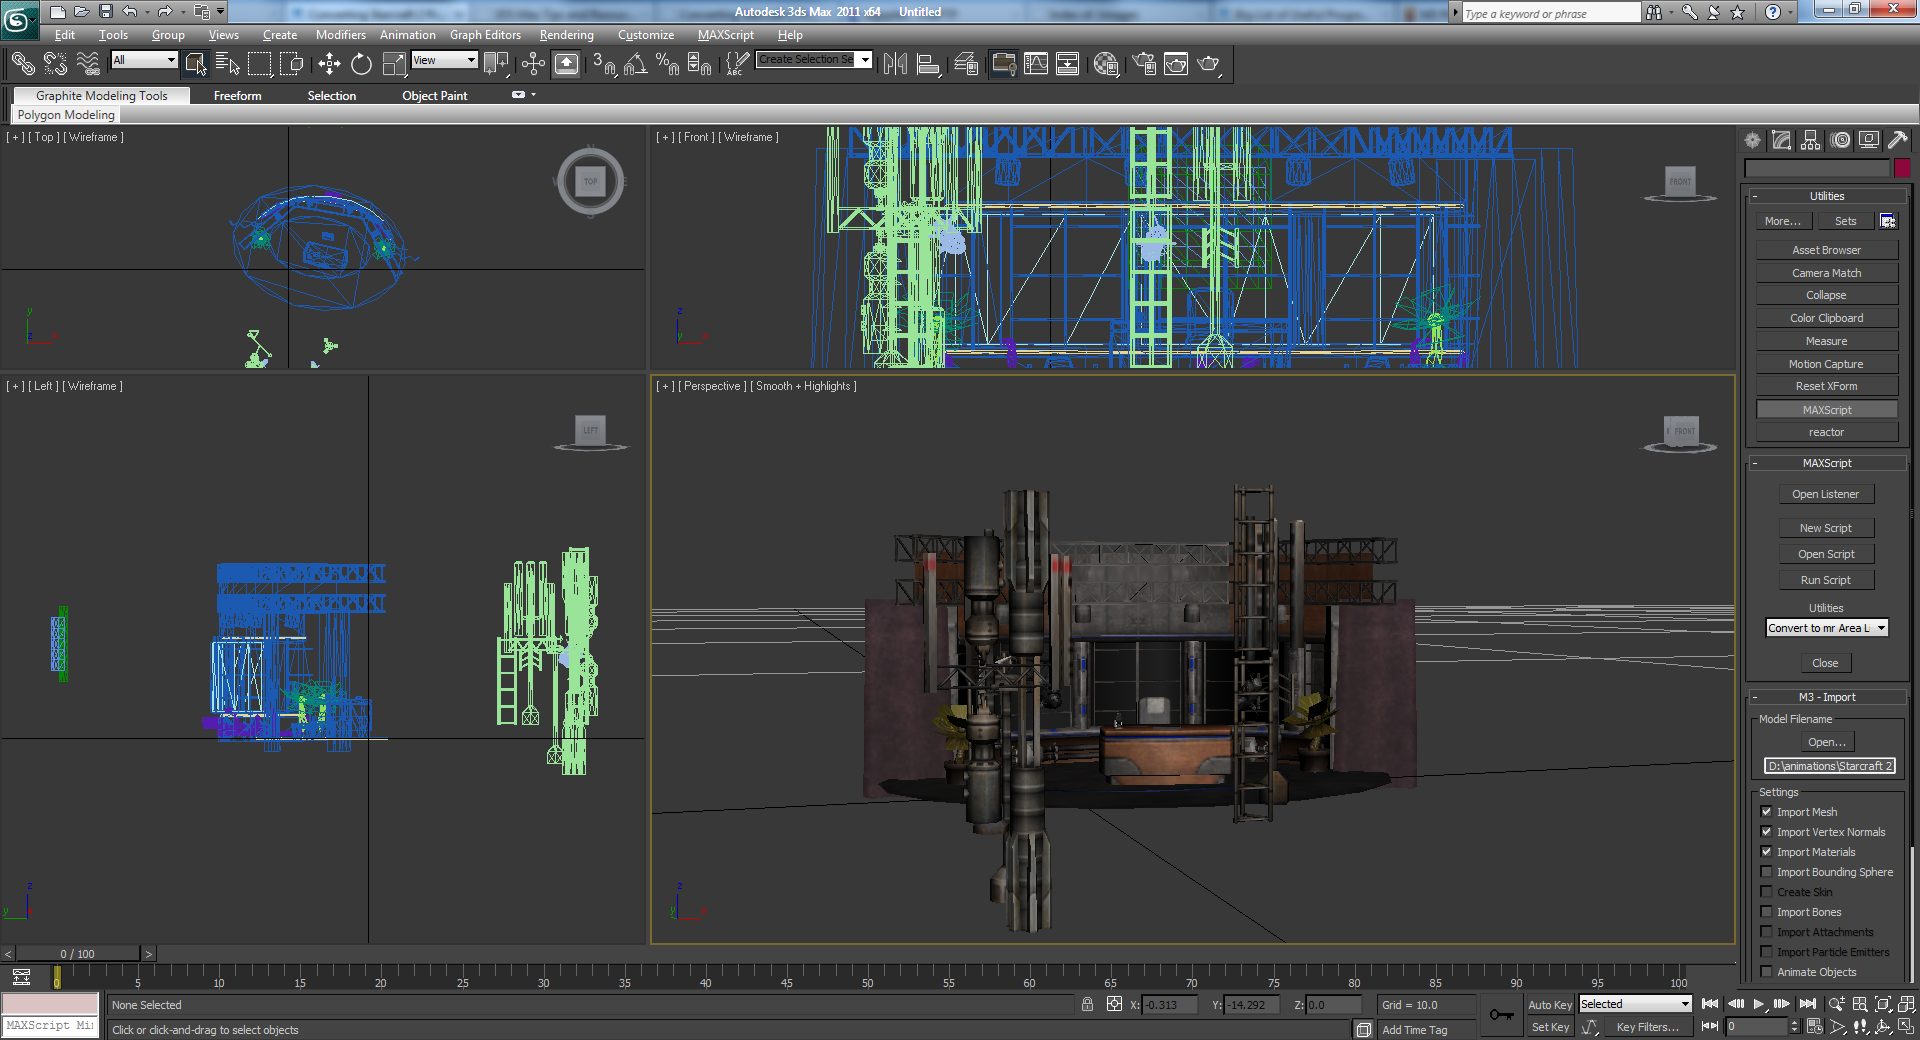
Another Noesis Tutorial

Converting Starcraft 2 Props to UDK

  1. Export files using the SC2 Archive Browser. Models are in M3 format, textures are in DDS format.
    1. Make sure to add your SC2 texture directory to 3DS Max by going to Customize > Configure User Paths prior to importing models.
    2. Most of the background environments can be found in StoryModeSets > Terran.
  2. Import the M3 model files into 3DS Max using m3_import_v0.31_lagspike.ms, which is a slightly modified version of this plugin. [Pic] Make sure sc2_objects.ms is in your 3DS Max plugins folder prior to this.
    1. Some scenes will have multiple M3 files (name_00.m3, name_01.m3, etc). They can take up to 3 minutes to import.
    2. If you are importing multiple m3 files of the same name, you will need to rename the meshes after everything is imported (Tools > Rename Objects). [Pic]
  3. Select everything and scale by 250%.
  4. Clear the extra UV channels.
    1. Some models have emissive textures and will need a second UV channel.
  5. Export all the meshes in ASE format to a new directory.
  6. Export the Summary Info file in 3DS Max (File > Properties > Summary info. Press the “Save to File” button). Save as summary_info.txt to the new directory.
  7. Copy the toolbox folder to the new directory.
    1. Optional: Run copy_m3_textures.bat to copy *all* textures (normal, light map, etc).
  8. Run convert_sc2_models_to_udk.bat.
  9. Import the textures into UDK.
  10. Save the package.
  11. Import the ASE files into UDK.
  12. Save the package.
  13. Import t3doutput.t3d into UDK.
    1. Alpha materials will have to be manually fixed in UDK.

Output Example #1

Helpful Links
SC2 Model Previews

This tutorial has been updated 1/28/16.