Converting a Mirror’s Edge map to UDK

Note: This process is experimental and very buggy. Don’t expect perfect results.

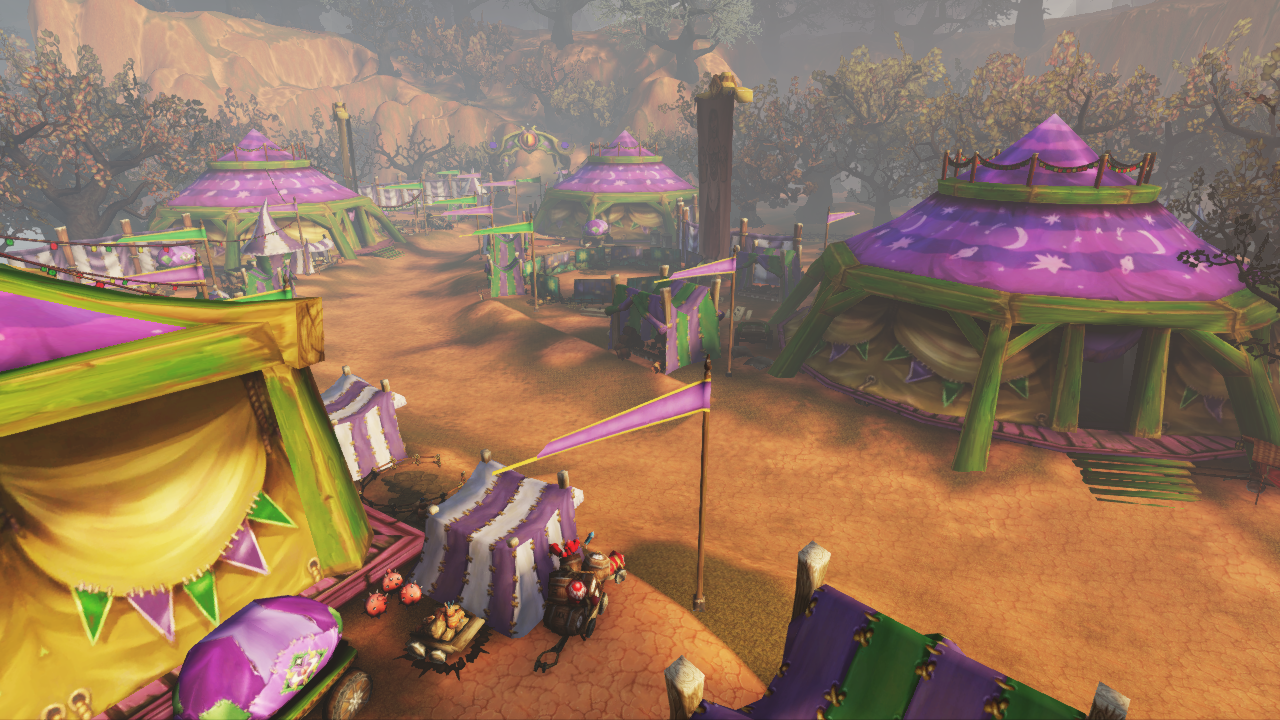
Converting Mirror’s Edge Maps to UDK
Mirror’s Edge is unique from most UE3 games because it allows access to the Unreal editor. While you can’t open the packages in the UDK, you can export the content using Umodel then repackage them.
This method may also work with the following games (all have editor access): Mirror’s Edge, Unreal Tournament 3, Gears of War.

Converting the brush data

  1. Open a map using the editor.
    – Maps are located in: F:\Steam\steamapps\common\mirrors edge\TdGame\CookedPC\Maps and will have a .me1 extension.
  2. Resave the map (File > Save As), then export as a T3D file (File > Export > All) to a new directory.
    – Maps will be saved to C:\Users\username\Documents\EA Games\Mirror’s Edge\TdGame\Unpublished\CookedPC\Maps, but they will crash the editor if you try to open them again.
  3. Copy the toolbox folder to the new directory.
  4. Run convert_t3d_to_udk.bat.
  5. Import the newly created text file (located in t3d_output) into the UDK.
    – This can take up to 10 minutes.

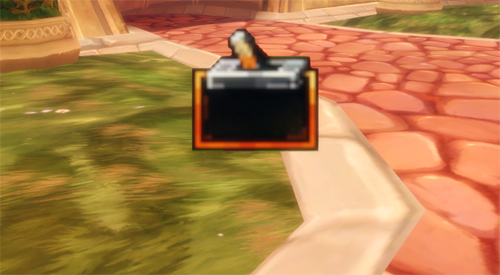
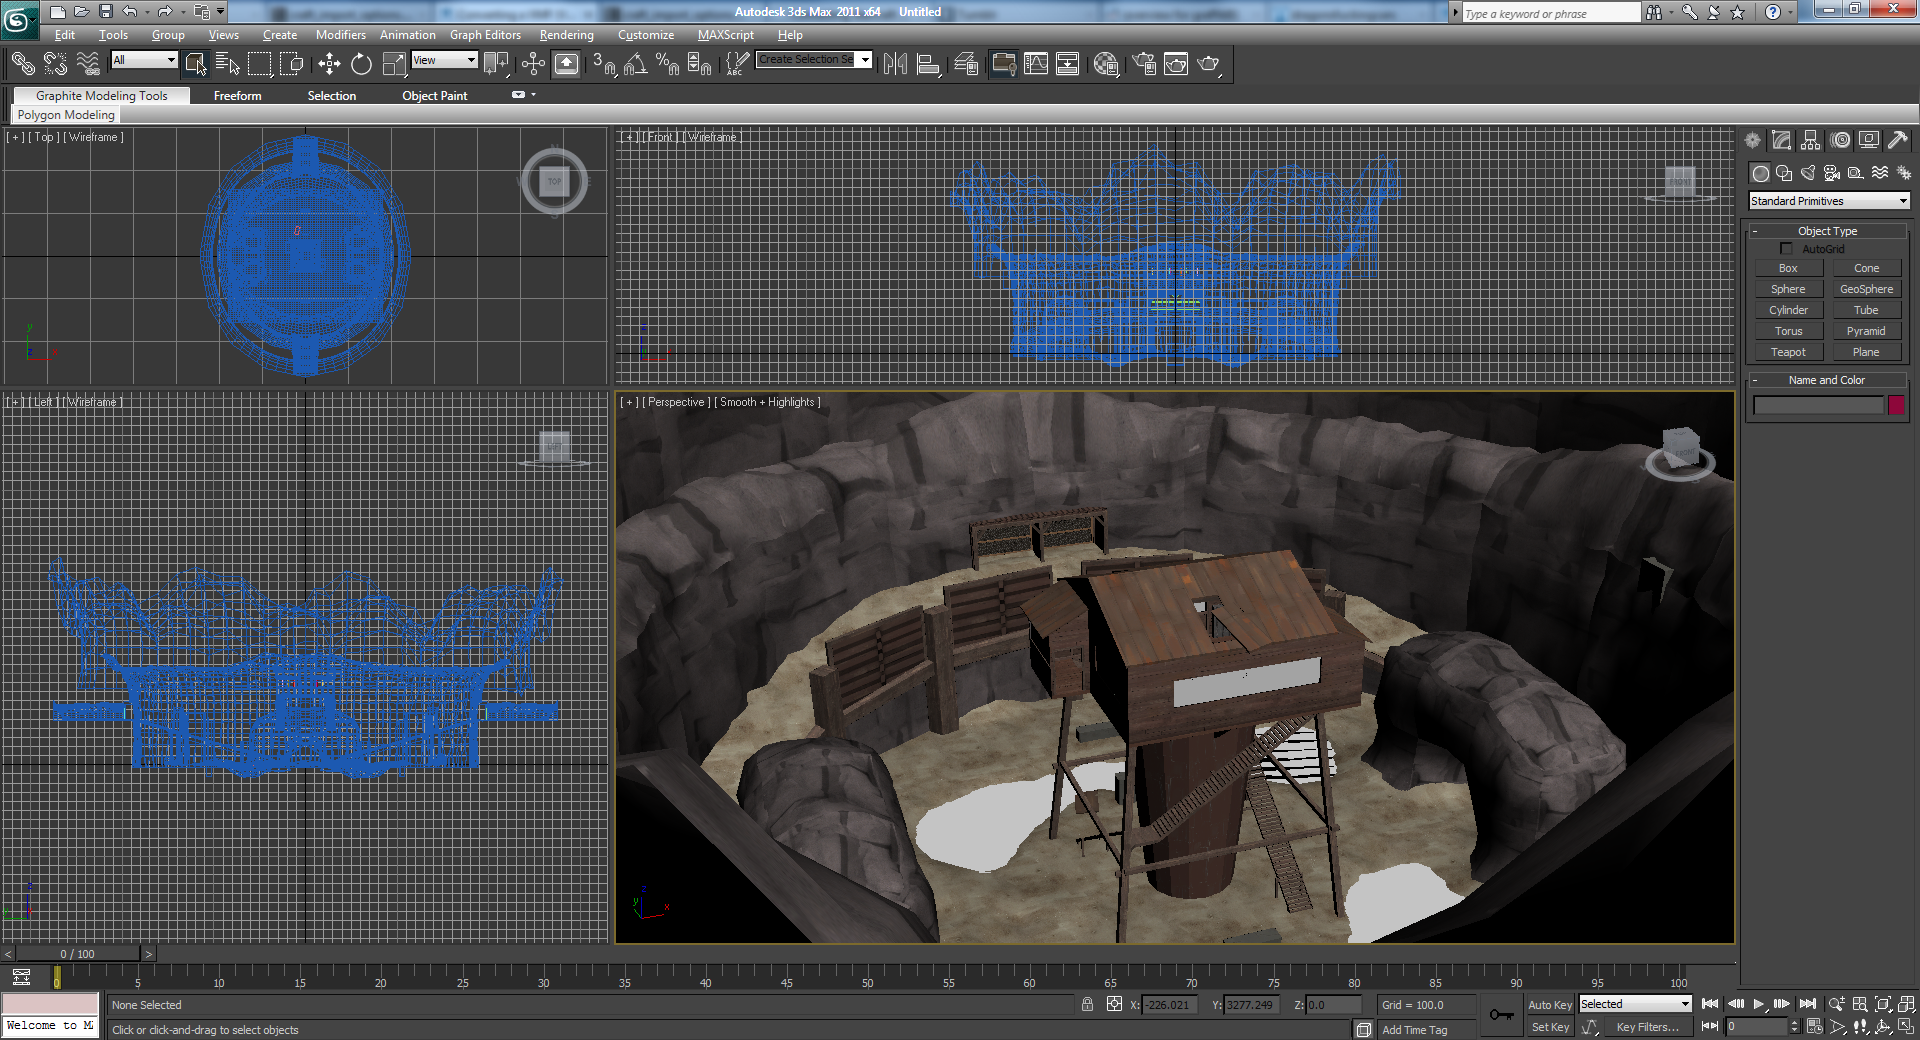
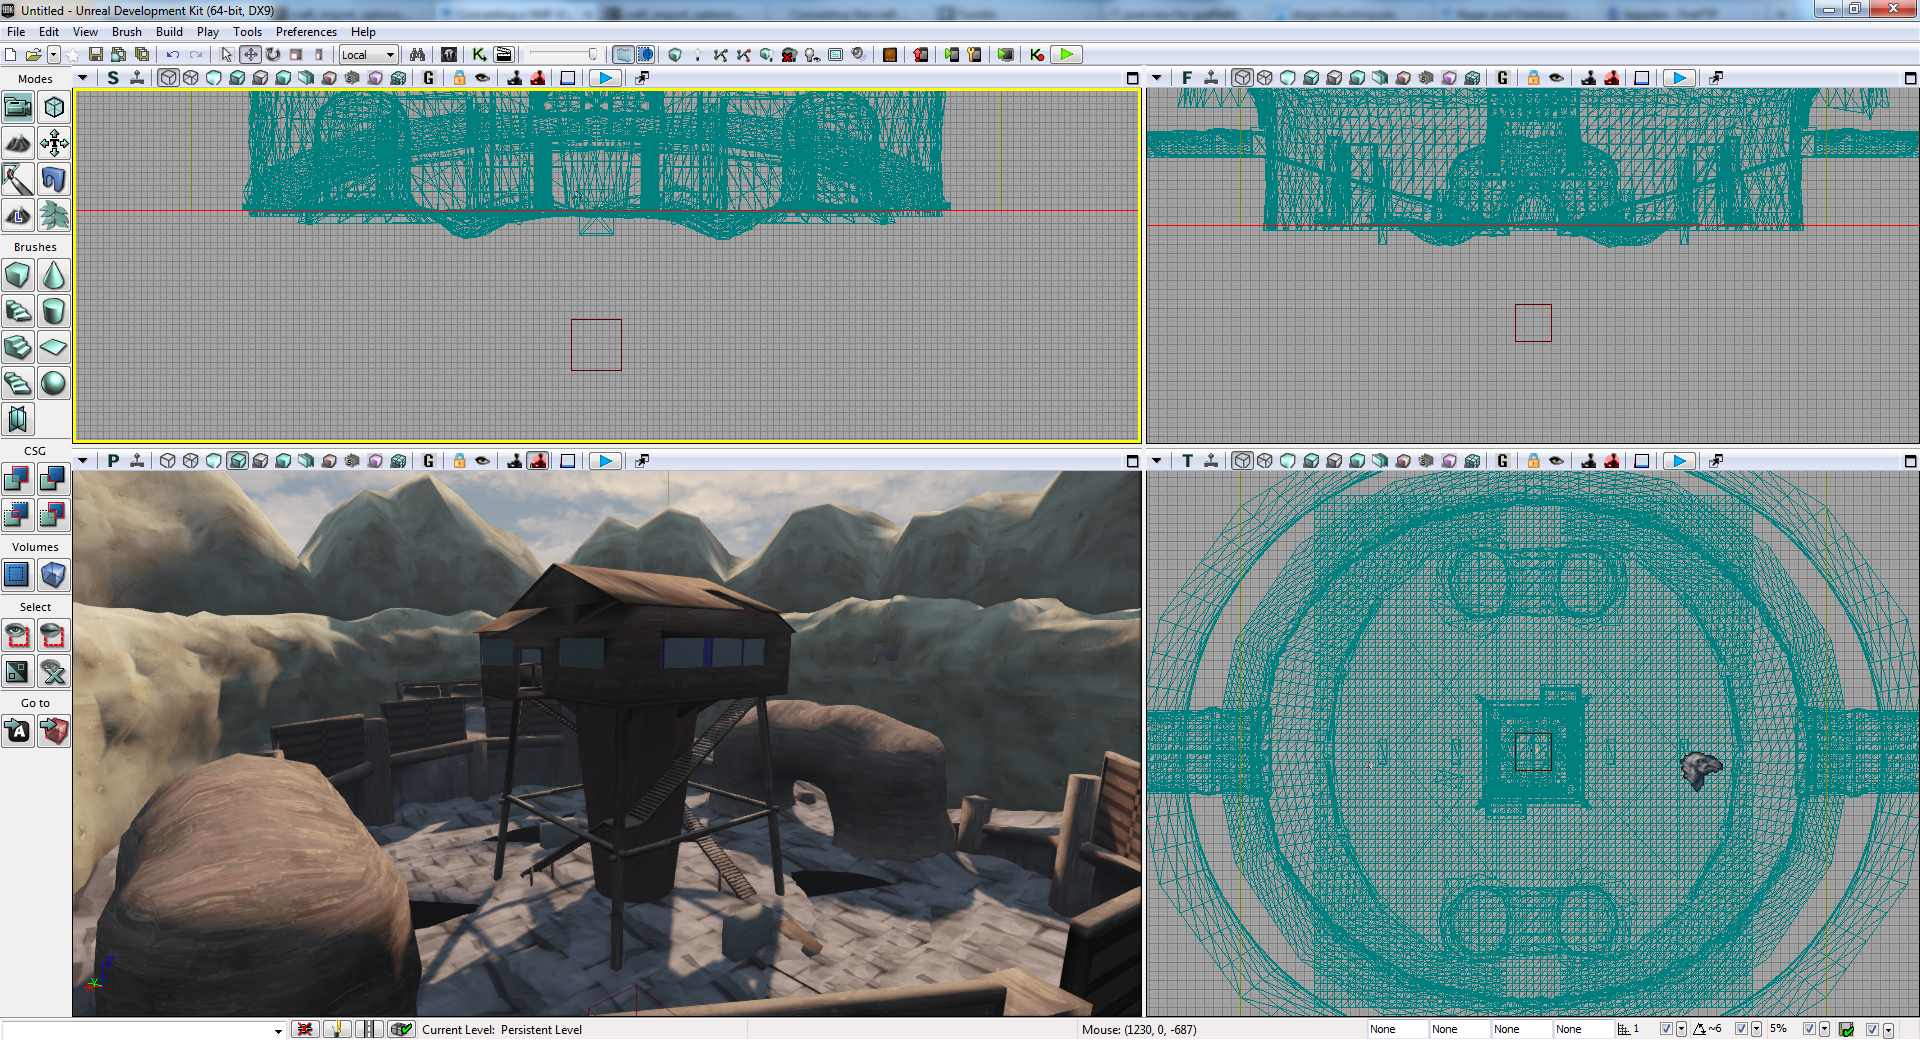
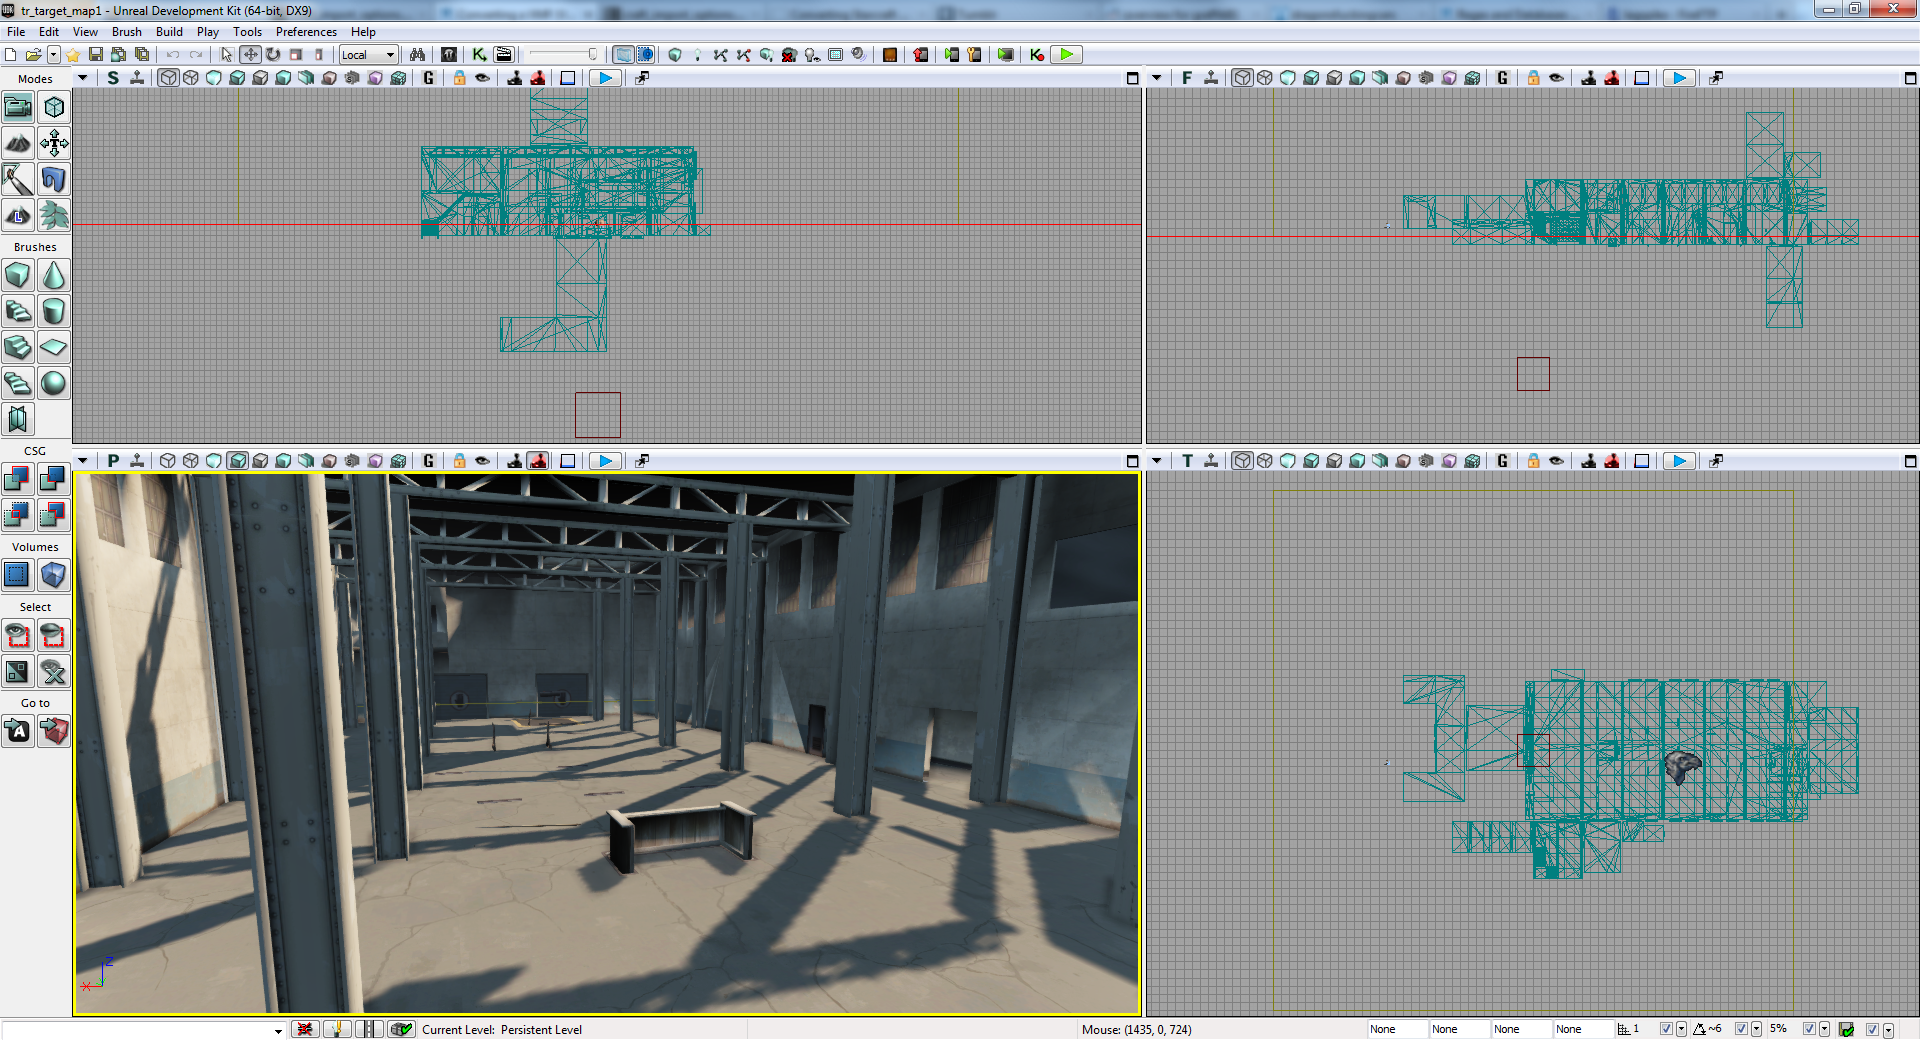
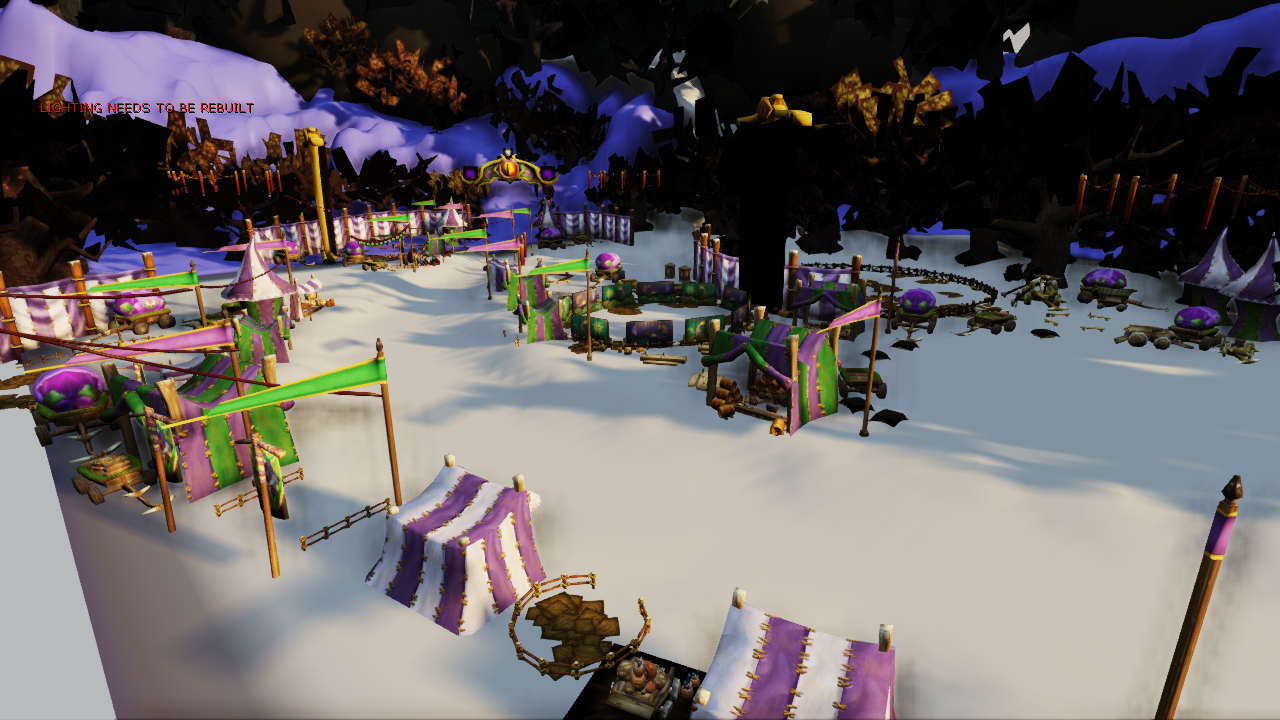
At this point it won’t look like much, because there are no materials or models.

Recreating the packages

  1. Find the map file (example: Escape_Plaza.me1), rename the extension to .upk and uncook it using Umodel to a new directory.
  2. Copy the toolbox folder to the new directory.
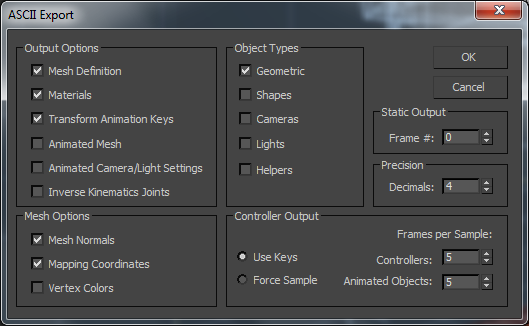
  3. Use the batch export option in ActorXImporter.ms to convert the StaticMesh3 directories to ASE format.
  4. Run convert_uncooked_materials.bat.
    Import the textures from Material3 and MaterialInstanceConstant directories into the UDK. Save.
    Import the ASE files from StaticMesh3 directories into the UDK. Save.
    – Make sure the package name you are importing into has the same name as the original.
  5. Reimport the T3D file.

Tips

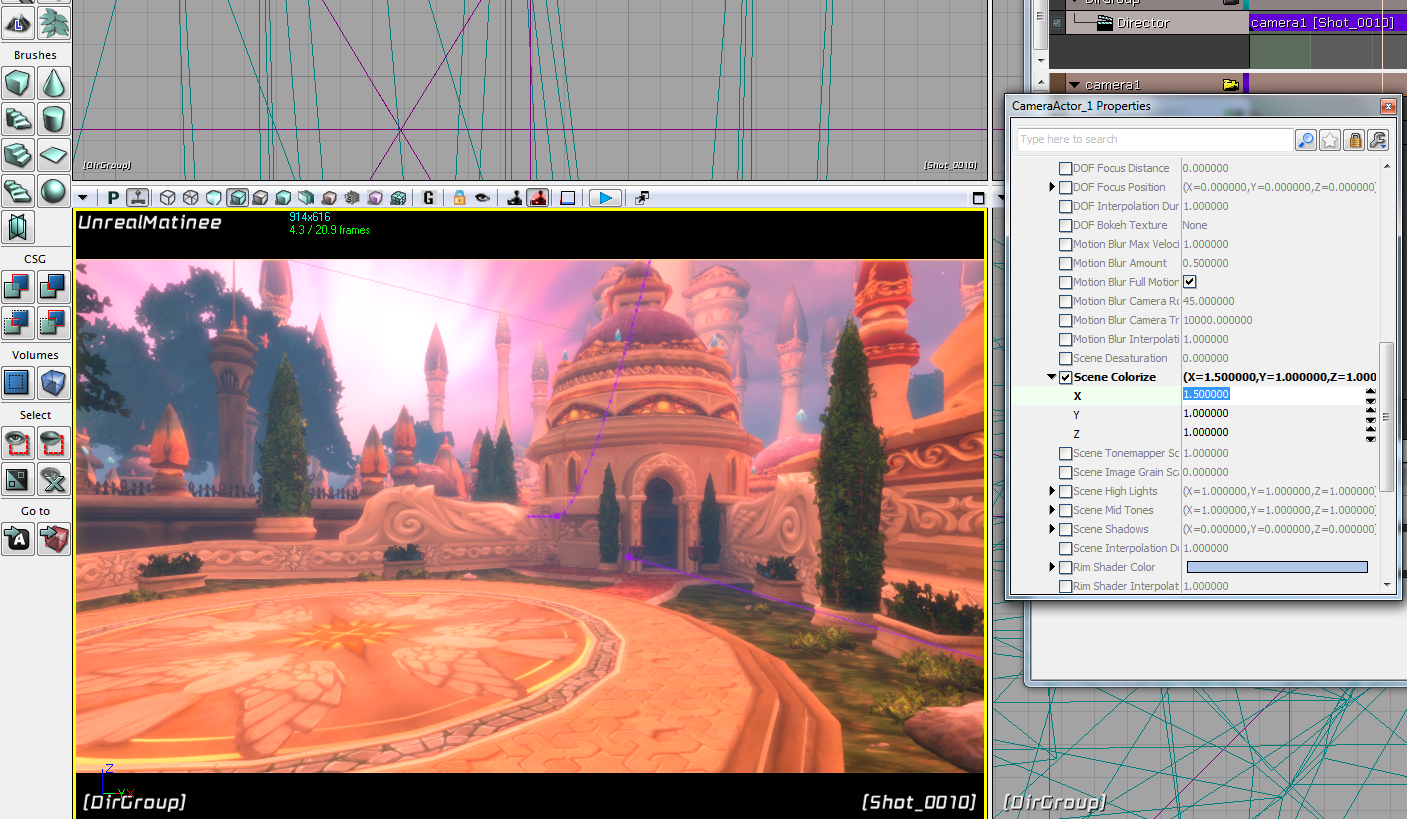
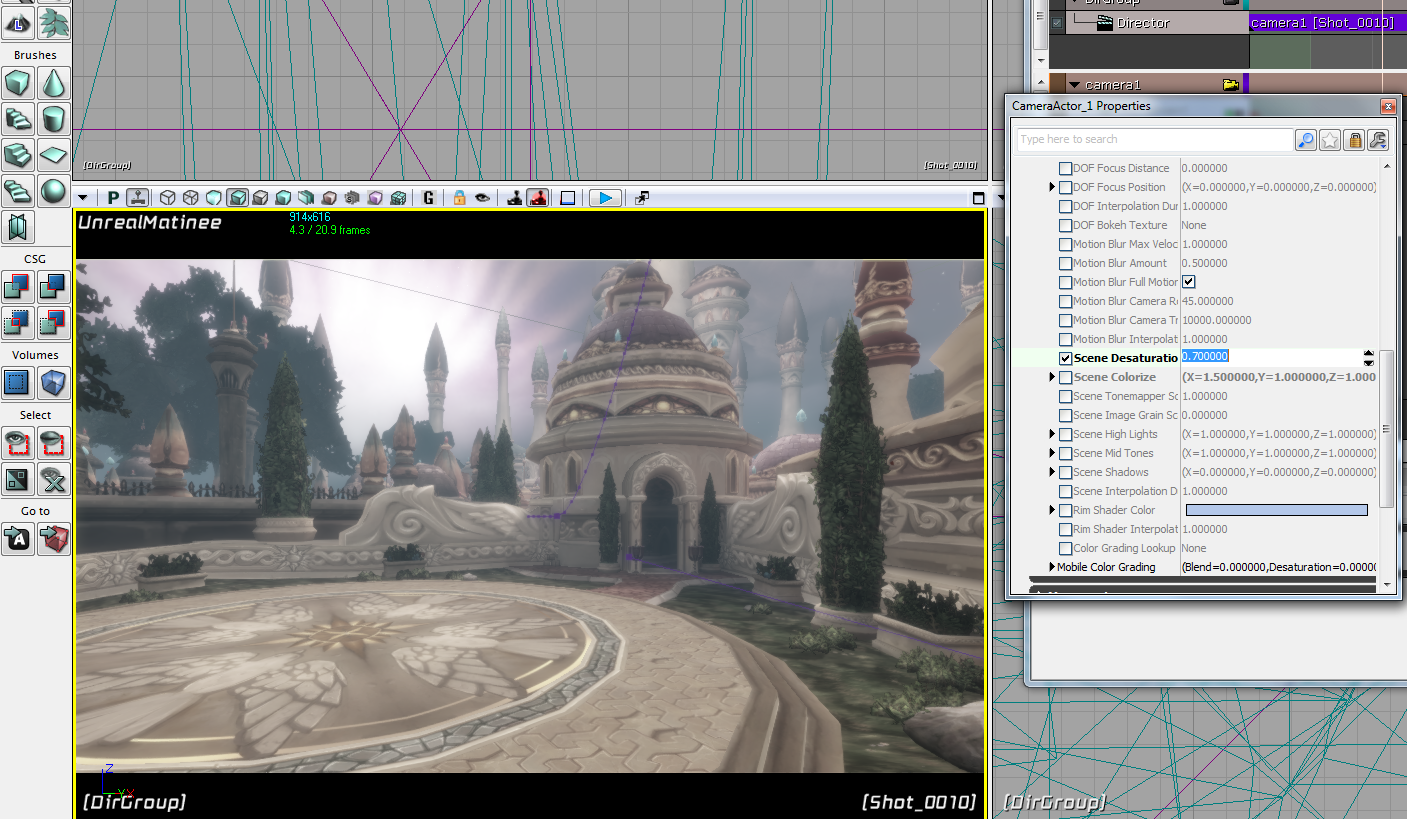
  • You will need to recreate or fix some materials (floors, walls, etc). You can use the Mirror’s Edge editor to view their settings.
  • Any prefabs may need to be converted.

Converting a 3D Ripper DX Scene to Source

  1. Capture and import the scene into 3DS Max.
    – Some scenes will need to be scaled up before exporting, it depends on the game.
  2. Run “Clean Multimaterial“.
  3. Run the 3DS Max script batch_smd_export.ms to convert all the meshes to SMD files.
  4. Copy the toolbox folder to the directory.
  5. Export the Summary Info file in 3DS Max (File > Properties > Summary info. Press the “Save to File” button). Save to toolbox/summary_info.txt.
  6. Run convert_3dr_scene_to_source.bat
    – Make sure the Source SDK window is set to “Team Fortress 2”.
  7. Open output.vmf in Hammer.

Example #1
Example #2

Batch Converting WoW FBX Animations

  1. Export as an FBX file using WoW Model Viewer.
  2. Open FBX Converter and select the “FBX Take Manager” window.
  3. Drag the FBX file into the window, then use the “Create FBX files” button.

    – This process can take over an hour and will create very large directories.
  4. Run the script convert_fbx_anims_batch.ms, this will convert the FBX files to MAX format and fix the keyframe problem.
    – Reset 3DS Max before running this script.
  5. Batch process the animations using ActorX. Use the “Process all animations” button.

Preparing the Base Character

  1. Import the FBX file into 3DS Max.
  2. Remove the TurboSmooth modifier.
  3. Export with ActorX.
  4. Import into the UDK.

Adding the Animation File

  1. Import the PSA file.
  2. Uncheck “Anim Rotation Only”

Adding Armor Sets
– Hair, eyelids, and armor sections may need to be set to invisible.

WoW UDK Example Scene

Some of my more recent WoW machinima was created within the UDK. Here you can download an example scene I made if you wish to see first hand how it was done.

Setup

Download and install the latest UDK
Download the WoW UDK files – Unzip the wow folder to UDK\UDK-2012-01\UDKGame\Content
Open the UDK Editor.
Go to File > Open. Find the dalarantest.udk file.

The first time you open the map it may take a few minutes to compile the materials.
You can move around the map by holding the left mouse button and dragging.

Right-click on the ground and select “Play from Here”. This will launch the preview window allowing you to run around the map.

Holding Ctrl when selecting “Play from Here” will let you fly around the map.

Matinee

In the center of the map you will see two of these things (known as “triggers”). Walk on top of them and you will see a short animation.

These animations are controlled by a built-in timeline editor called “Matinee”.
You can access this by clicking the movie clapper icon on the top menu bar.

You can preview the animation with the Play button at the top.

Click the camera icon so it turns yellow.

Now click the “Movement” track so it’s highlighted.

You can now move the camera and set keyframes (the little triangles) by pressing enter.

Props

To add an object to the map, start by selecting the “wowudk_props” package on the left side of the content browser.

Next, filter by “Static Meshes”.

You can drag any of these objects directly into the map.

You can use the scale and rotate and move tools to adjust it to your liking.

Lights

A light can be placed by holding the L key and left clicking. Press F4 to open the light properties.
You can use the search bar at the top to quickly find the important settings which are: Radius, Light Color, Brightness.

Cameras

Cameras have many options allowing you to control the look through post processing and simulated lens effects.

Open the Matinee sequence.

Press the “Find Actors” button, located on the top bar.

Select CameraActor_0 and hit the Properties button.

This will open the Camera Properties.

There’s a lot of stuff in here so it can seem intimidating. Some of the more important settings include:
Aspect Ratio – While it’s possible to change the aspect ratio, it’s often a better idea to crop in your video editor. Default value: 1.777780.
FOVAngle – This is essentially your zoom. Default value: 90.000000.

The following are post processing effects, you will need to set Cam Override Post Process Alpha to 1 for these to work.
Scene Tonemapper – This will alter the brightness of the scene. Default value: 1.
Scene Colorize – This will tint your scene a specific color. The X,Y,Z settings are actually RGB values. – Default values: 1,1,1.
Scene Desaturation – This can be used to adjust the amount of desaturation (1 is black and white). Default value: 0

Rebuilding Lighting

When static meshes or lights are moved, you will see a message in the top left that says “LIGHTING NEEDS TO BE REBUILT”.

The lighting does not need to be rebuilt every time you make a change, you can ignore that message while working.
When you do want to rebuild the lighting however, look for this button on the top bar.

Note: Rebuilding the lighting for the provided map should take somewhere between 3 and 8 minutes depending on your computer.

That should cover most of the basics. The best way to learn is just by playing around and experimenting with things.
If you’re looking for more tips on how to recreate WoW enviornments in UDK see WoW Style Level Design in UDK and UDK Tips and Resources.

Converting a VMF (Valve Map File) to UDK

Converting the Brush Data

  1. Open Crafty and select the game you will be using under Setup > Profiles.
  2. Open the map file. This will allow you to fully preview the map.
  3. Under Setup > Options, select the Exporting tab and uncheck models.
  4. Go to File > Export. Export the map as an OBJ file to a new directory.
    1. Note: Exporting maps will also export the textures. These are numerous and will take up a lot of space.
  5. Import the OBJ file into 3D Studio Max.
    1. Make sure that “Flip ZY-axis”, “Import as single mesh”, and “Retriangulate Polygons” are unchecked. Make sure the ASE export options are correctly set too.
  6. With the map loaded in 3DS Max, run the Max script batch_ase_export.ms.
    1. Note: This can be a lengthy process for larger maps. ctf_2fort has 2845 meshes and took 1.5 hours to export. Try using small maps such as arena_watchtower or tr_target for testing purposes.
  7. Copy the toolbox folder to the new directory.
  8. Run convert_vmf_brush_to_t3d.bat
  9. Import the textures into the UDK. Save the package.
  10. Import the ASE files into the UDK. Save the package.
  11. Copy and paste t3doutput.txt into the UDK.

Example Output #1
Example Output #2

Converting the Models
Note: This process has a lot of bugs and may not work as intended.

  1. Copy the map VMF file to a new directory.
    1. You can convert BSP files to VMF with BSPSource.
    2. HLLib is needed to extract the models and textures.
  2. Copy the toolbox folder to the directory.
  3. Run convert_vmf_models_to_t3d.bat.
  4. You will be prompted to decompile the models. The MDLDecompiler can only decompile one model at a time. You can automate this process with an AutoIt script.
  5. When prompted to convert the files to ASE files, run smd_to_ase.ms. This can process can be automated with another AutoIt script.
  6. Import the textures into the UDK. Save.
  7. Import the ASE files into the UDK. Save.
  8. Copy and paste the contents of vmf_models_t3d.txt (located in t3d_output) into the UDK.

Example Output #1

Alternate Methods
There are other ways to convert the brush data, but they have their downsides:

  1. Export from Hammer as a DXF file. This will lose the UV coordinates.
  2. Convert the VMF brush data to Unreal T3D format – This is possible but it will result in long compile times, and it will lose the UV coordinates in the process.
  3. Propper – This will merge the meshes together (which will be huge!). It also loses the UV coordinates.

Using 3D Ripper DX is an easier method to rip models and brushes, but it will be less accurate.

Create a Biped 3D Ripper DX Character

You may want to create a rigged and animated character from a game which has no way to export character models. One solution to this is to use 3D Ripper DX and a Biped to quickly rig the character.

Ripping the model
Before capturing the scene, see if it’s possible to get the character into a T-Pose. Some games have command line options for this (such as Skyrim).

Importing the model
1) Open the scene in 3DS Max. Delete everything except the character meshes.

2) Attach all the character meshes together.

3) Use the Transform Toolbox (Edit > Transform Toolbox) to center the character, then rotate as needed so the character is standing upright.

Creating the Biped
1) Under the Create > Systems tab there will be a Biped option. Make the Biped about the same size as the character. Turn on figure mode.
– The “figure mode” button is located in the Motion panel. This is the mode that allows you to alter the biped.

2) Move, Scale and align the Biped to match the character mesh.
– The goal is to have the biped bones in the center of the mesh.

3) Once your Biped is scaled and aligned properly, turn off figure mode.
4) Add a skin modifier to the mesh
5) Under the Skin Parameters, click the “Add” button and select all the biped bones.

Weighting
As you move the biped bones you may notice some vertices don’t move with it. This is an easy process to fix, but will take some practice to perfect.

1) Select the mesh. Click the “Edit Envelopes” button. Select the Vertices checkbox.

2) Scoll down and open the weight tool (has a wrench icon).

3) You will notice gray lines. Select the one that corresponds to the bone you wish to use.

4) Select the vertices you wish to fix, they will turn into white boxes.

5) In the Weight Tool, press the 1 button.

– When done weighting, you can use BIP files to test the rig.
– Once you are satisfied, you can export to your game of choice.
– Weighting, like all aspects of animation, has many more options to control and refine things. This tutorial is only a start.

Problems and Fixes
1) The skin color or clothing doesn’t look correct.
– Many games use dynamic materials which allows them to easily change the appearance or characters. You will need to manually adjust the material to try and recreate the same effect.

Helpful Links
Biped rigging 3DS Max tutorial

Converting a 3D Ripper DX Scene to UDK

  1. Capture and import the scene into 3DS Max.
    1. Some scenes will need to be scaled up before exporting, it depends on the game.
  2. Run “Clean Multimaterial“.
  3. Run the 3DS Max script clear_uv_channels.ms to clear any extra UV channels.
  4. Run the 3DS Max script batch_ase_export.ms to export all the meshes in ASE format to a new directory.
  5. Export the Summary Info file in 3DS Max (File > Properties > Summary info. Press the “Save to File” button). Save as summary_info.txt to the new directory.
  6. Copy the toolbox folder to the new directory.
  7. Run convert_3dr_to_udk.bat.
  8. Import the textures into UDK.
  9. Save the package.
  10. Import the ASE files into UDK.
  11. Save the package.
  12. Import t3doutput.t3d into UDK.

Example Output #1

This tutorial has been updated 2/29/16.

Converting WoW Terrain to UDK with Machinima Studio

Converting Terrain with Models
1) Find the terrain map using the ADT Map Previewer.
2) Export with Machinima Studio.

3) Run the 3DS Max script obj_to_ase.ms on the export directory.
– Make sure the OBJ import options have “Import as single mesh” selected.
4) Copy the toolbox folder to the output directory.
5) Run convert_full_wow_scene_to_udk.bat
Import the textures into the UDK. Save.
Import the ASE files into the UDK. Save.
6) Copy and paste the output file (located in t3d_output) into the UDK.
– Make sure you use “Paste” not “Paste Here”.
– All textures should all have the “mse_” prefix.
How things look at this point.

Fixing the Alpha Materials
1) Reimport the materials with “mse” and “alpha” in the name with the following settings. Note: There are 5 options being changed from their default settings.
2) Recompile the materials. [Pic]

Creating a Ground Material
A ground material will need to be manually created.
– Import the alpha maps and set the Compression Settings to TC_Displacementmap. [Pic]
– The “Texture Preview” tab in Machinima Studio will show you the textures the terrain uses. [Pic]

Adding WMOs
1) Use Machinima Studio to export the WMOs only.

2) Run the 3DS Max script obj_to_ase.ms on the export directory.
3) Copy the toolbox folder to the output directory.
4) Run convert_wmos_from_wow_scene.bat
Import the textures into the UDK. Save.
Import the ASE files into the UDK. Save.
5) Copy and paste the output file (located in t3d_output) into the UDK.

Optional Fixes
– With all the models selected, right click the scale tool and select “relative scale”. Set everything to 35. [Pic]
– Turn on terrain collision (so you can walk around). [Pic]
– You may want to hide some materials (such as “glow” effects). You can do this by creating an invisible material.
– To add additional map elements such as ground detail, water, fog, or particles see WoW Style Level Design in UDK.
– Some dynamic models may not be converted with this method (mailboxes, some signs, etc).
– Some meshes such as the fog in Orgrimmar’s Cleft of Shadow will need a custom material to enable rotation.

Output Example #1
Output Example #2

The Basics of WoW Machinima

Making WoW machinima is one of the easiest ways to start making machinima. Most WoW machinima makers use three main tools.

WoW Model Viewer – A tool for viewing WoW models and animations. Can also be used for chroma keying and exporting assets.
Fraps – Fraps is by far the best solution for capturing game footage. There are other alternatives out there, but Fraps will give you the highest quality.
Sony Vegas Pro – An easy to learn and powerful video editor.

Fraps
While Fraps is a pretty straightforward program, there’s a few things you should know:
– Fraps will use a lot of hard drive space, so make sure you have plenty of free space available.
– If you have multiple hard drives, recording footage to a separate drive may provide a slight performance increase.
– Make sure “Hide mouse cursor in video” is selected under the Movies settings.
– Your frame rate should match the settings in your video editor.

Sony Vegas
The number of settings in Vegas may seem confusing, but using the presets are a pretty safe bet.
– For project settings, I use the 1080 24p preset.
– When rendering, I use the WMV 720-24p preset.
– Use shift-click to move multiple clips.
– To copy effects from one clip to another: Right-click and “Copy” the first clip. Right-click the second clip and select “Paste Event Attributes”.

WoW Model Viewer
– If you have the extra hard drive space, consider making a copy of your WoW directory. This way a WoW update won’t break your WoW Model Viewer.
– Use a solid green or blue background.

Chroma Keying
Putting everything together requires the use of something called “chroma keying“. This is the process of using a green or blue background that can be removed by your video editor.

1) Start Fraps.
2) Open up WoW Model Viewer and select a solid blue or green background (View > Background Color). The colors you want to use are circled.

3) Select the character you wish to use, then record an animation with Fraps.

4) Drag the clip into the Vegas timeline.
5) Place a background image or video underneath.
– Make sure your background shot matches the angle of the character.

6) Select the tab that says “Video FX”. From the menu on the left select “Chroma Keyer”. Drag the “Pure Green Screen” preset onto your character clip.

At this point you’re ready to render (File > Render As).

This is a very basic example which should hopefully get you started. There are many more effects and settings to improve the quality. The best way to learn is just to experiment with different settings.

Problems and Fixes
1) Sony Vegas is giving me an “Unrecognized frame format” error.
– This is a bug related to Fraps footage that contains audio. You can find a workaround for it here.
2) What is causing animation blur?
– Animation blur may be related to using different frame rates between Fraps and your video editor. Make sure they are both the same.

Helpful Links
WoW Model Viewer Forums – A forum dedicated to WoW Model Viewer and WoW machinima production.
WoW Insider Moviewatch – A blog dedicated to posting WoW machinimas every weekday.
Warcraft Movies – A large database of WoW movies.
Guide to Better Compositing with WoW
WoW compositing before/after examples

Tools
WoW Machinima Tool – A tool for adding visual effects within the WoW game client.
Machinima Studio – A tool which can browse and export WoW assets.

Noesis Tutorial

Noesis is a tool for extracting game assets from a number of games including Duke Nukem Forever and Star Wars: The Force Unleashed.1) Download and run Noesis.exe.
2) Open the game content and locate the .dat files.

3) Double click on a .dat file and you will be prompted to extract it.

4) After the extract is finished, you can browse and preview the .msh files.
– Note: You may be prompted to select .skl or .def files, you can click cancel to these messages.

5) The model can now be exported to a number of formats (File > Export).
– Most models will not export with textures, you will need to manually find and export them.

Another Noesis Tutorial