Some of my more recent WoW machinima was created within the UDK. Here you can download an example scene I made if you wish to see first hand how it was done.
Setup
Download and install the latest UDK
Download the WoW UDK files – Unzip the wow folder to UDK\UDK-2012-01\UDKGame\Content
Open the UDK Editor.
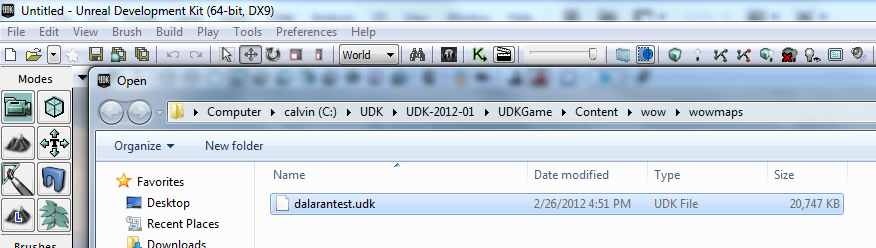
Go to File > Open. Find the dalarantest.udk file.
The first time you open the map it may take a few minutes to compile the materials.
You can move around the map by holding the left mouse button and dragging.
Right-click on the ground and select “Play from Here”. This will launch the preview window allowing you to run around the map.
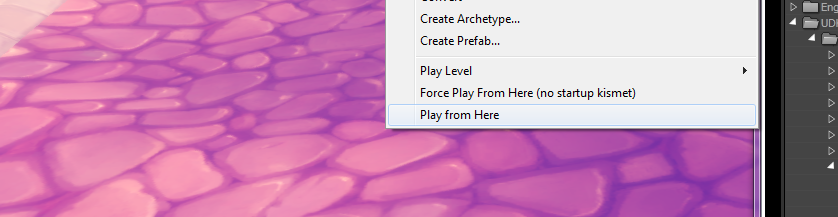
Holding Ctrl when selecting “Play from Here” will let you fly around the map.
Matinee
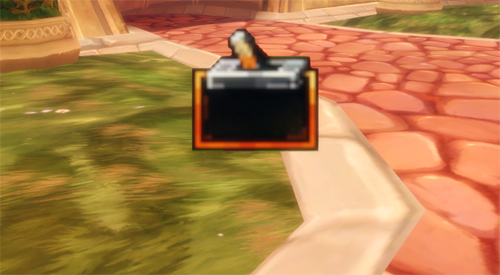
In the center of the map you will see two of these things (known as “triggers”). Walk on top of them and you will see a short animation.
These animations are controlled by a built-in timeline editor called “Matinee”.
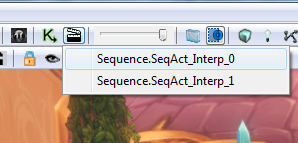
You can access this by clicking the movie clapper icon on the top menu bar.
You can preview the animation with the Play button at the top.

Click the camera icon so it turns yellow.

Now click the “Movement” track so it’s highlighted.
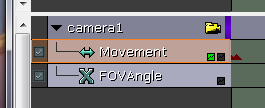
You can now move the camera and set keyframes (the little triangles) by pressing enter.
Props
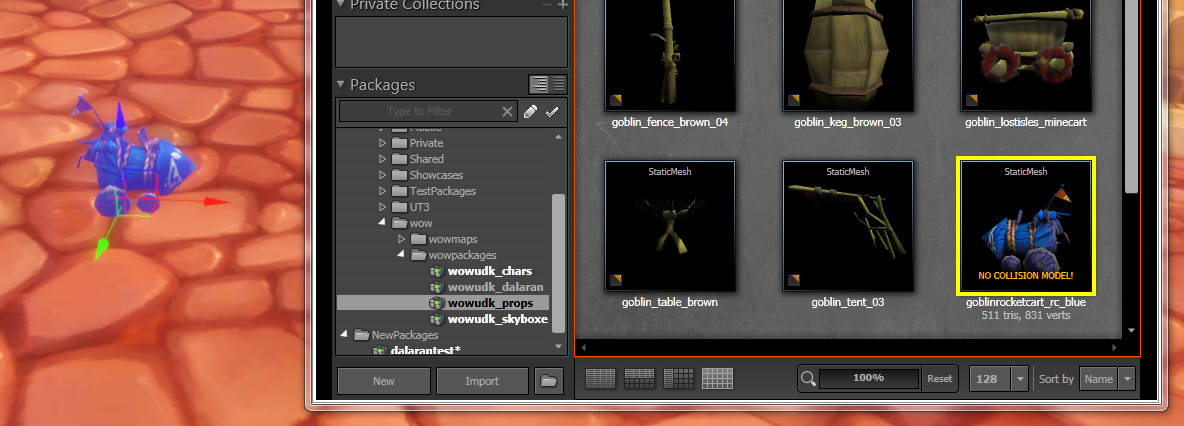
To add an object to the map, start by selecting the “wowudk_props” package on the left side of the content browser.
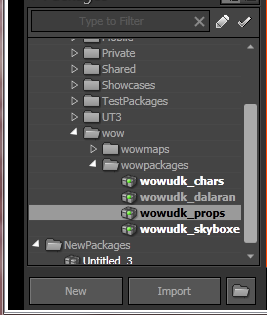
Next, filter by “Static Meshes”.

You can drag any of these objects directly into the map.
You can use the scale and rotate and move tools to adjust it to your liking.

Lights
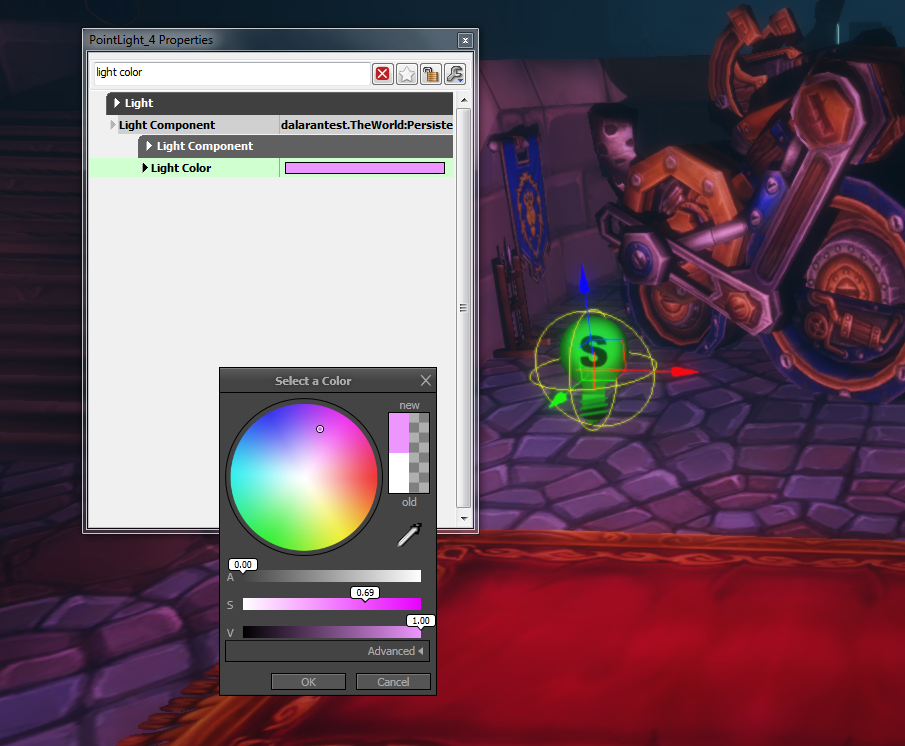
A light can be placed by holding the L key and left clicking. Press F4 to open the light properties.
You can use the search bar at the top to quickly find the important settings which are: Radius, Light Color, Brightness.
Cameras
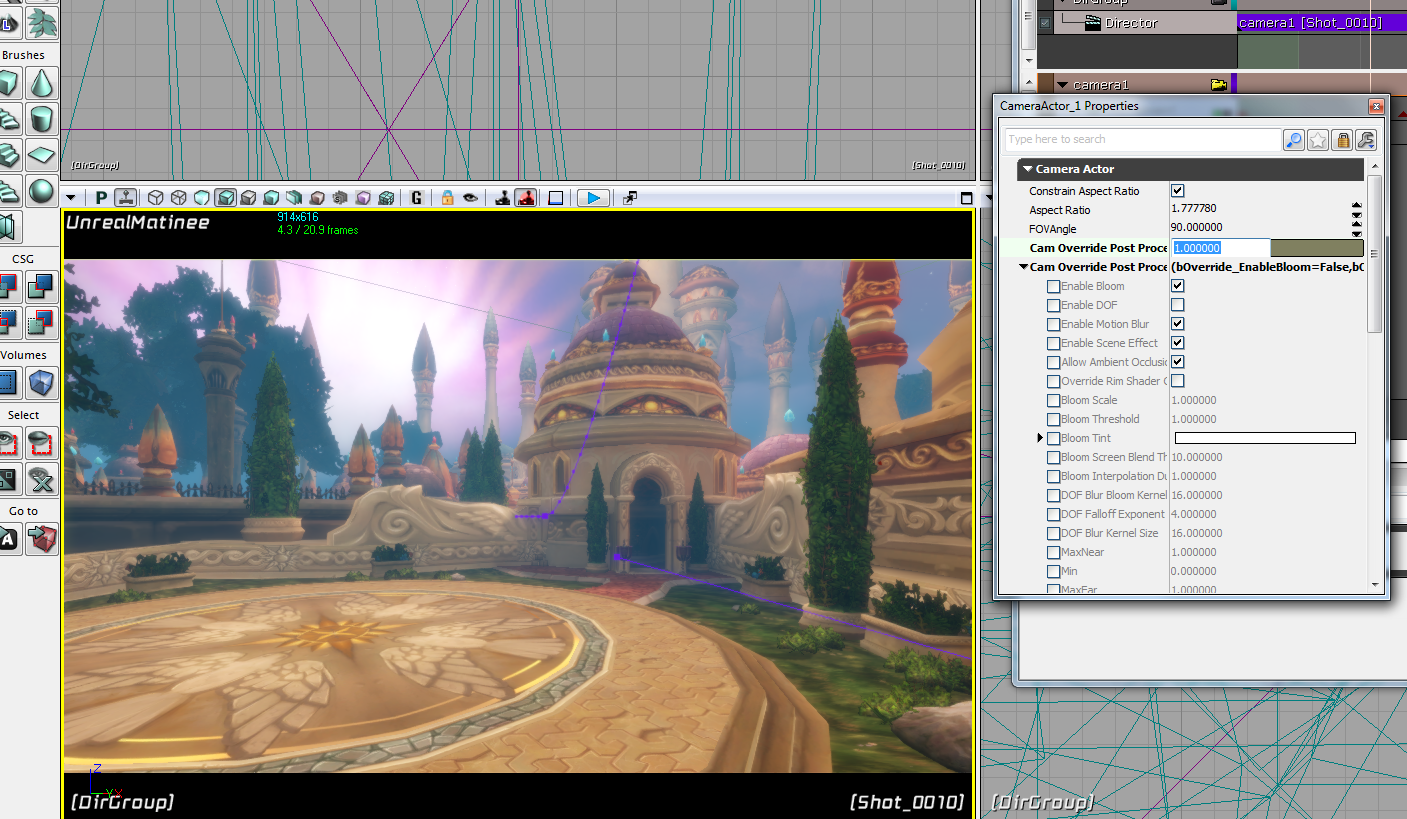
Cameras have many options allowing you to control the look through post processing and simulated lens effects.
Open the Matinee sequence.
Press the “Find Actors” button, located on the top bar.

Select CameraActor_0 and hit the Properties button.
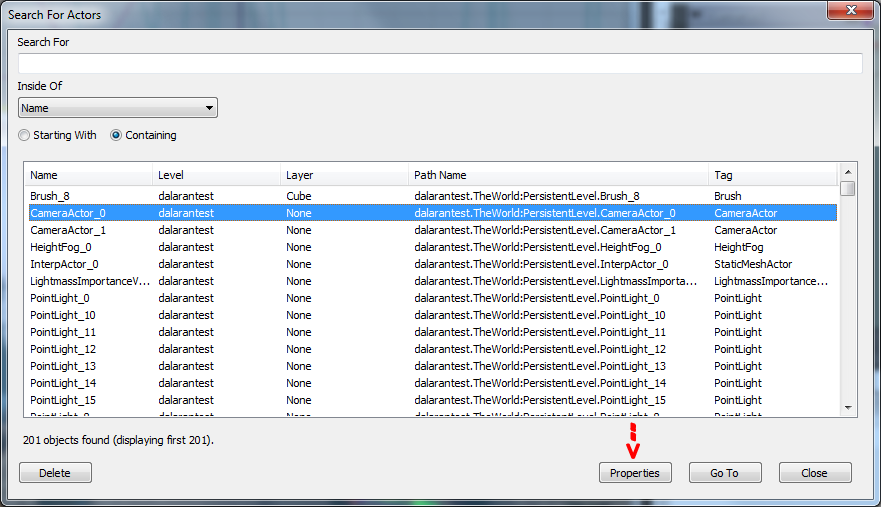
This will open the Camera Properties.
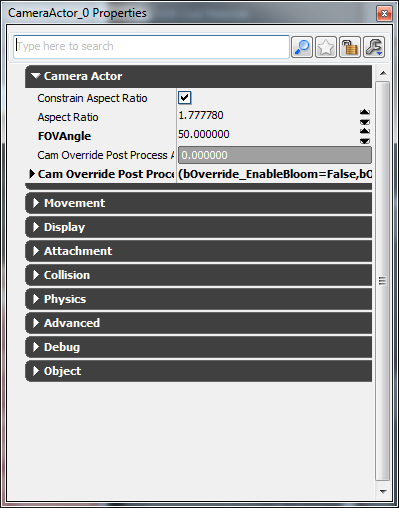
There’s a lot of stuff in here so it can seem intimidating. Some of the more important settings include:
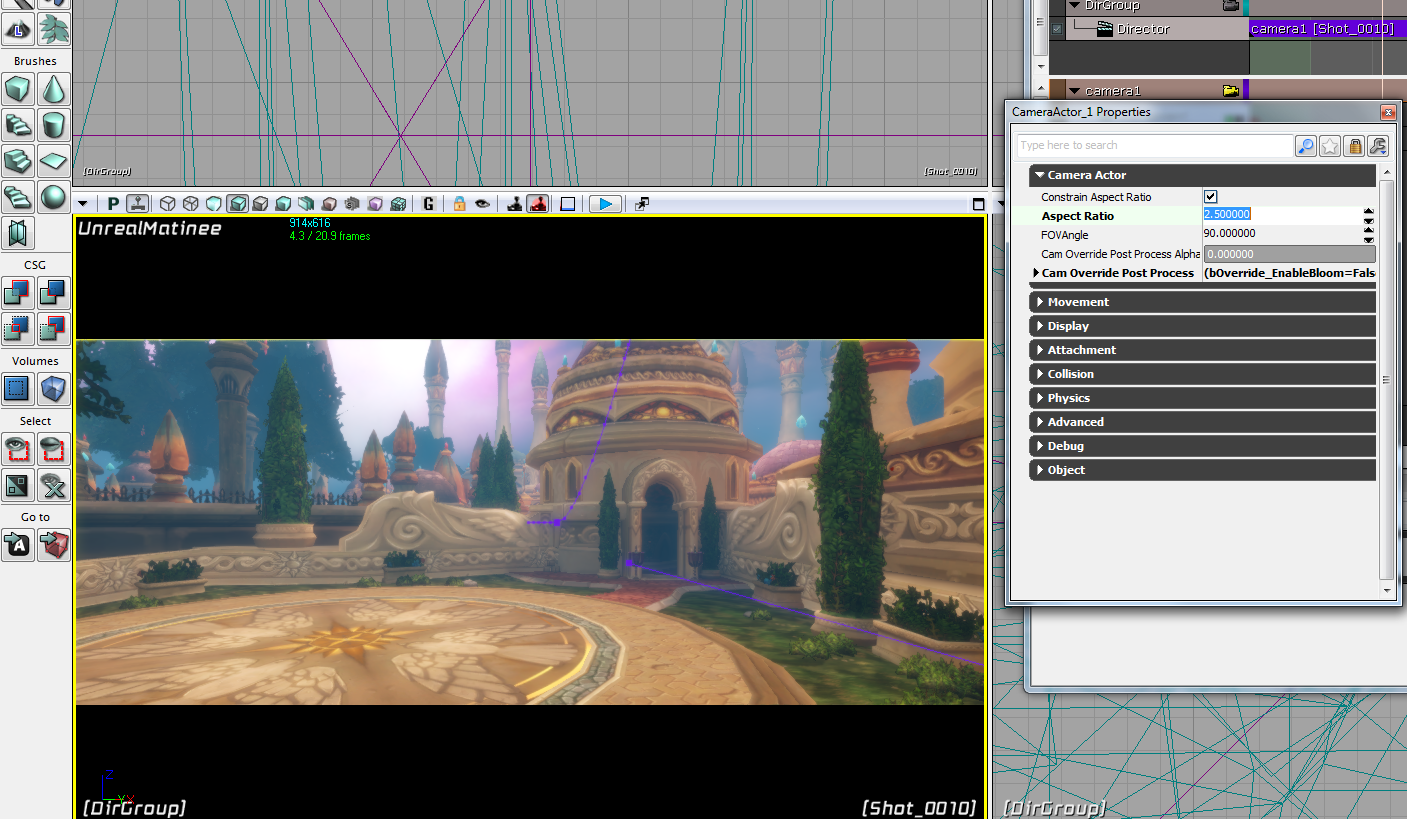
Aspect Ratio – While it’s possible to change the aspect ratio, it’s often a better idea to crop in your video editor. Default value: 1.777780.
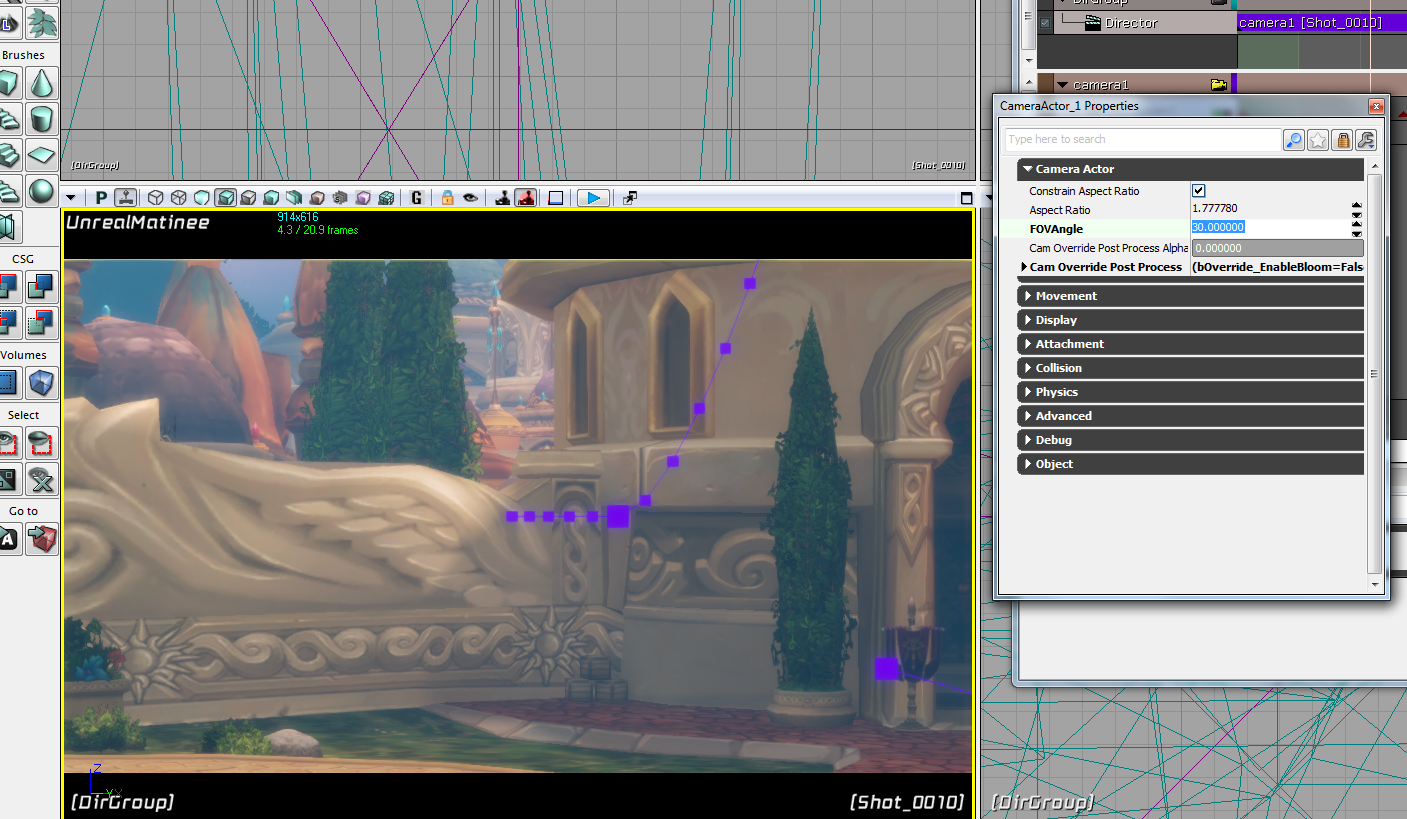
FOVAngle – This is essentially your zoom. Default value: 90.000000.
The following are post processing effects, you will need to set Cam Override Post Process Alpha to 1 for these to work.
Scene Tonemapper – This will alter the brightness of the scene. Default value: 1.
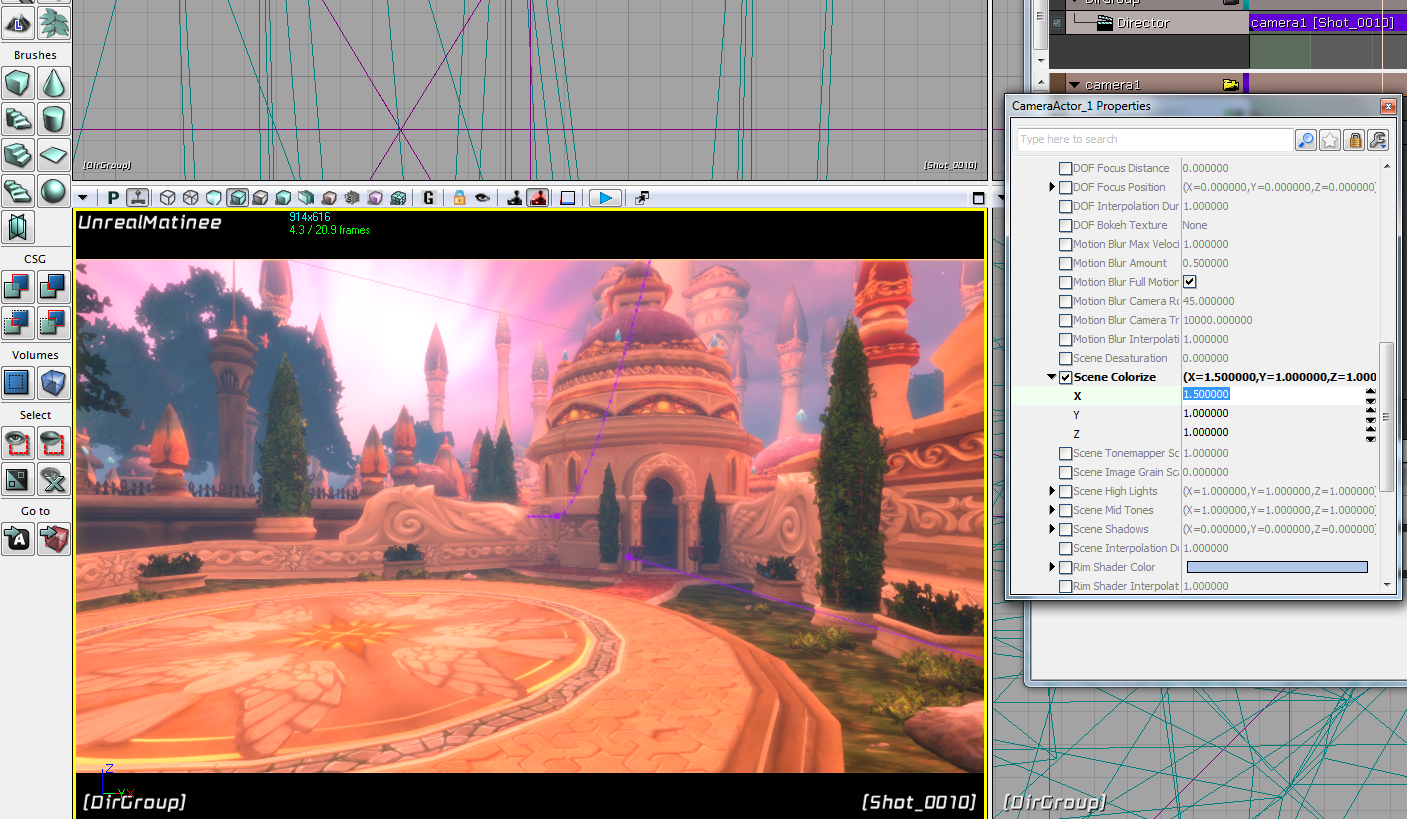
Scene Colorize – This will tint your scene a specific color. The X,Y,Z settings are actually RGB values. – Default values: 1,1,1.
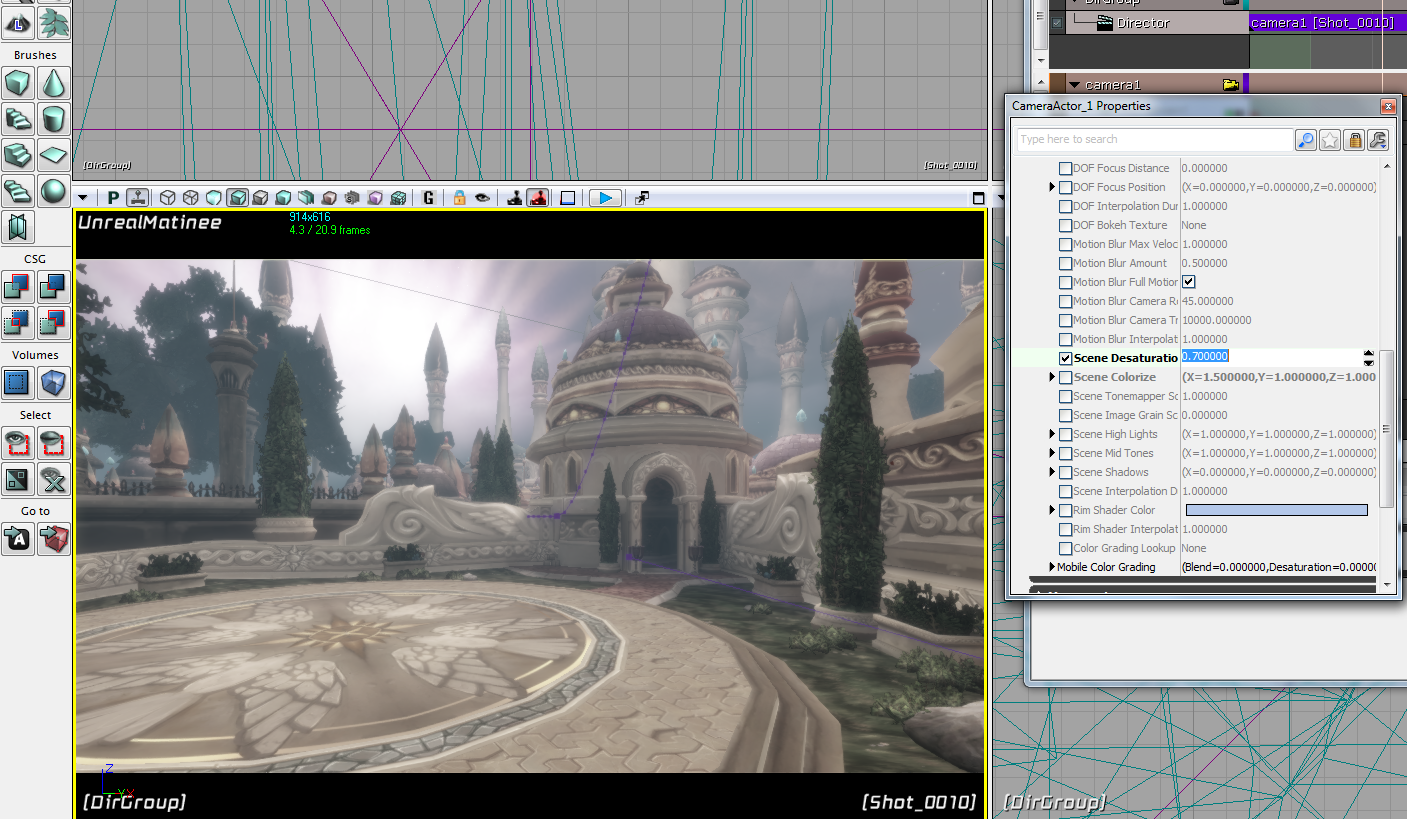
Scene Desaturation – This can be used to adjust the amount of desaturation (1 is black and white). Default value: 0
Rebuilding Lighting
When static meshes or lights are moved, you will see a message in the top left that says “LIGHTING NEEDS TO BE REBUILT”.
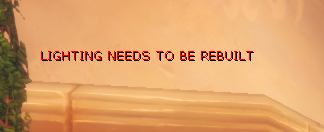
The lighting does not need to be rebuilt every time you make a change, you can ignore that message while working.
When you do want to rebuild the lighting however, look for this button on the top bar.

Note: Rebuilding the lighting for the provided map should take somewhere between 3 and 8 minutes depending on your computer.
That should cover most of the basics. The best way to learn is just by playing around and experimenting with things.
If you’re looking for more tips on how to recreate WoW enviornments in UDK see WoW Style Level Design in UDK and UDK Tips and Resources.