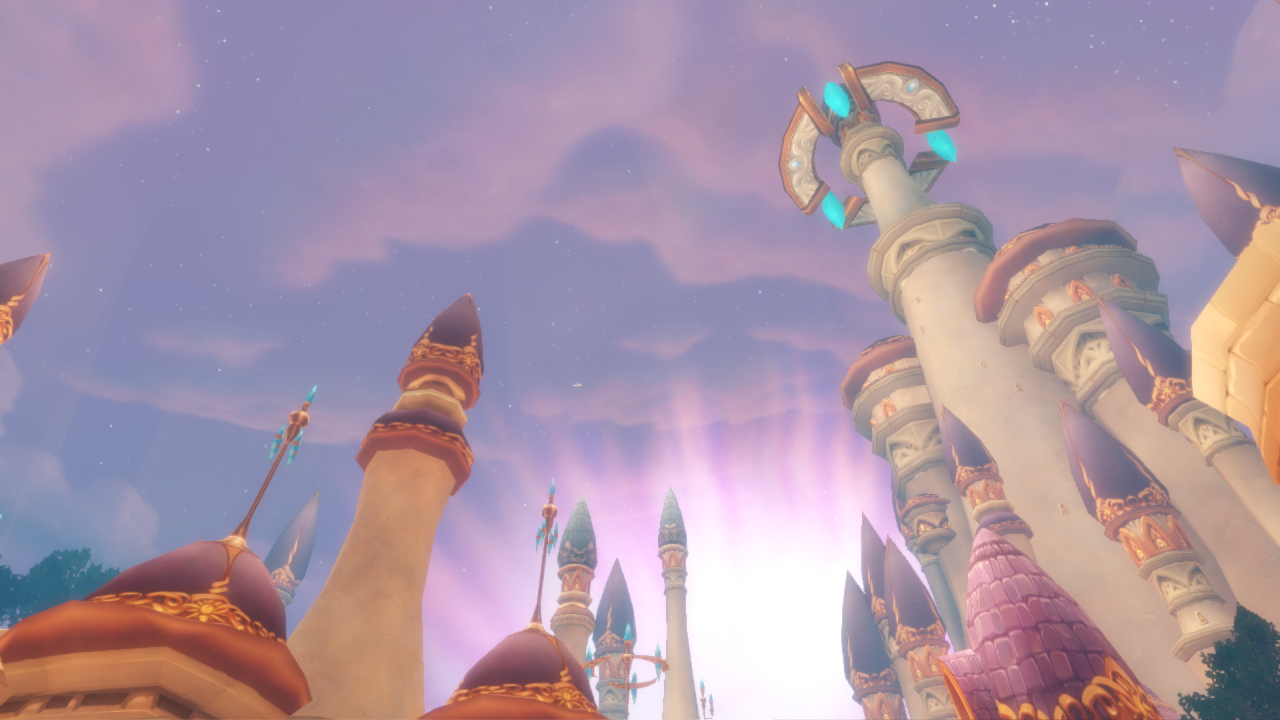
One big advantage of using UDK when making WoW machinima is you are no longer limited by the same old WoW environments. Instead, you can combine WoW models and textures with assets from other games (along with more advanced lighting and camera effects) to create something unique.
This assumes you have some WoW models to start with. See Converting WoW Models to UDK with WoW Model Viewer to get started.
Creating Terrain
1) In the UDK, go to Tools > New Terrain. Leave the options at their default setting.
2) Move and rescale the terrain as needed.
– The terrain size can be changed by using the scale tool.
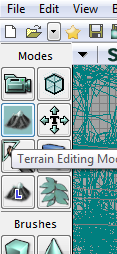
3) With the terrain selected, press the “Terrain Editing Mode” button.
4) Select a material in the general browser.
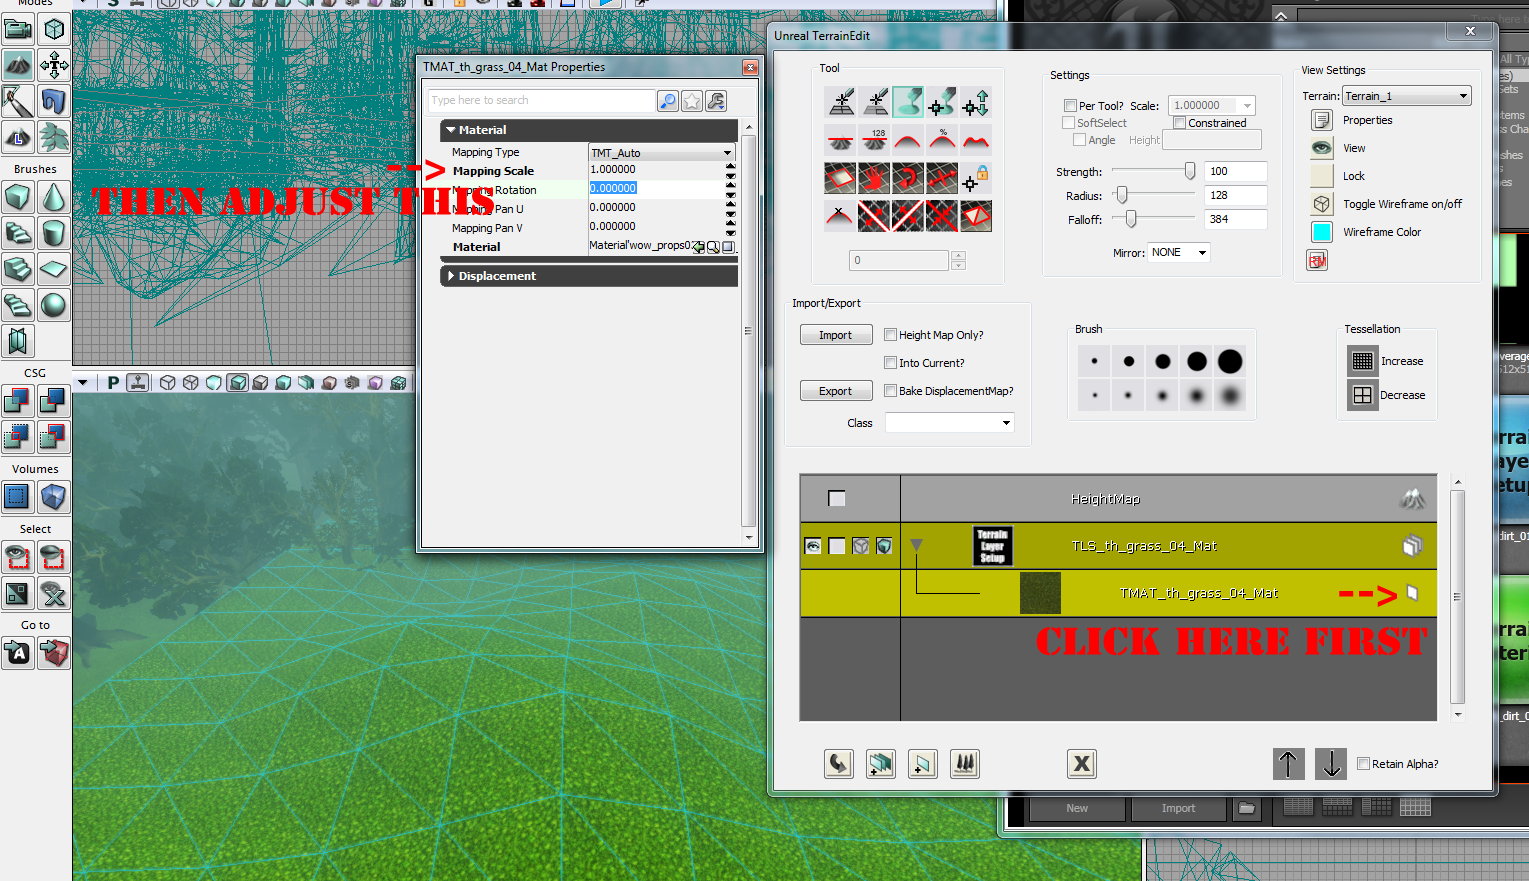
5) In the terrain editor, right-click and select “New Terrain Setup Layer from material (auto-create)”.
6) Open the material properties and adjust the mapping scale as needed.
– WoW ground textures can be found using WoW Model Viewer in the Tileset directory. Makre sure the *.blp filter is on.
– Increase the tessellation to add more vertices.
Lighting
– Since we are recreating an existing environment, it’s a good idea to take reference screenshots of the look we are trying to achieve.
– Lighting often requires a lot of trial and error to create the look you’re aiming for. Take note of light sources and color tones in the reference screenshots.
– Global lighting settings are contained in the DominantDirectionalLight and WorldInfo.
– A LightmassImportanceVolume should be around the whole map.
– Dynamic, Brightness, Light Color, Radius are the important light options.
– Place a light on streetlamps, hanging lights, etc.
– Adding fog can often help a scene.
– DOF and Bloom are defined in the WorldInfo or in camera settings.
– The only lights I generally use are point lights and spot lights.
– The lighting quality option has 4 settings. It’s best to keep it on preview (the lowest one), or else it can take a very long time to compile.
– Place a light to hide any ugly seams or shadows. Lighting can usually fix a map that doesn’t look right.
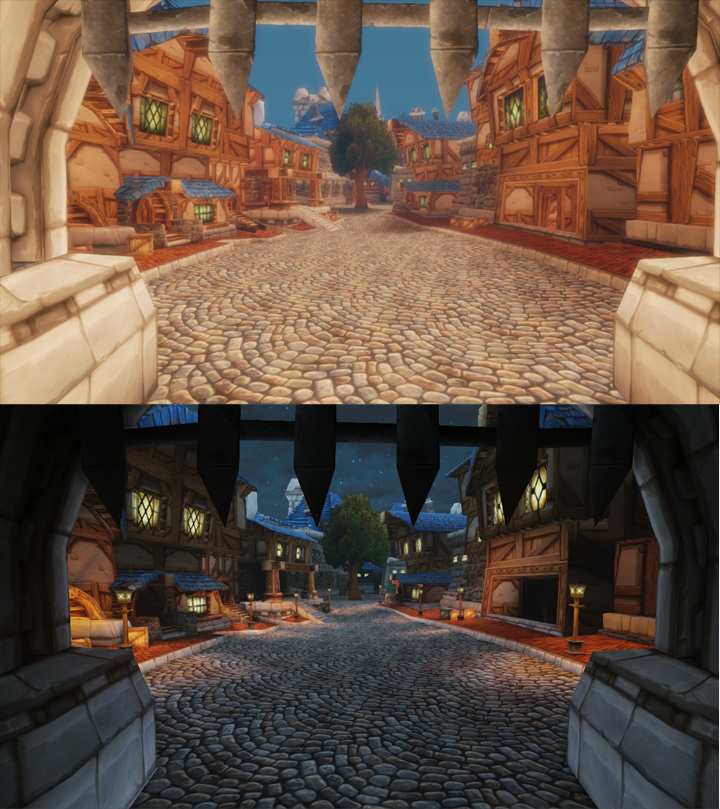
A comparison of how lighting can set the mood.
Skyboxes
Outdoor environments will need a skybox.
– Skybox models can be exported with both WoW Model Viewer and Machinima Studio. However, only Machinima Studio exports all the needed textures.
– Skyboxes are animated for the day/night cycle, you can preview their animation in WoW Model Viewer.
See also: Converting WoW Models to UDK with Machinima Studio.
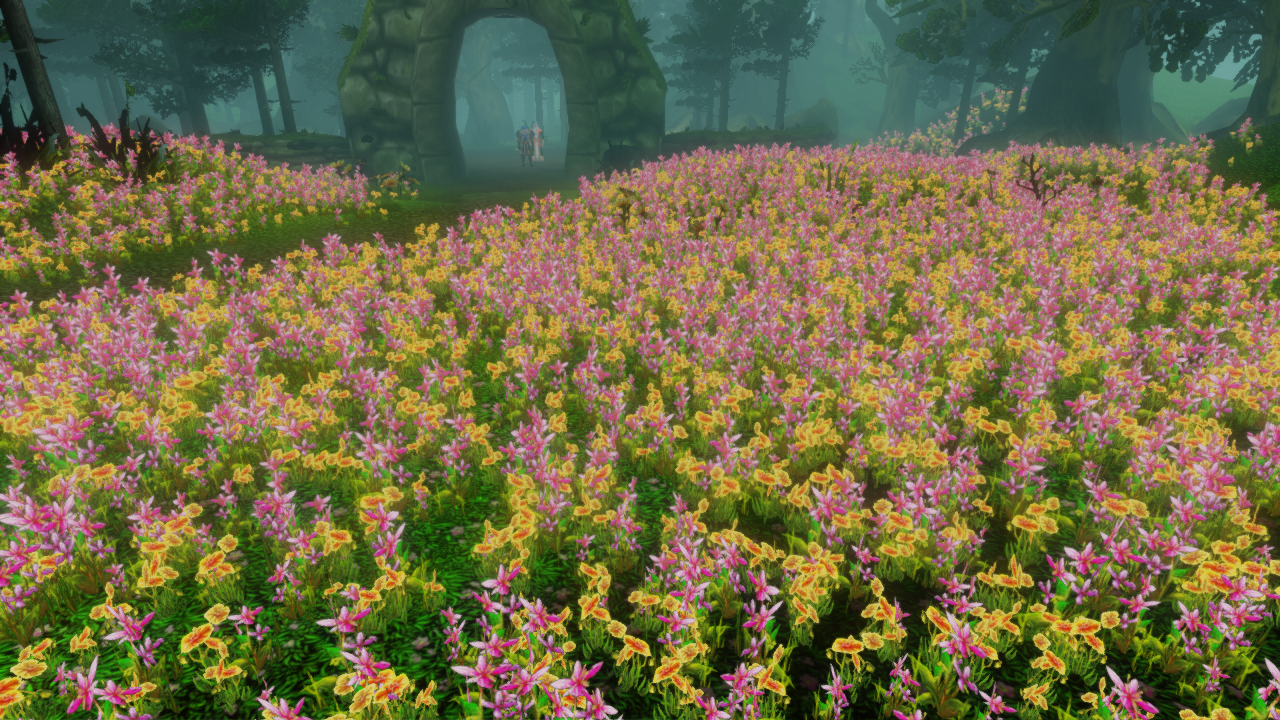
Foliage (Flowers, Grass, etc)
Foliage is a great way to add detail to your maps. Common examples include flowers and grass.
Most of the ground meshes can be found by searching for “detail” in WoW Model Viewer.
1) Select the mesh in the general browser.
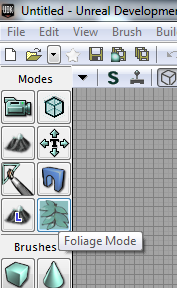
2) Enable the “Foliage Mode” button on the left menu.
3) Drag the mesh into the Foliage box. Adjust the settings.
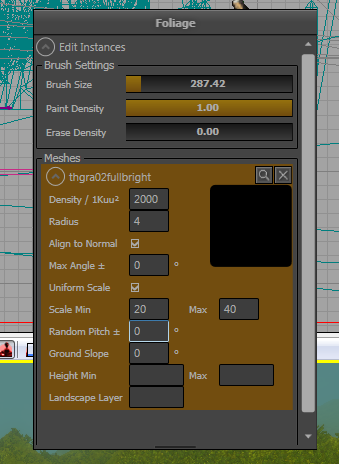
4) Use CTRL+Mouse1 to add meshes. Use CTRL+Shift+Mouse1 to remove meshes.
– Foliage can be applied to both terrain and meshes.
– Using emissive materials on foliage will often look better.
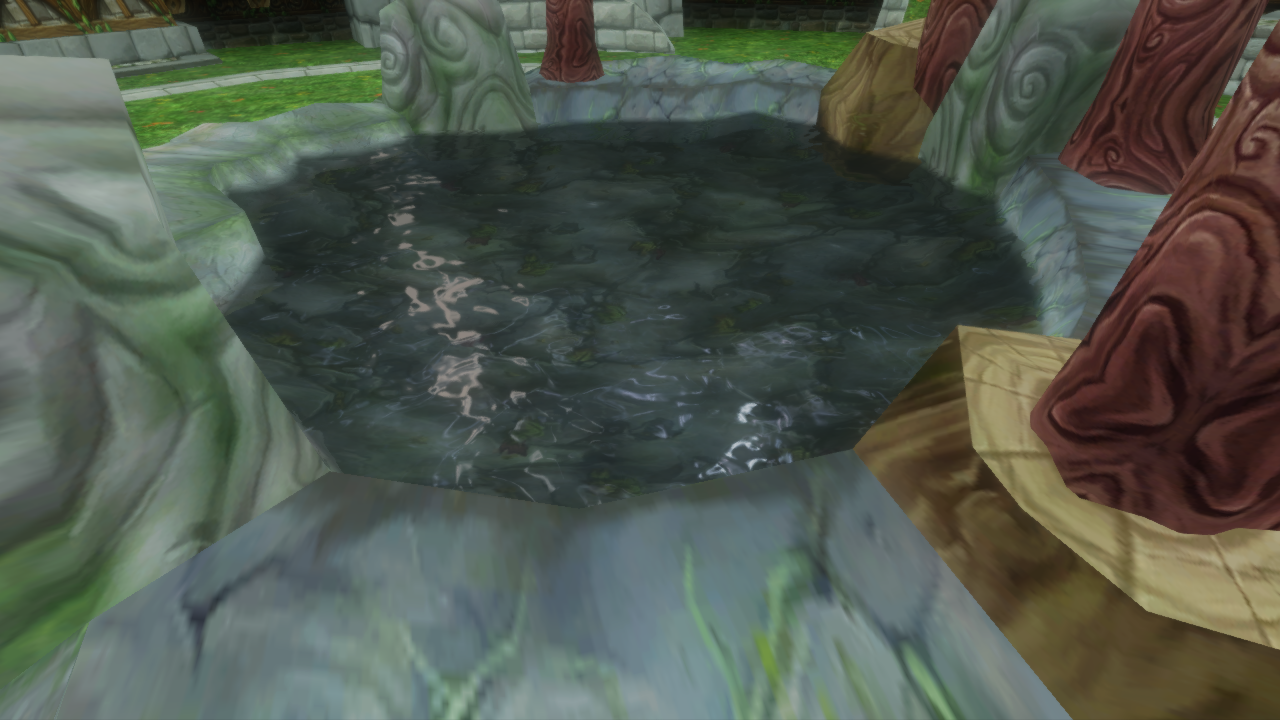
Water
Adding water is the same process you would follow for creating brushes.
1) Create a box brush and select CSG Add.
2) Apply the water material.
3) Adjust “Surface Properties” to stretch the material if needed.
– A fog volume can be added to the water to create a cloudy effect.
Particle Effects
Smoke, fire, explosions, spells, and embers, are examples of particles.
– The WoW particles can be previewed in WoW Model Viewer under Spells. You can export their textures (File > Export Model > FBX), but it is not possible to import the particle animation into the UDK. However, you can try to create a similar effect using the UDK Cascade editor. The sample particles in the UDK can provide a good starting point.
– The order of emitters determines how the particles are rendered. You can use the arrow keys to change the emitter position.
– You can export emitters by right-clicking and selecting Emitter > Export Emitter (make sure your new particle is open so it knows where to export it to).
See also: Unreal Cascade User Guide
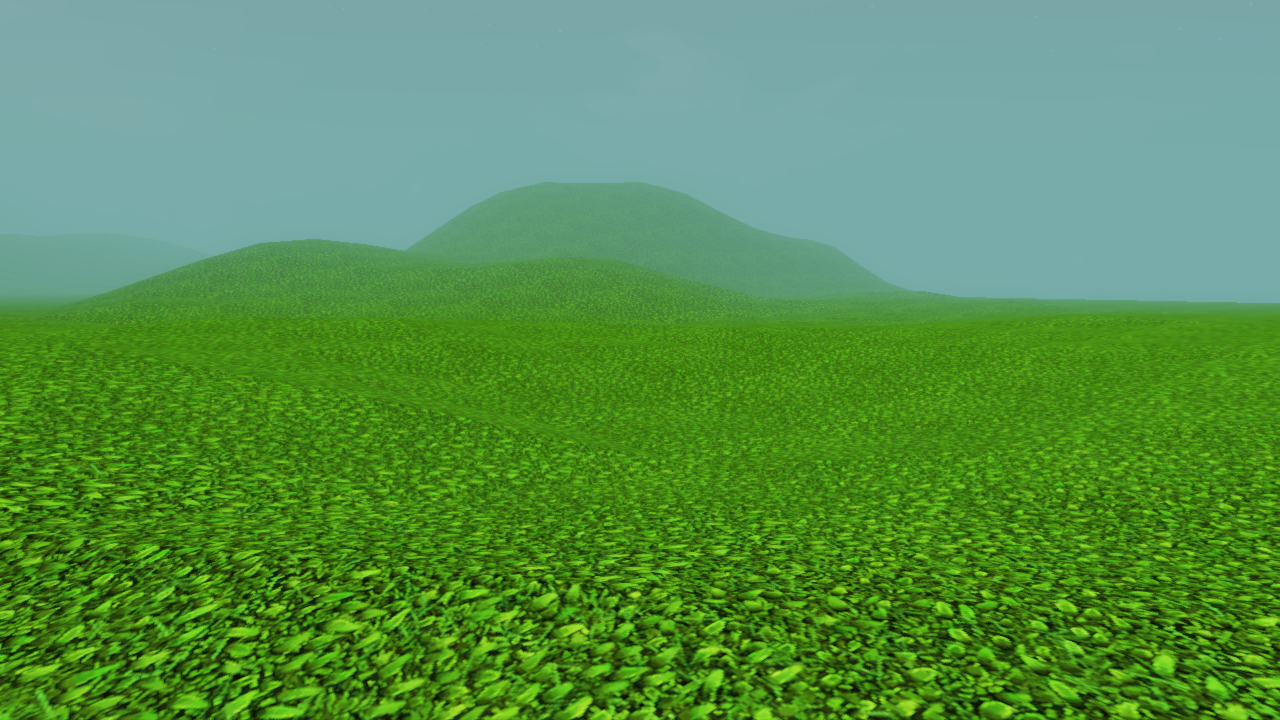
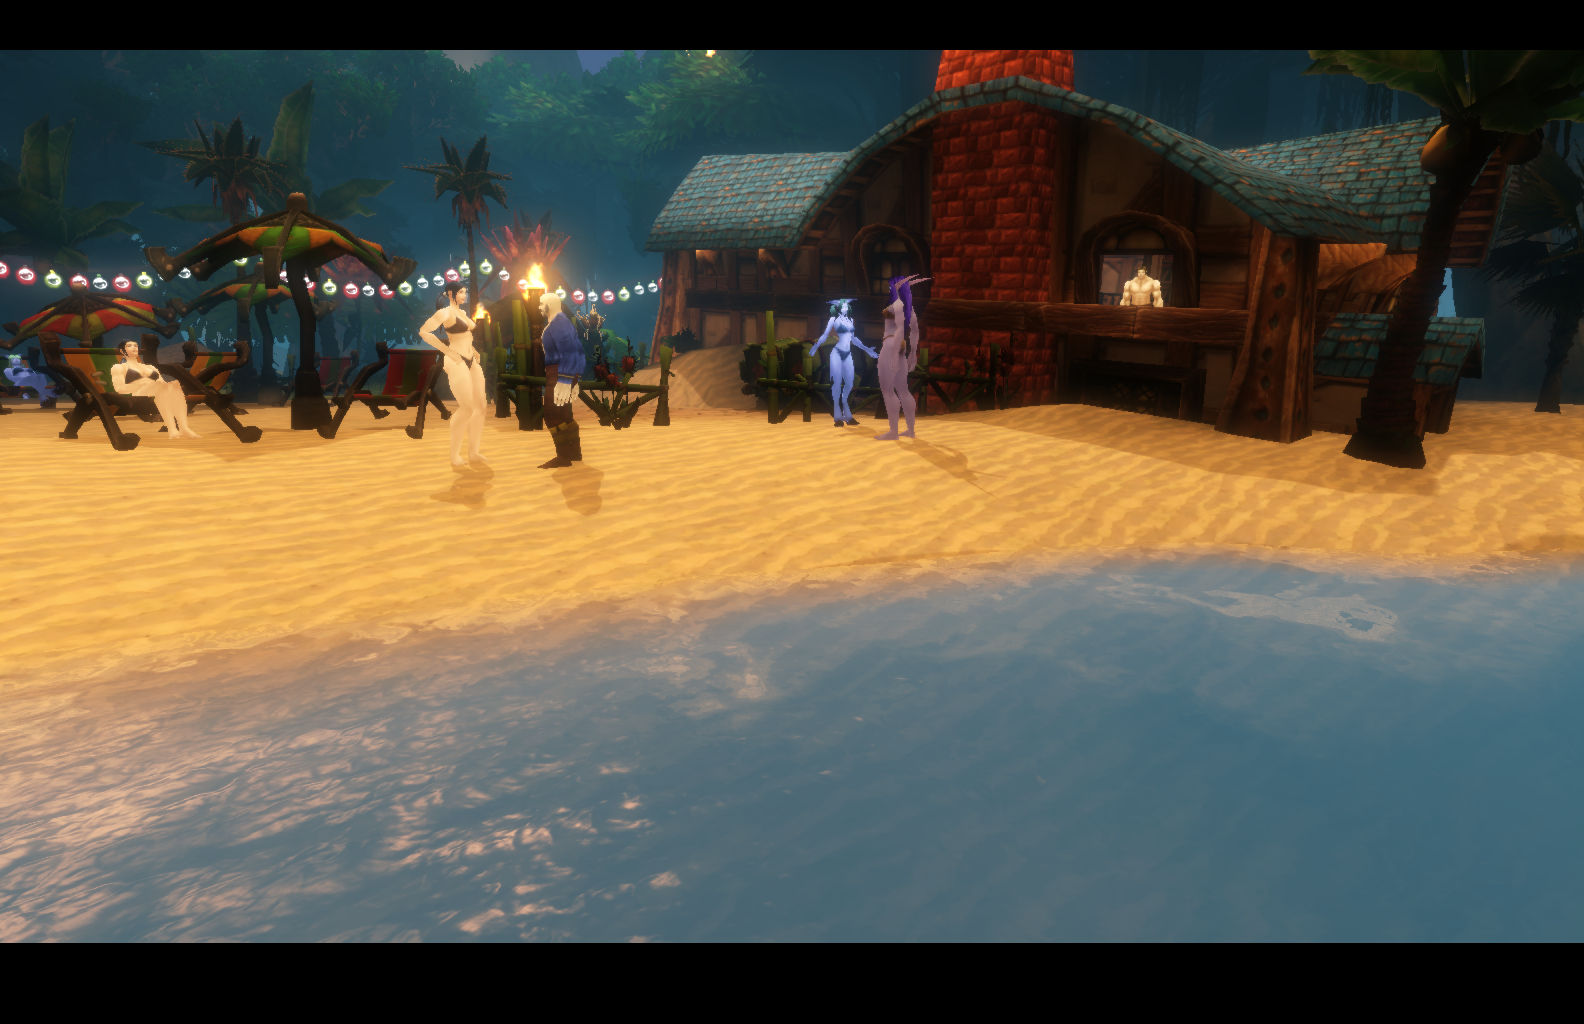
With a little work you can create a custom environment that still retains the WoW look.
Tips
– Terrain meshes can be exported with Machinima Studio which is detailed here.
– The more detail the better. This is not a gameplay map so we don’t need to worry about the frame rate dropping. Add as much detail and lights as you want.
– DominantDirectionalLight can be used to emulate sun streaks.
– Adding a Depth of Field effect in the post processing options may help to hide low resolution textures or jagged edges.
Problems and fixes
1) Where meshes meet there’s a color disparity
– Try adding a light to the area to help hide this.
2) I am unable to move the camera above or below a certain point in the map.
– Open WorldInfo and change the Stall Z and Kill Z settings to to 1000000.
3) There’s ugly shadows in parts of the map.
– Make sure the LightmassImportanceVolume includes this area. Turning off model shadows or adding lights to this area can also help.
4) InterpActors aren’t moving correctly in Matinee.
– Open the InterpActor properties and enable the force tick update option.
5) Decals are not displaying properly when using Matinee
– Open the camera properties and disable the “Constrain aspect ratio” option.
6) Replacing materials on a model crashes the UDK.
– Make sure a map file is not open which contains the model.
One thought on “WoW Style Level Design in UDK”