Machinima Studio is a useful tool for exporting WoW assets. This tutorial also covers how to import the assets into UDK, which is an optional step.
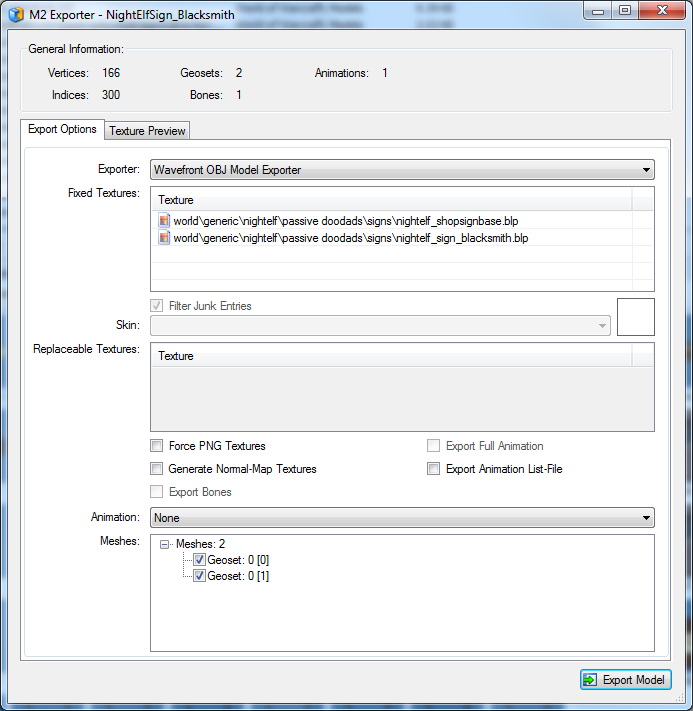
Converting M2 Models with Machinima Studio
Machinima Studio has thumbnail browsing, which is a big advantage over WoW Model Viewer when looking for models. The downside is the textures are usually exported as JPG, meaning they generally will need to be converted to something a little more universal (TGA or PNG).
1) Locate the model

2) Export as a OBJ file.
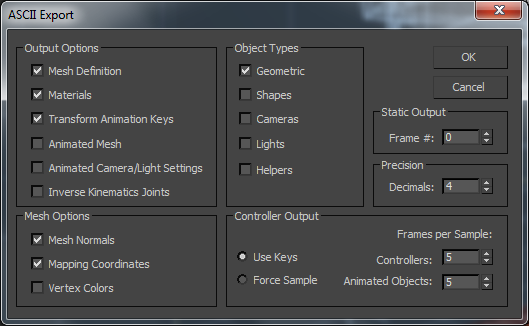
2) Run the 3DS Max script obj_to_ase.ms to convert to an ASE file.
– Make sure 3DS Max is set to use the correct OBJ import settings and the correct ASE export settings.
3) Copy the toolbox folder to the new directory.
4) Run convert_ms_models_to_udk.bat.
Import the textures into the UDK. Save.
Import the ASE files into the UDK. Save.
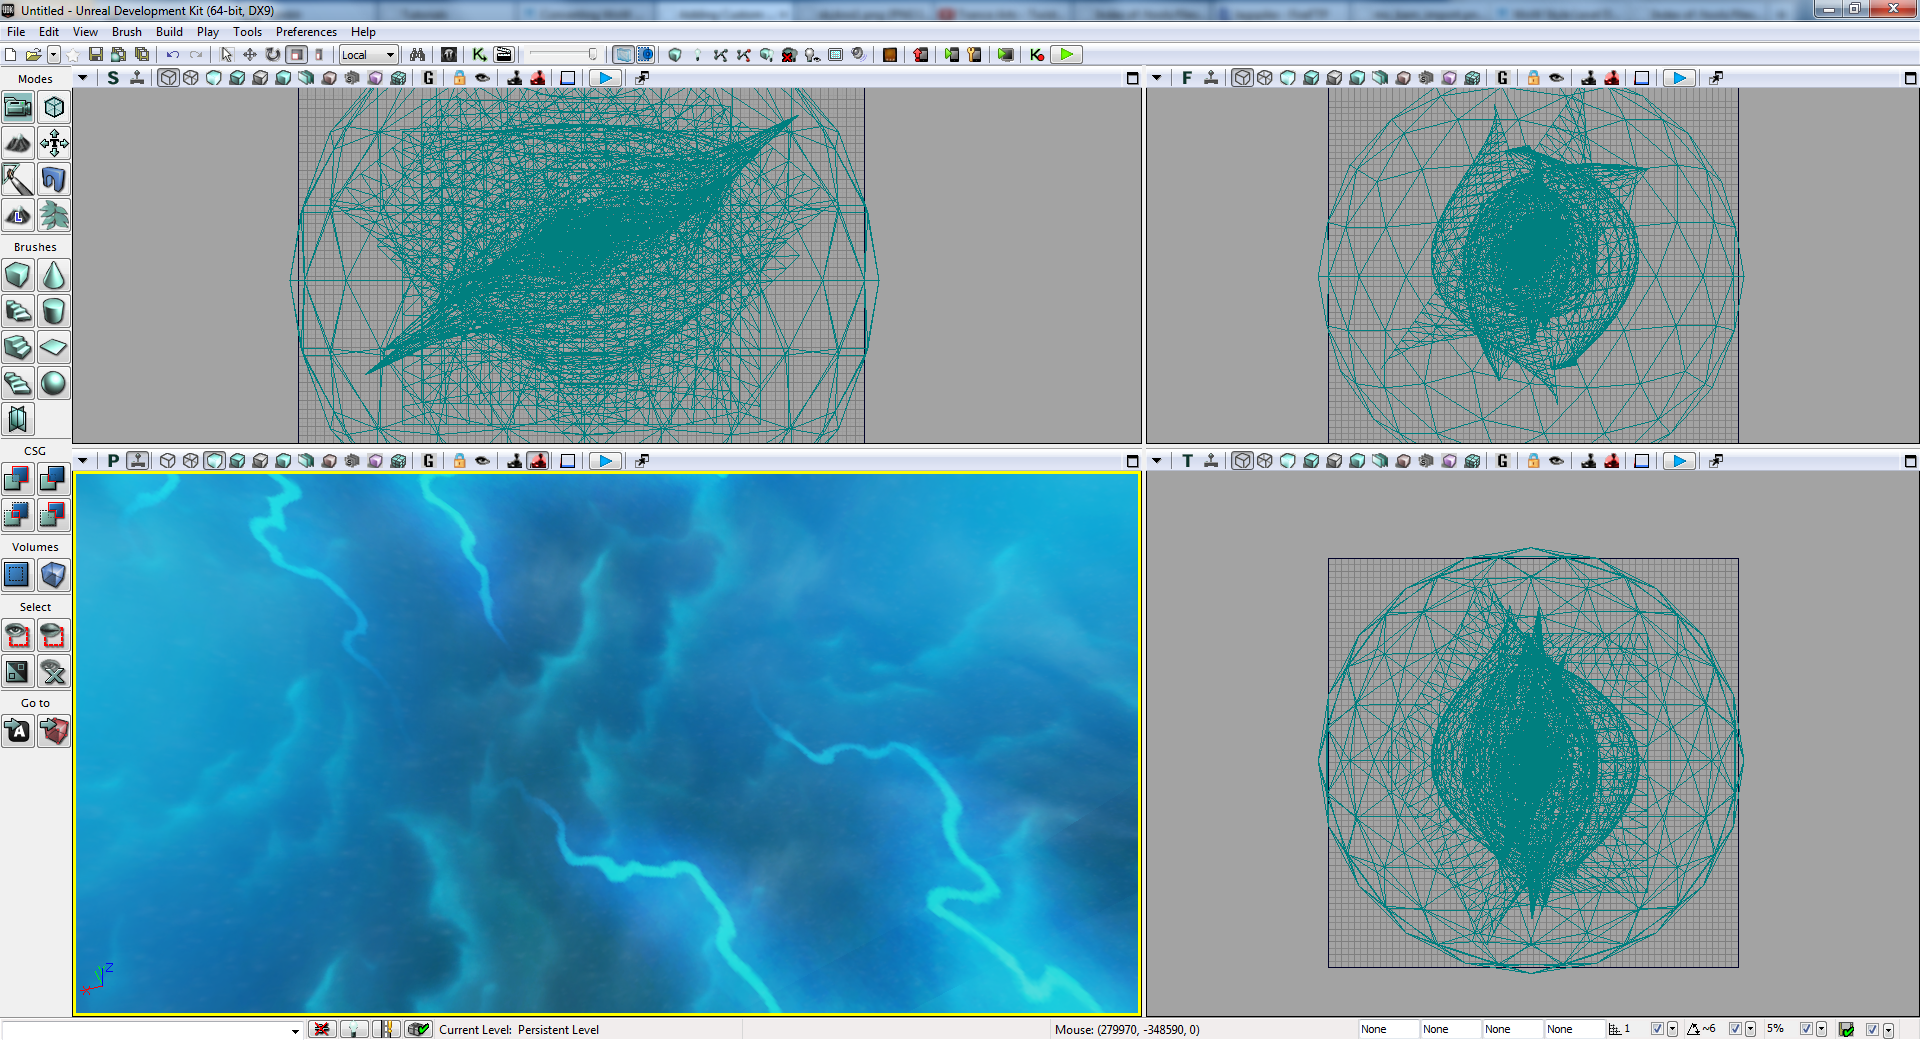
Converting Skyboxes to UDK
One benefit of using Machinima Studio is it exports the WoW skyboxes complete with all the textures.
1) Locate the skybox you wish to use and export as an OBJ file.
– Skyboxes can be found under Models > Environments > Stars.

2) Run the 3DS Max script obj_to_ase.ms to convert to an ASE file.
3) Copy the toolbox folder to the new directory.
4) Run convert_ms_models_to_udk.bat.
Import the textures into the UDK. Save.
Import the ASE files into the UDK. Save.
– The materials will each need to be examined to determine the settings needed. Everything should be set to emissive. Things like clouds and stars should be set to additive or masked. [Pic]
– Moving objects in the sky (such as clouds) can be accomplished by adding a rotator or panner in the material editor.
![[Pic]](https://www.lagspike.com/images/skybox1.png)