Converting the Brush Data
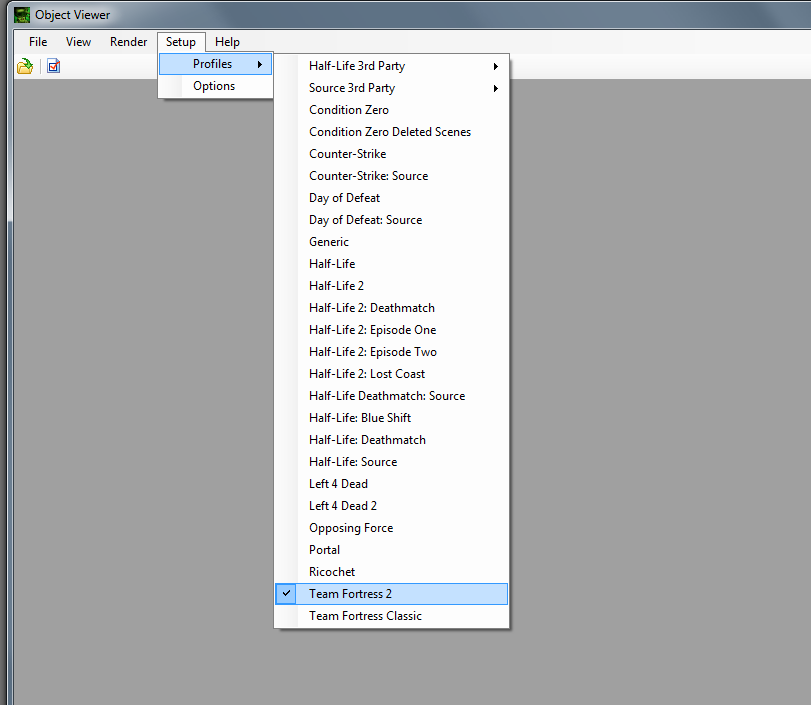
- Open Crafty and select the game you will be using under Setup > Profiles.
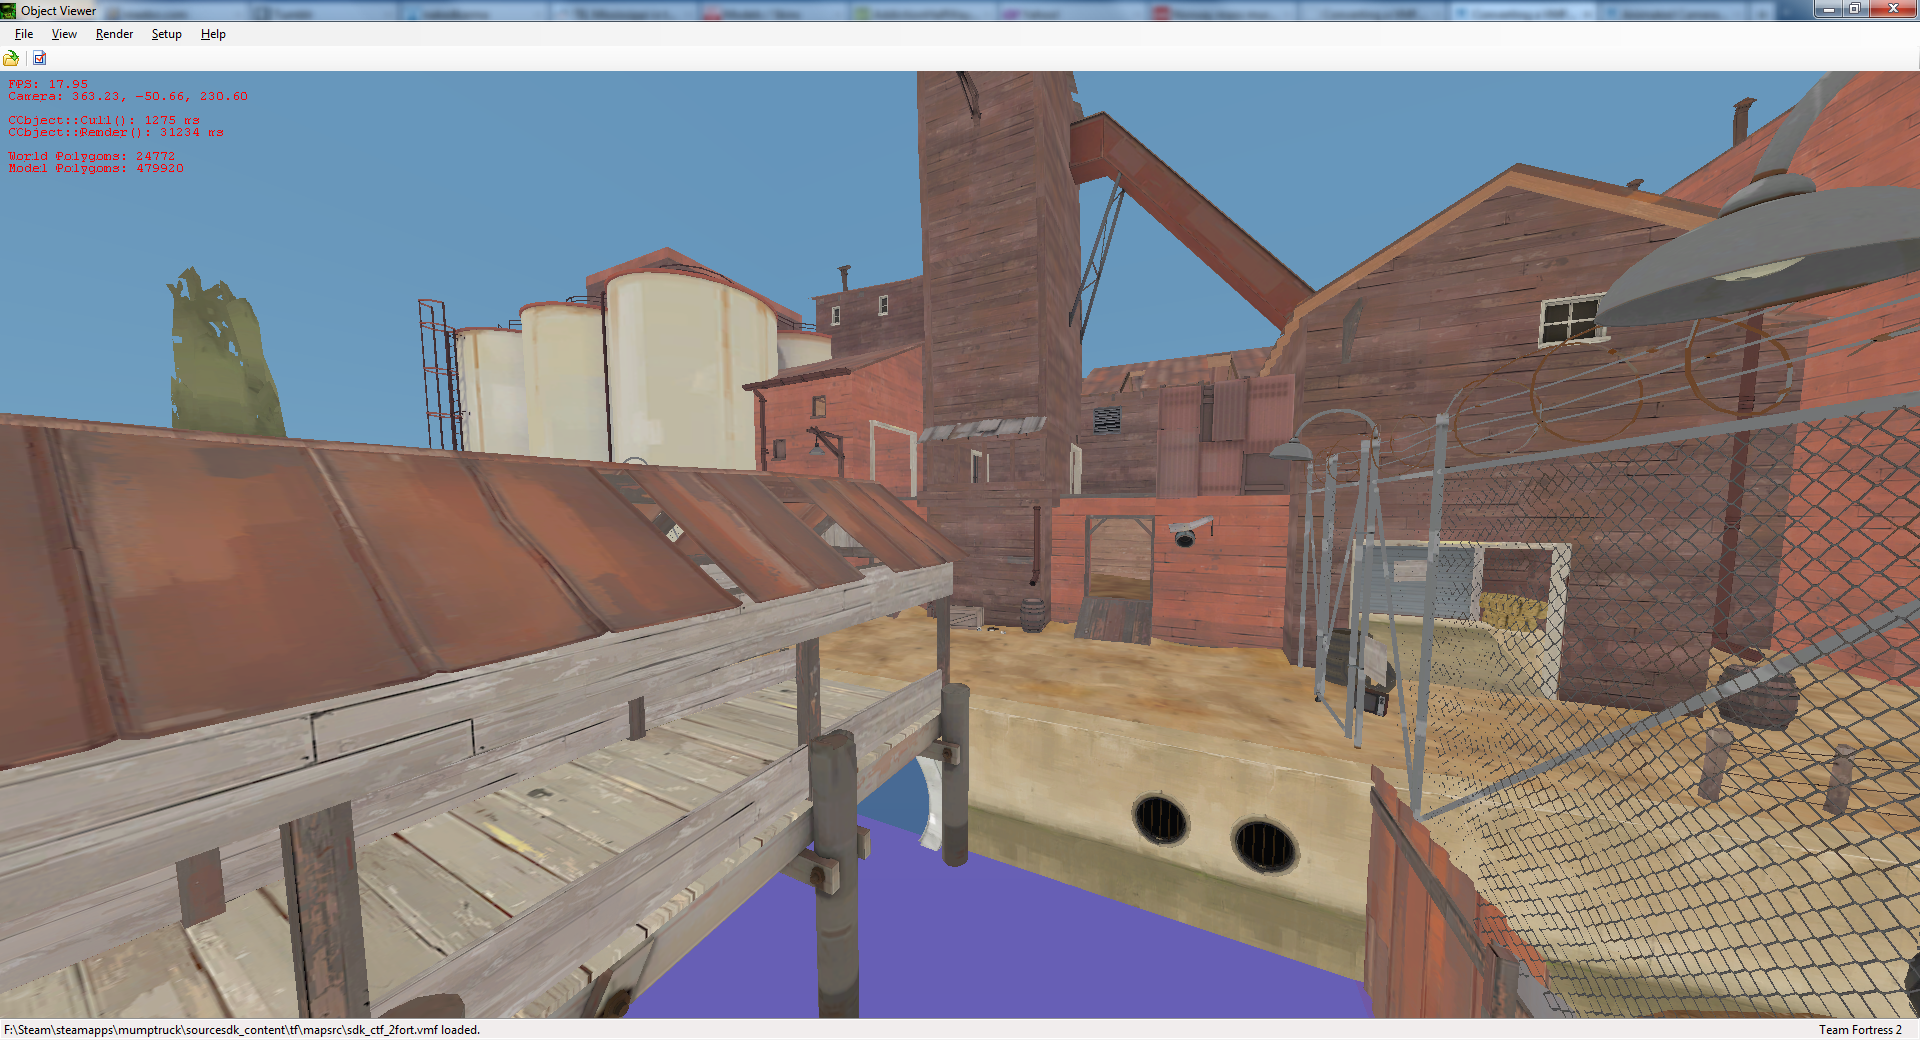
- Open the map file. This will allow you to fully preview the map.
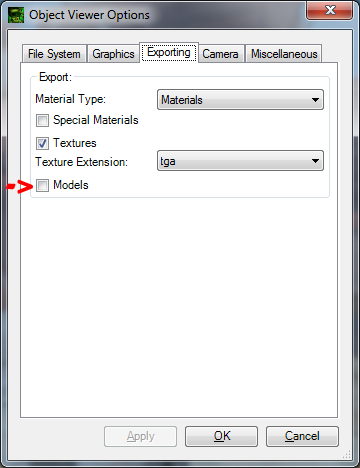
- Under Setup > Options, select the Exporting tab and uncheck models.
- Go to File > Export. Export the map as an OBJ file to a new directory.
- Note: Exporting maps will also export the textures. These are numerous and will take up a lot of space.
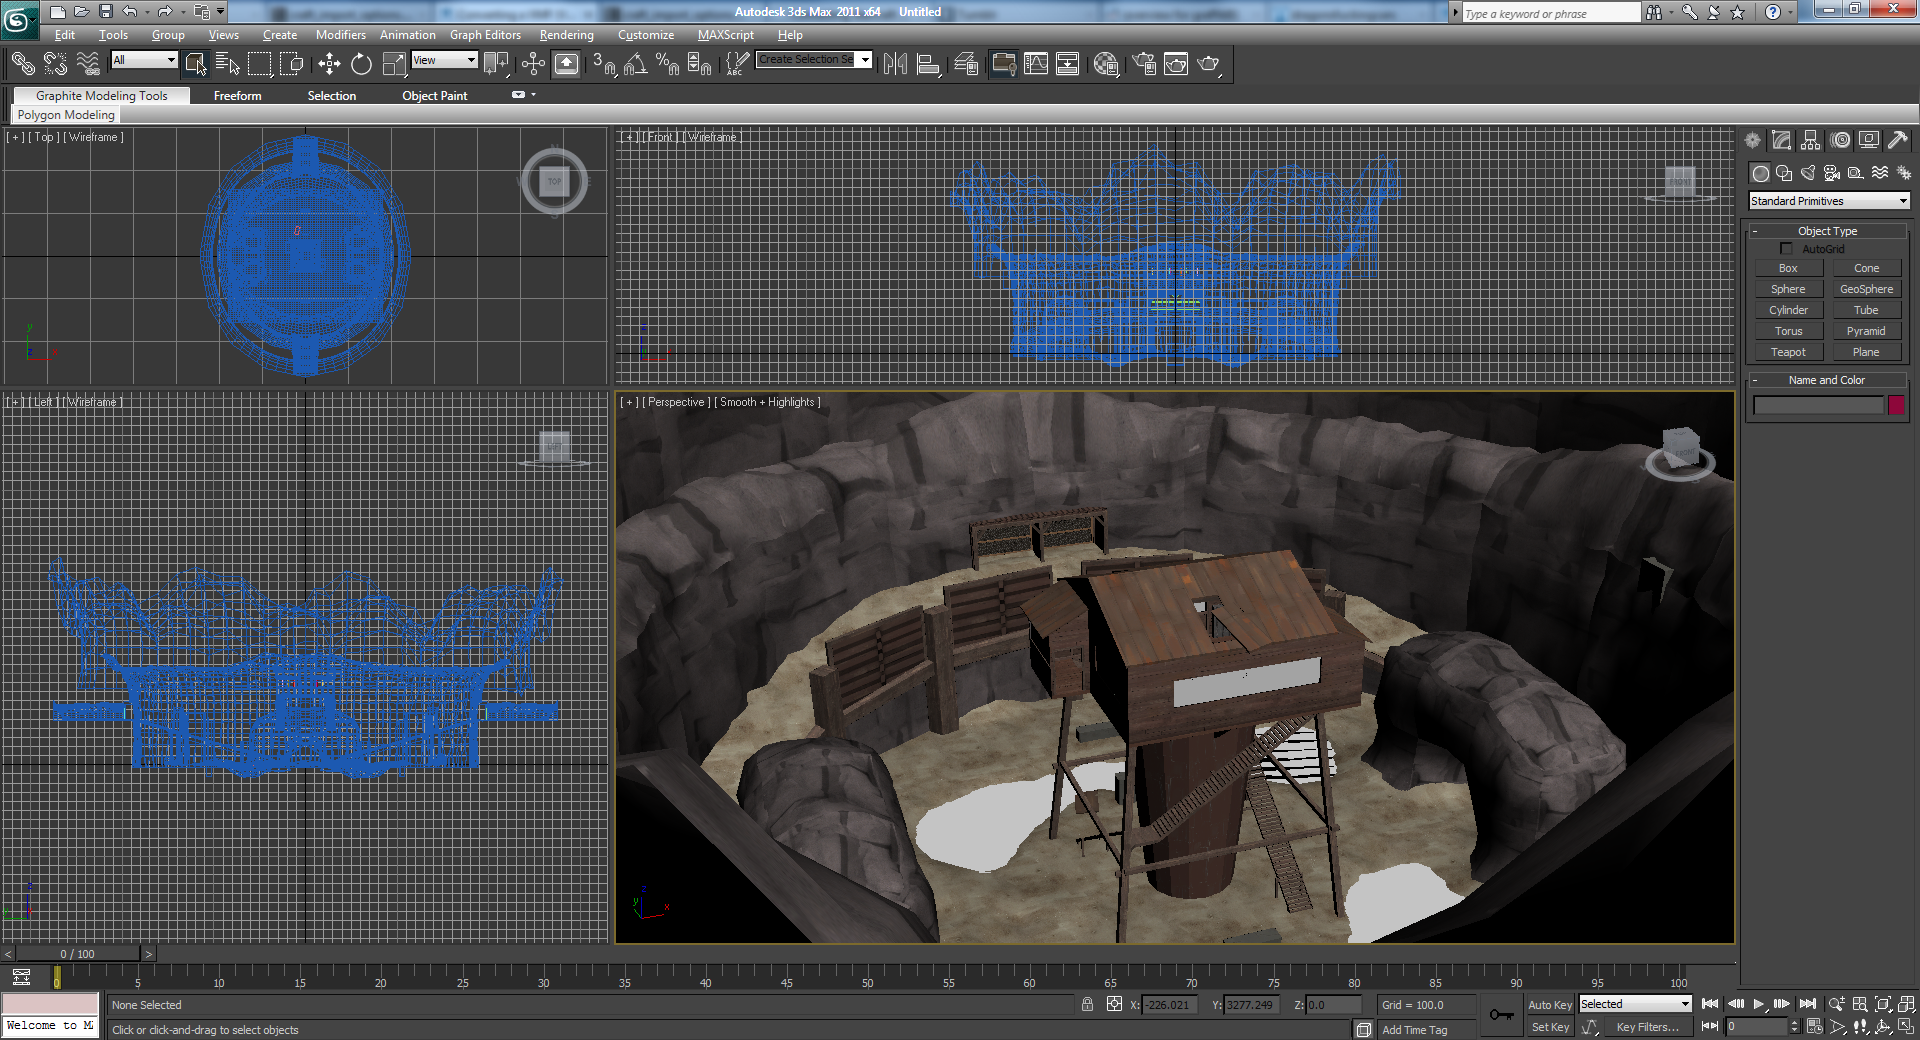
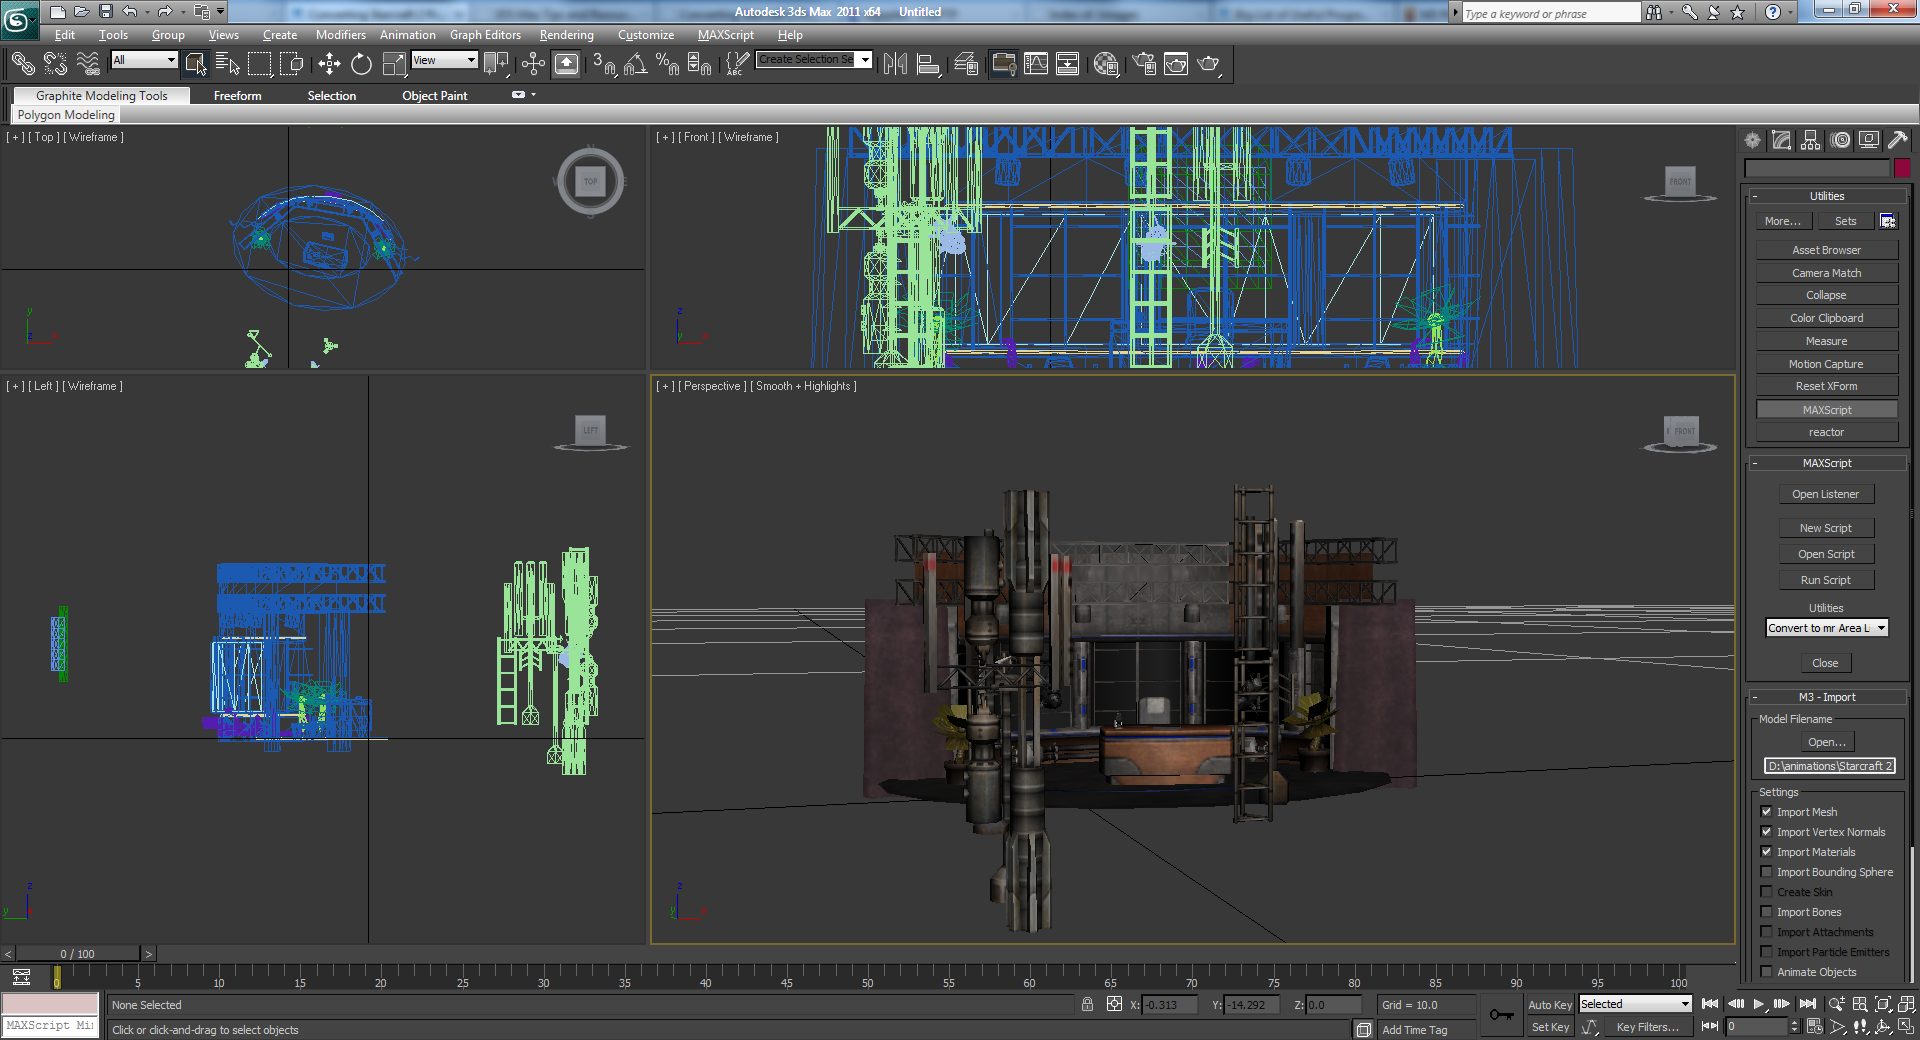
- Import the OBJ file into 3D Studio Max.
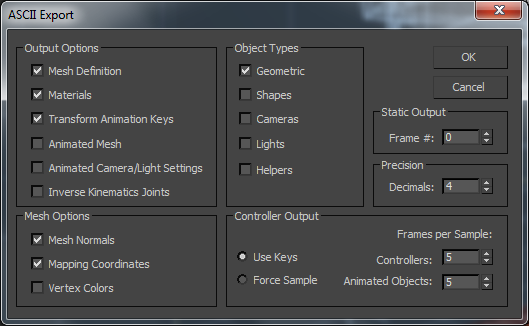
- Make sure that “Flip ZY-axis”, “Import as single mesh”, and “Retriangulate Polygons” are unchecked. Make sure the ASE export options are correctly set too.
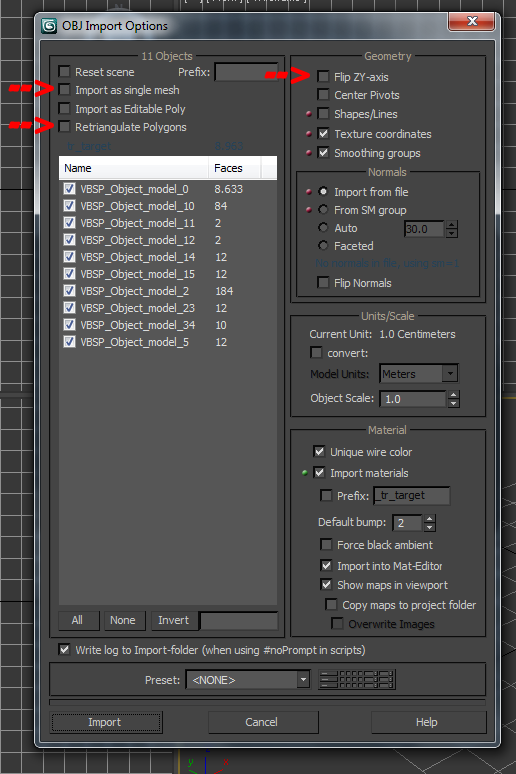
- Make sure that “Flip ZY-axis”, “Import as single mesh”, and “Retriangulate Polygons” are unchecked. Make sure the ASE export options are correctly set too.
- With the map loaded in 3DS Max, run the Max script batch_ase_export.ms.
- Note: This can be a lengthy process for larger maps. ctf_2fort has 2845 meshes and took 1.5 hours to export. Try using small maps such as arena_watchtower or tr_target for testing purposes.
- Note: This can be a lengthy process for larger maps. ctf_2fort has 2845 meshes and took 1.5 hours to export. Try using small maps such as arena_watchtower or tr_target for testing purposes.
- Copy the toolbox folder to the new directory.
- Run convert_vmf_brush_to_t3d.bat
- Import the textures into the UDK. Save the package.
- Import the ASE files into the UDK. Save the package.
- Copy and paste t3doutput.txt into the UDK.
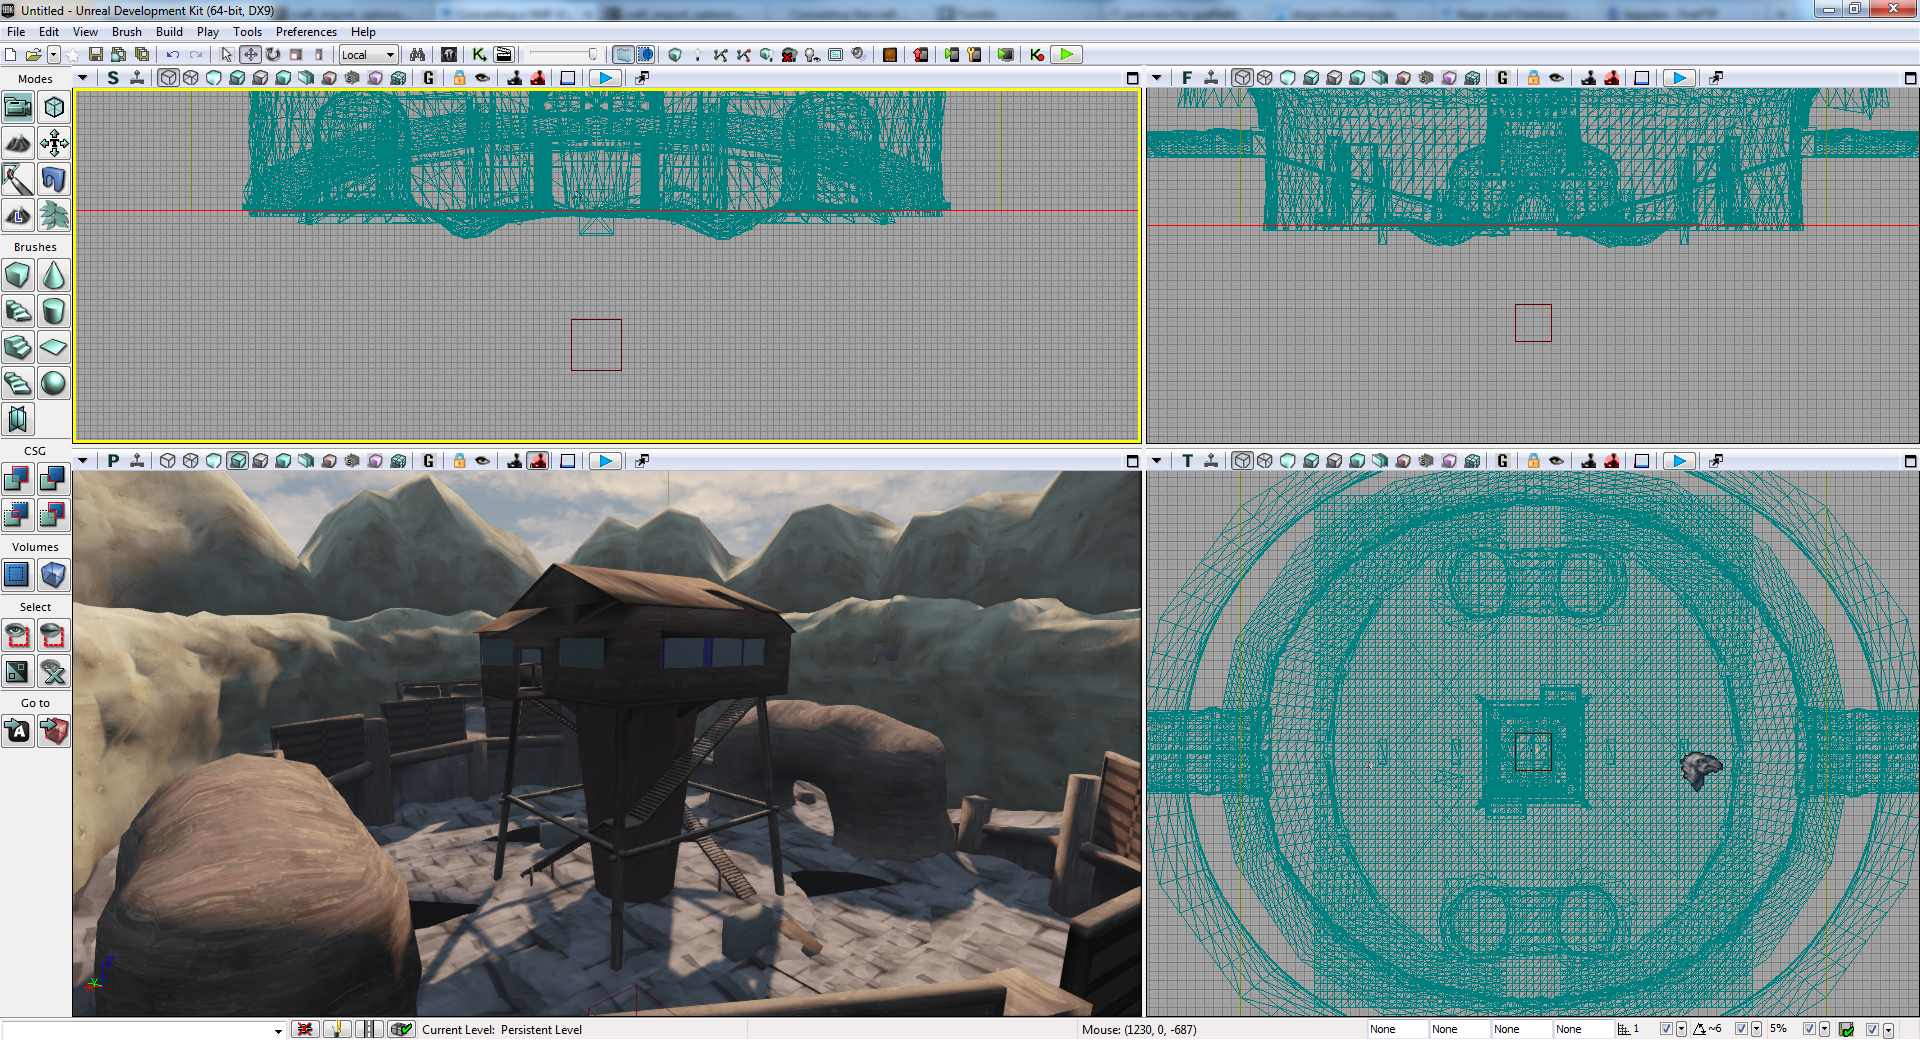
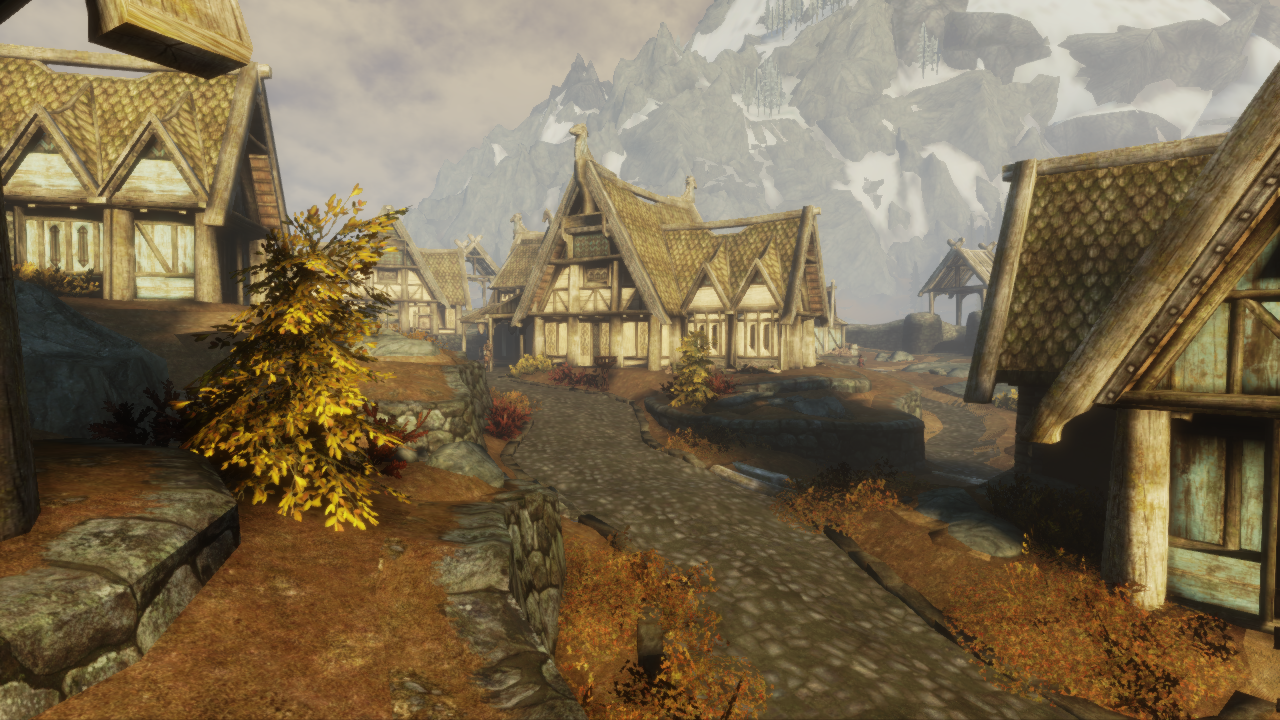
Example Output #1
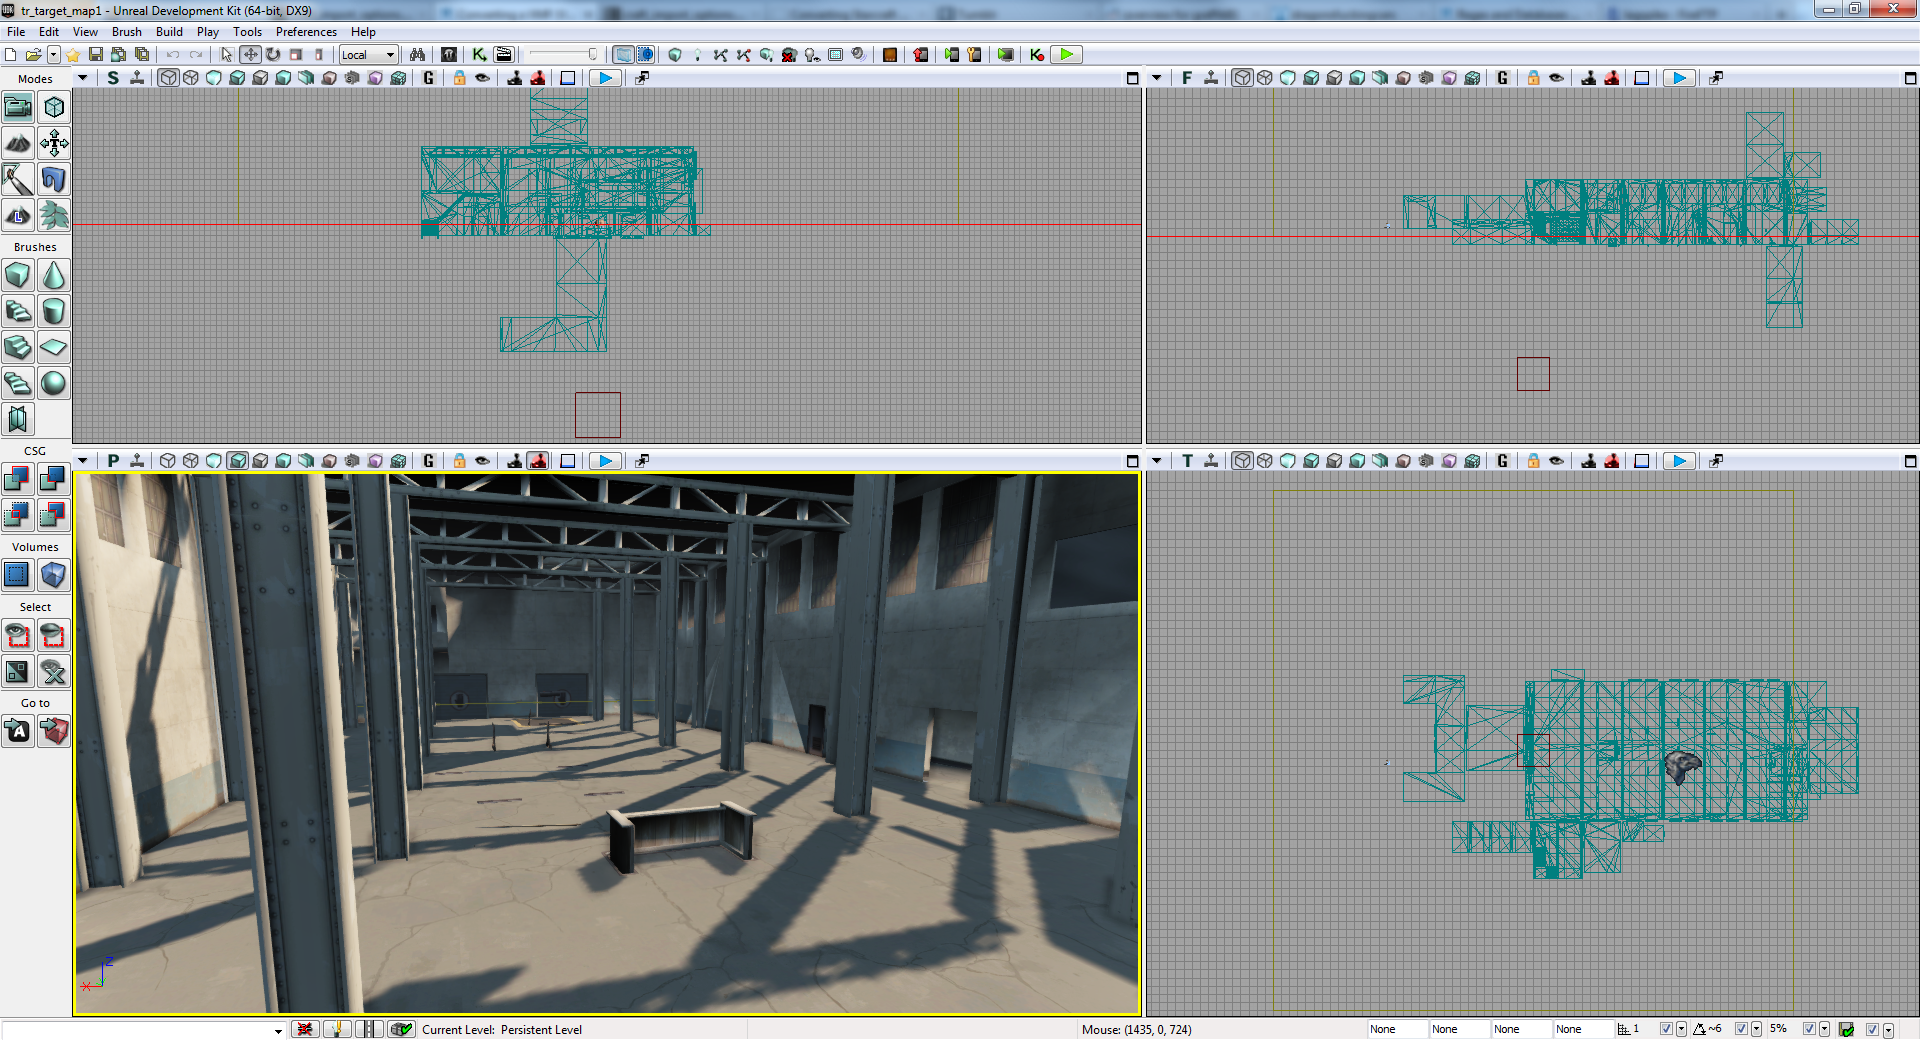
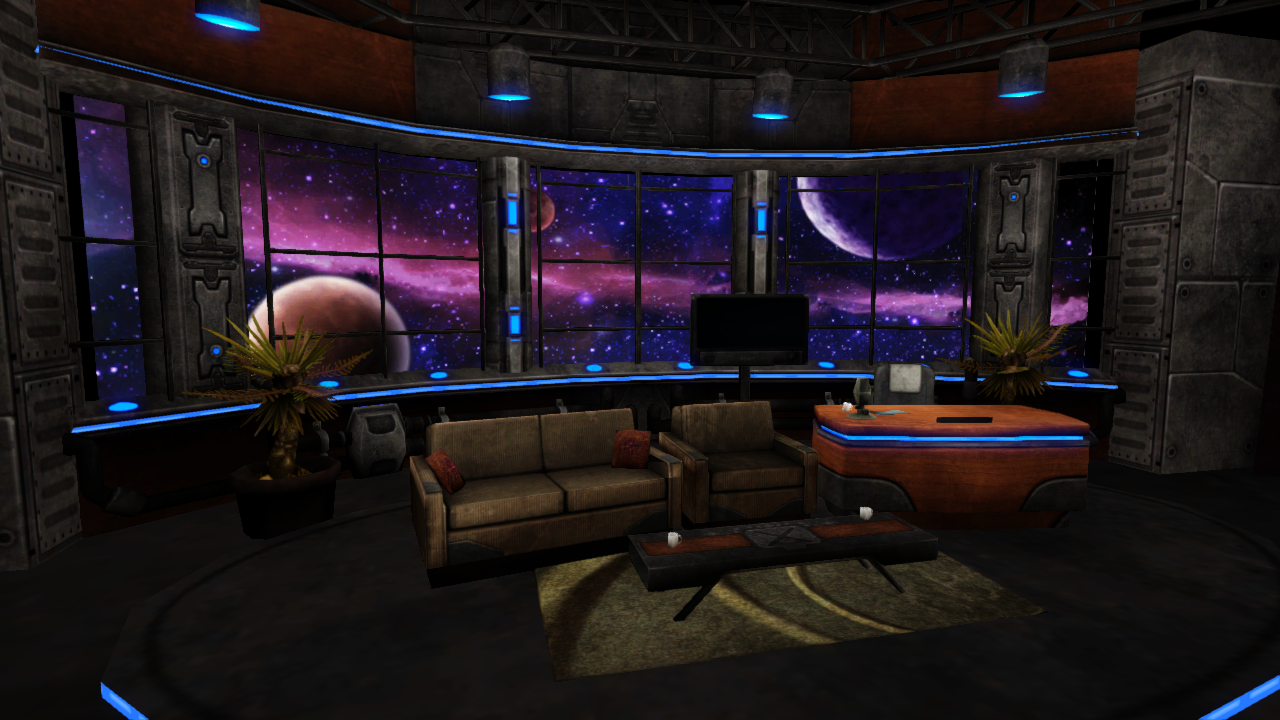
Example Output #2
Converting the Models
Note: This process has a lot of bugs and may not work as intended.
- Copy the map VMF file to a new directory.
- Copy the toolbox folder to the directory.
- Run convert_vmf_models_to_t3d.bat.
- You will be prompted to decompile the models. The MDLDecompiler can only decompile one model at a time. You can automate this process with an AutoIt script.
- When prompted to convert the files to ASE files, run smd_to_ase.ms. This can process can be automated with another AutoIt script.
- Import the textures into the UDK. Save.
- Import the ASE files into the UDK. Save.
- Copy and paste the contents of vmf_models_t3d.txt (located in t3d_output) into the UDK.
Alternate Methods
There are other ways to convert the brush data, but they have their downsides:
- Export from Hammer as a DXF file. This will lose the UV coordinates.
- Convert the VMF brush data to Unreal T3D format – This is possible but it will result in long compile times, and it will lose the UV coordinates in the process.
- Propper – This will merge the meshes together (which will be huge!). It also loses the UV coordinates.
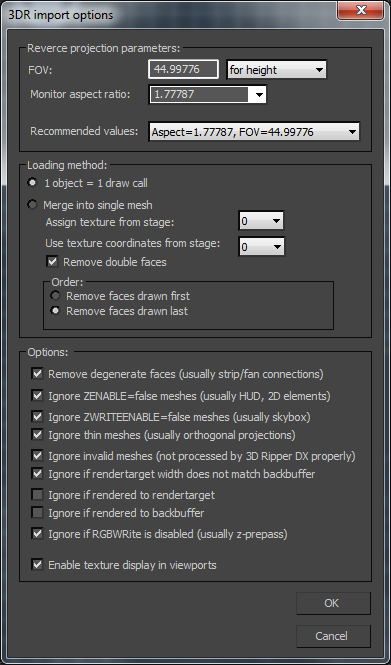
Using 3D Ripper DX is an easier method to rip models and brushes, but it will be less accurate.

![[Pic]](https://www.lagspike.com/images/m3_import_settings.png)
![[Pic]](https://www.lagspike.com/images/max_rename_objects.png)