Rigging through Scripting
An easier way to rig (in my opinion) is through the use of maxscript. You can find some of the example scripts I’ve made here.
– Note: these are for the FBX WoW character models.
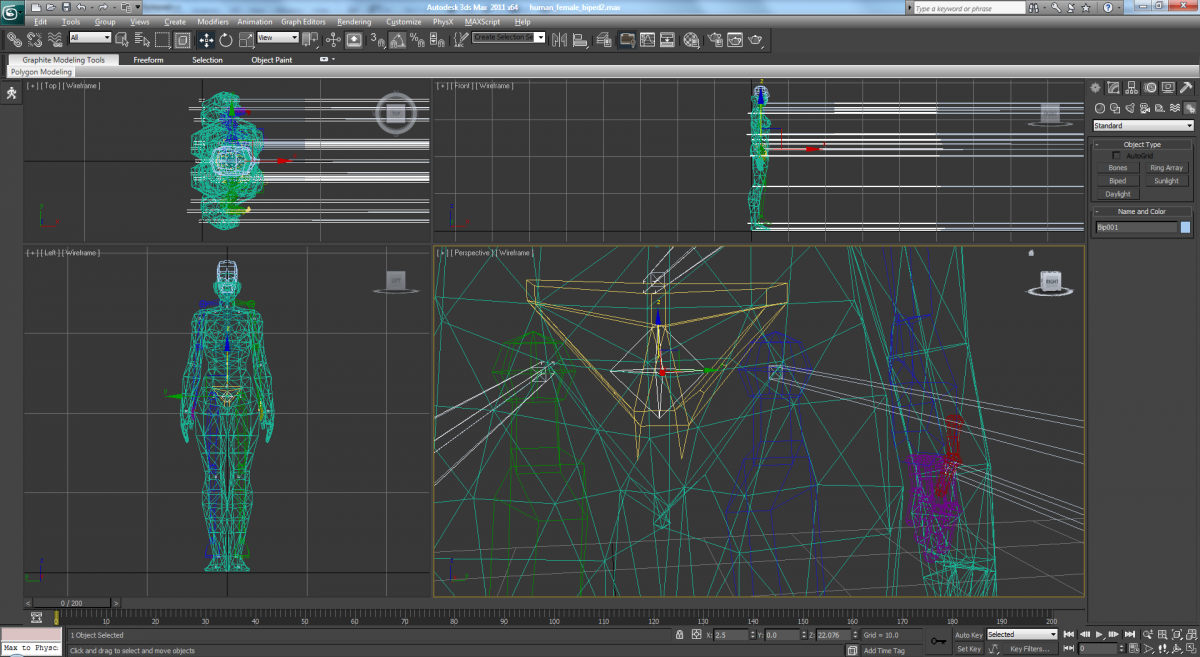
Creating a WoW biped 2.4 character models Note: This tutorial is deprecated, but I’m leaving it here for anyone who wants to see how I originally rigged characters. 1) Load the character in 3DS Max using WoWM2Import.ms. 2) Unhide the bones and delete any existing animations. Change the time scale to 0-100. 3) Under the Create > Systems tab there will be a biped option. Make the biped about the same size as the character.
4) Turn on figure mode. [Pic]
– The “figure mode” button is located in the Motion panel. This needs to be enabled before you can alter the biped.
5) Alter the biped structure settings to match the number of bones on the WoW character.
6) With the biped selected, use the align tool to center the biped to the character’s pelvis bone.
– F3 will toggle wireframe mode, which will make it easier to see what you’re doing.
7) Scale and align the biped bones.
– Align things in the following order: legs, spine, head, arms, fingers.
– Make sure the biped bones are being aligned to the pivot point.
8) Link the character’s bones to the biped bones. Link the root character bone to the root biped bone (Bip001). Attach the biped pelvis to the lowest spine bone (usually spine_lower).
– Optional: Display the biped bones as box. Rescale the box.
9) Turn off figure mode.
10) Delete any existing animations.
You are now ready to create custom animations or load motion capture files.
Turning the biped into a ragdoll
1) Create or open the biped.
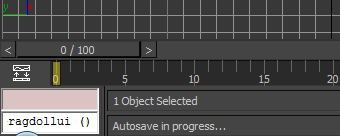
2) In the bottom left box in 3DS Max, enter the following command: rctmakeragdollui ()

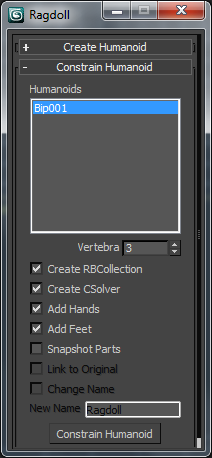
3) Press the “Constrain Humanoid” button.

– Use the “Preview in Window” button in the Havok settings to preview the animation.
– In the reactor settings, under Havok 1 World, the Collision Tolerance works best when set to 1.
