Note: This uses the 2.4 WoW character models, which are pretty dated by now. I am leaving this here for reference purposes, but it is dated. If you wish to use something newer, look into the FBX export option.
This is an overview of how I converted WoW character models and added custom facial animations.
Exporting the model M2 file
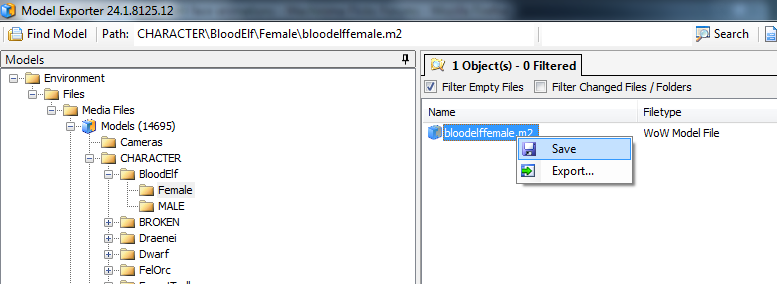
1) Open WoW Model Exporter and load WoW 2.4.
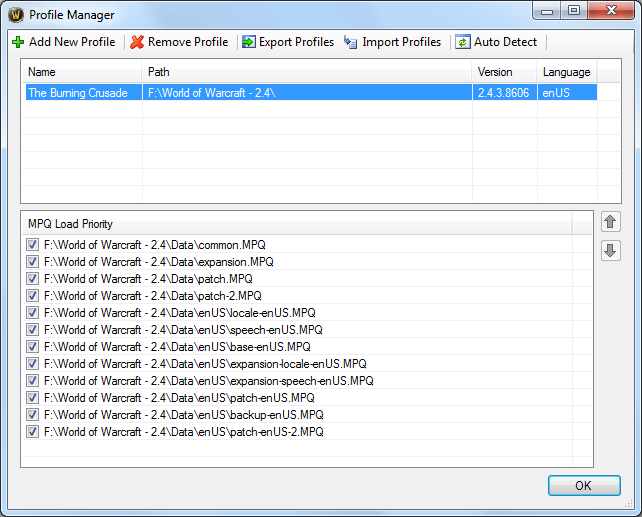
2) Save the M2 and export the animation list-file.
Importing the character into 3DS Max
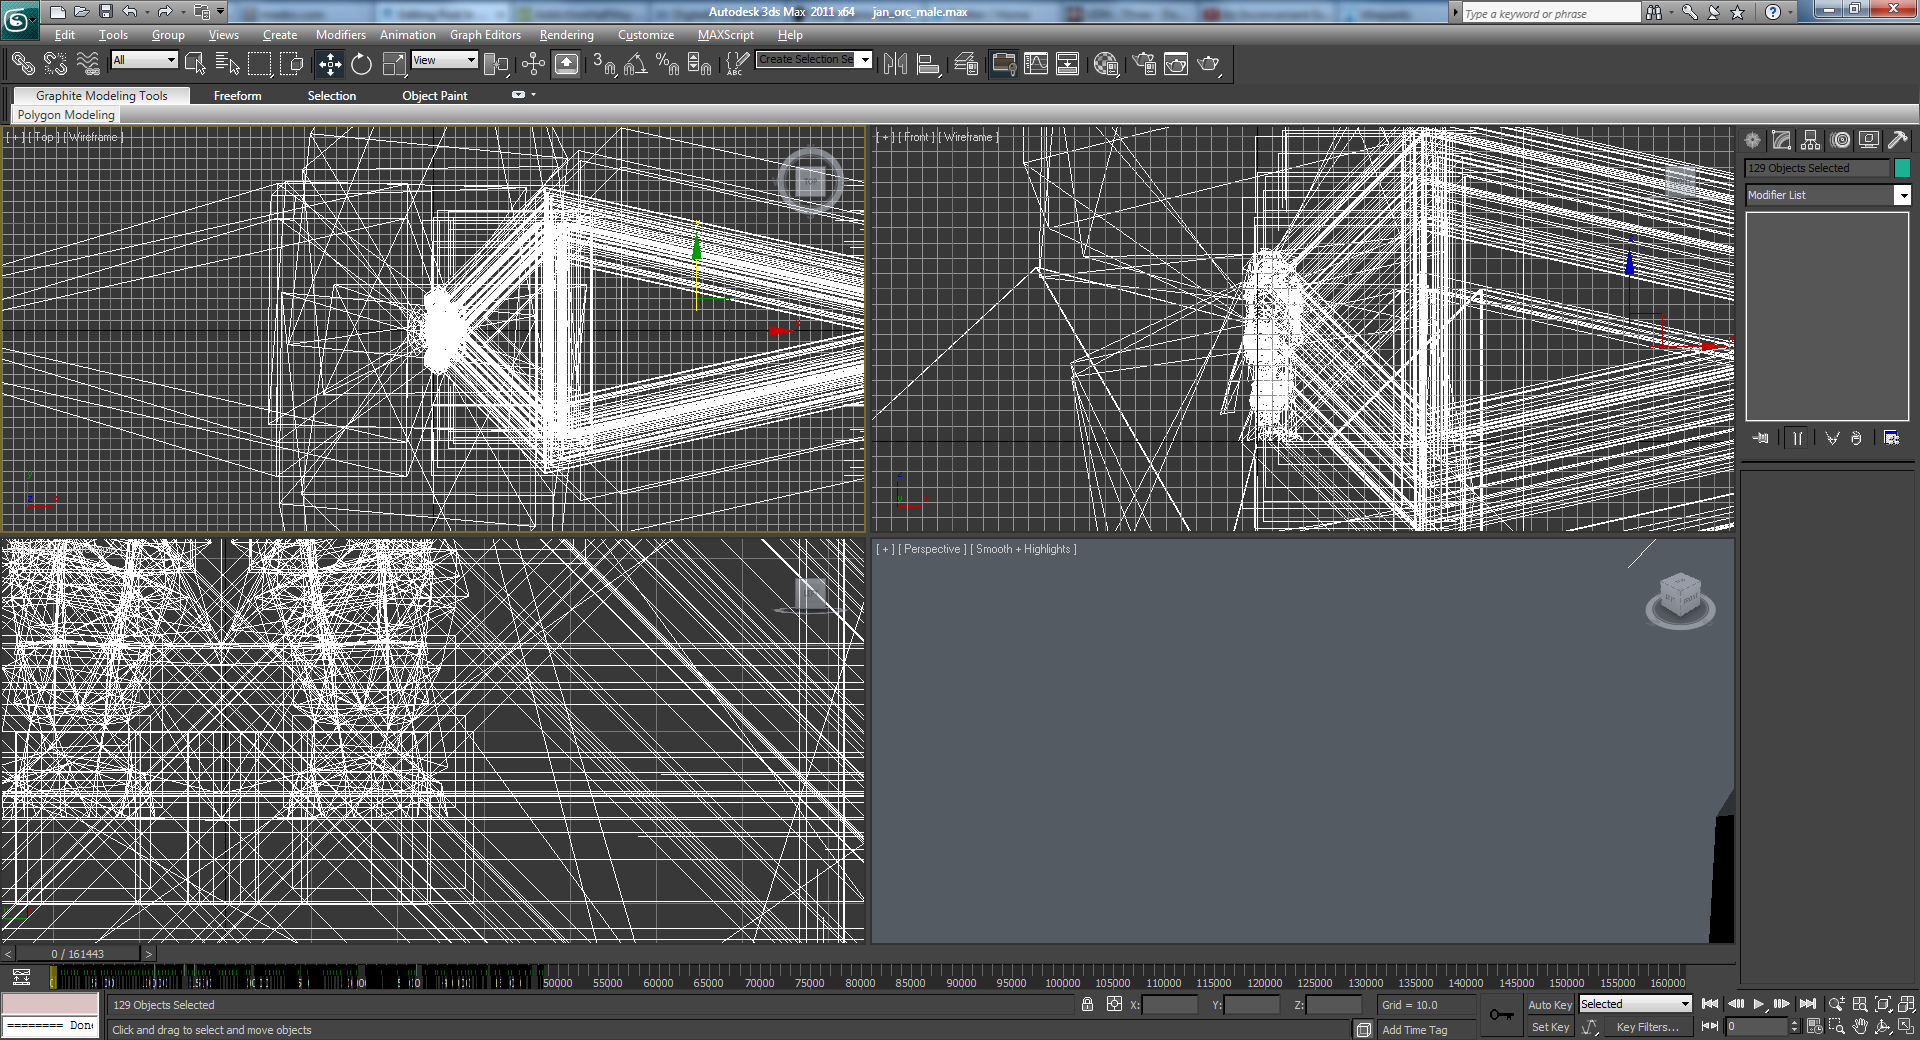
1) Open 3D Studio Max. Import the M2 using WoWM2Import.ms, set the FPS to 100.
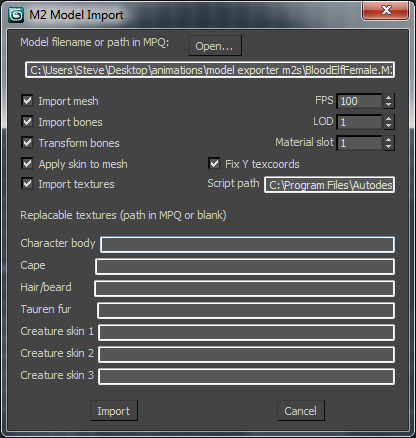
The imported model will be very small. We will fix that in the next step.
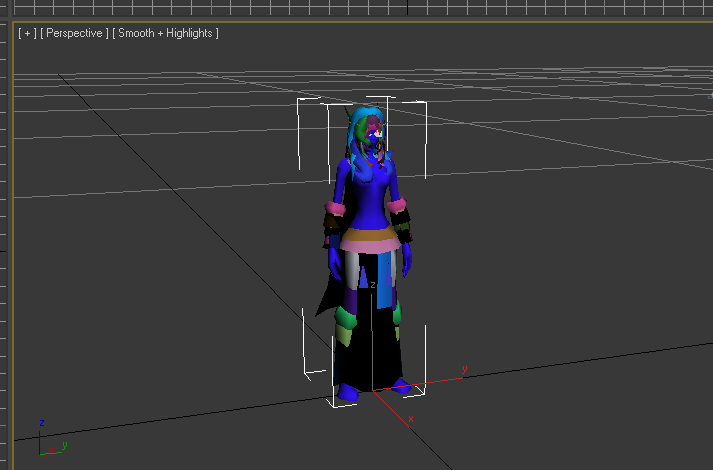
Modifying the mesh
1) Right-click the viewport and select “Unhide All”. Select everything and scale by 5000%. Manually recenter.

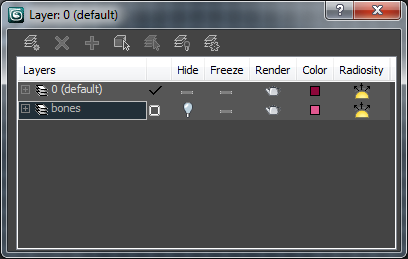
2) Select the bones, add them to a new layer, then hide the layer.
3) Export with ActorX.
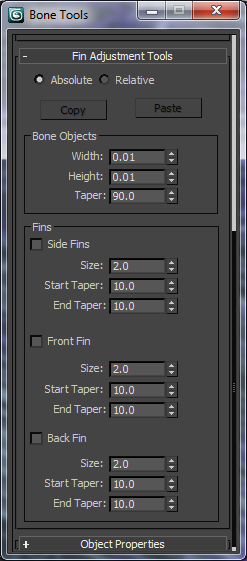
Optional: Change the bone size. Select the bones. Go to Animation -> Bone Tools. Change the width and height to 0.01.
Optional: Some characters have eyelids which need to be hidden. Create a new material ID for the eyelids.
Adding Animations
1) Download the toolbox.
2) Place the animation list-file in the wow/m2 directory.
3) Run convert_animations_to_max.bat.
– This creates a maxscript file that will save each animation as a seperate .max file.
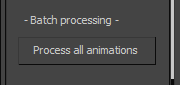
4) Batch process the animations using ActorX. Use the “Process all animations” button.
3) Export as PSA.
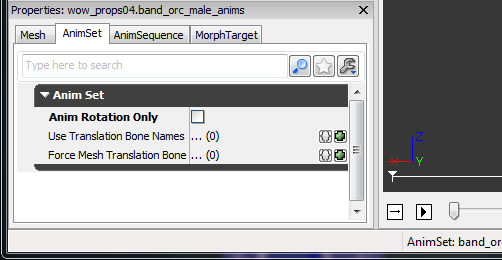
4) Import the PSA into the UDK and untick “Anim Rotation Only” in the animation editor.
Teeth and Face Morphs
Most WoW characters don’t have teeth. In order to make better looking face animations, we will need to add them.
1) Import the teeth (I use teeth from Left 4 Dead 2 characters). Position and rescale to match the WoW mesh.
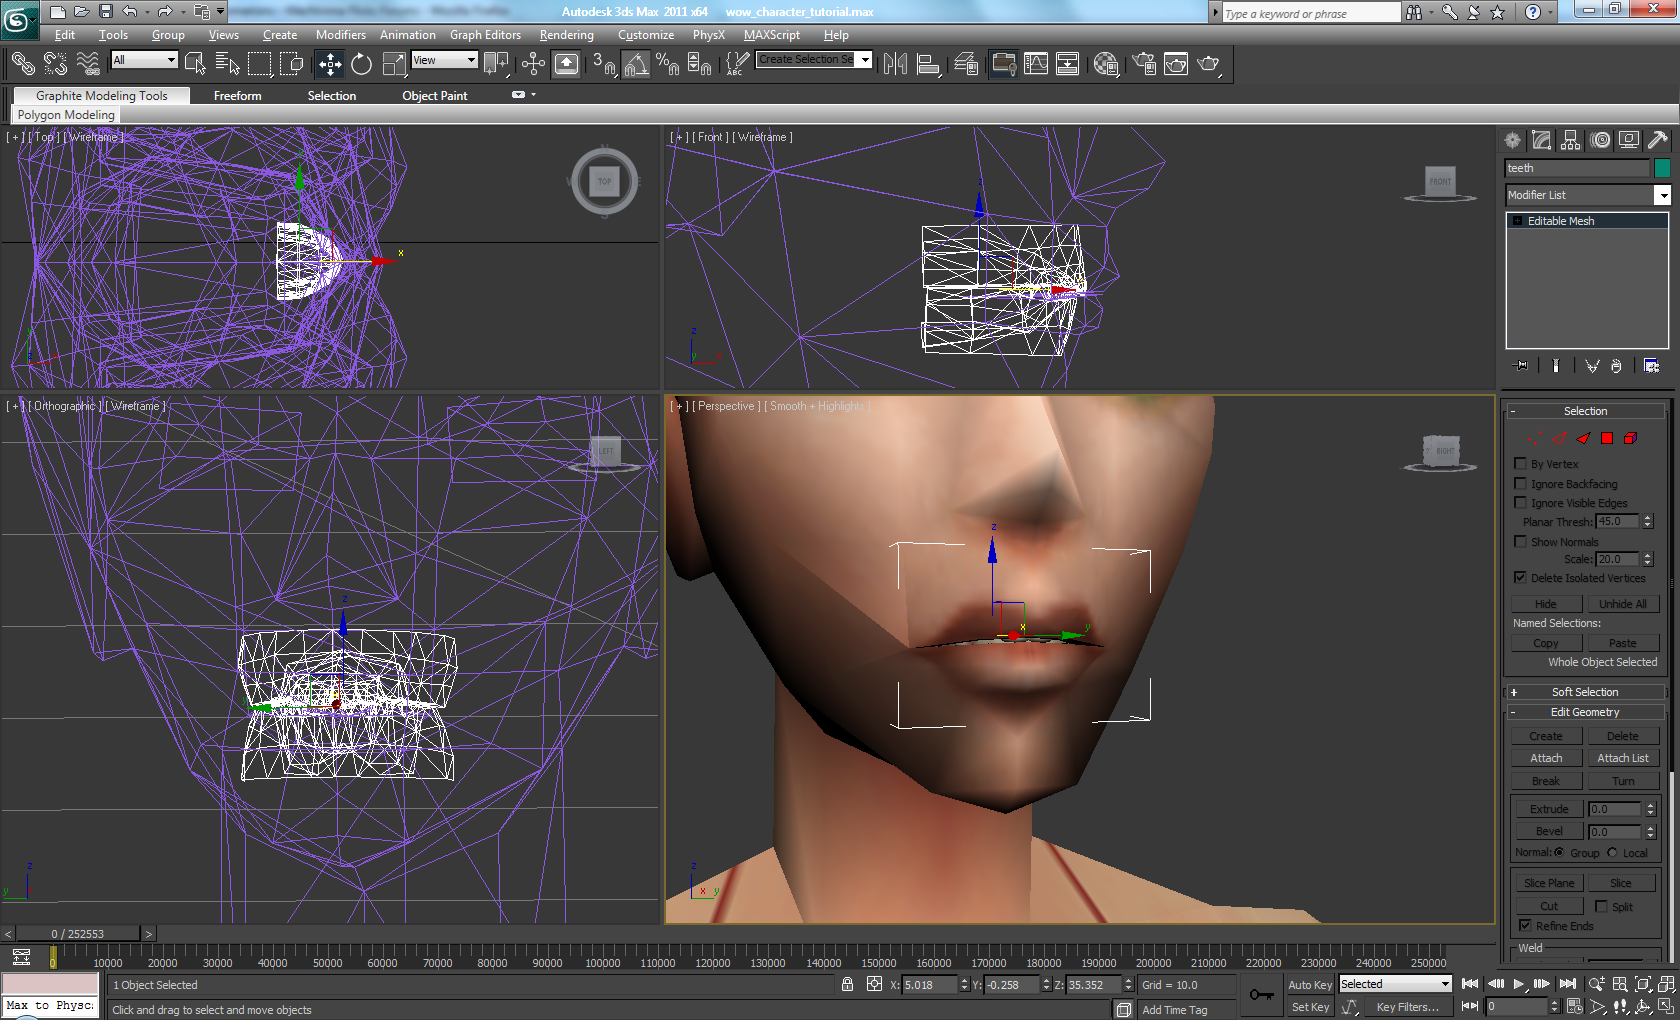
2) Add an “Edit Mesh” modifier to the WoW mesh and attach the teeth.
Change the animation time to 100 for these next few steps.
3) Locate the jaw bone (ex: Bone_NightElfMale_30). Create an animation of it opening by rotating it. It should be closed on frame 0, and fully open on frame 5.
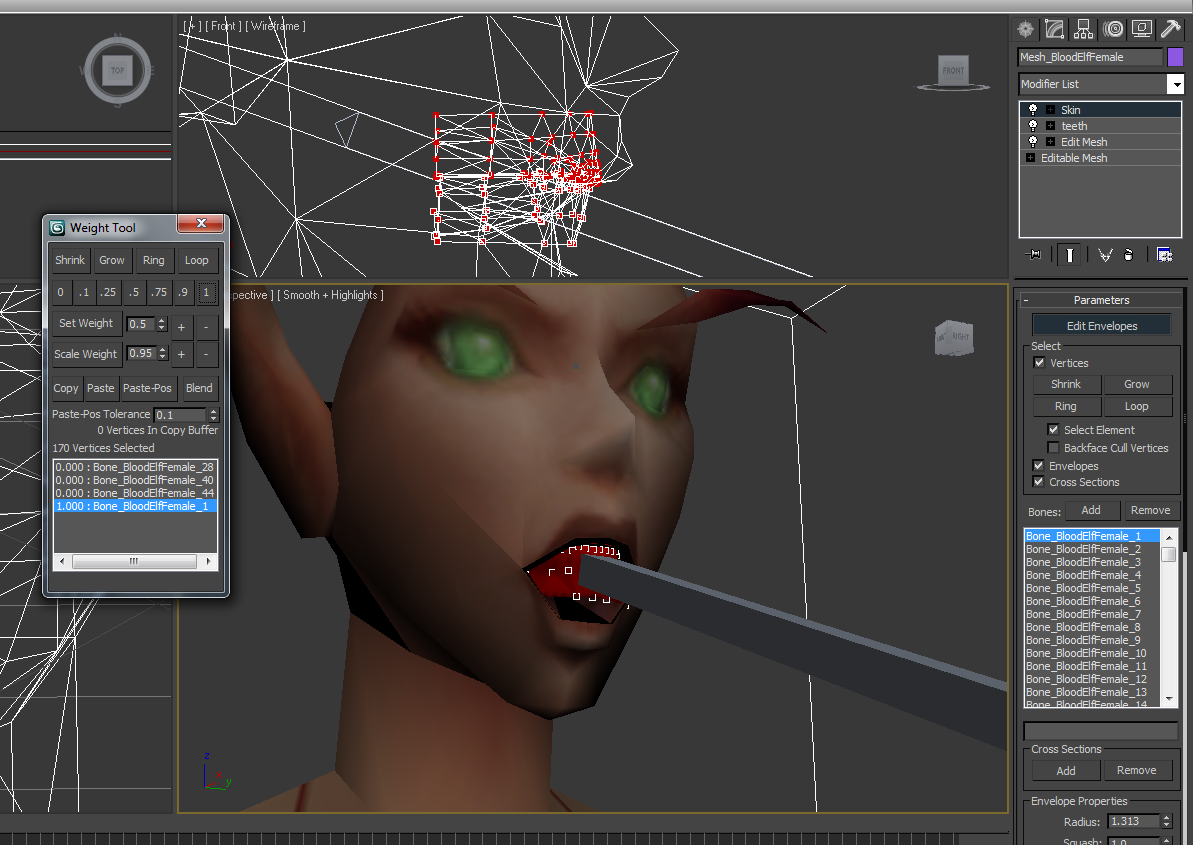
4) Under the Skin modifier, select all the teeth vertices and change their weight so they aren’t affected by the jaw animation.
5) Add an Edit Mesh modifier, move the vertexes (and teeth) to create one of these face shapes.
– Dont move all the lips verts at the same time when shaping the mouth, it can produce inaccurate results.
6) Turn any mouth morphs off and export the reference with ActorX.
7) Turn on a single mouth morph and export with ActorX using a unique name. Repeat for each mouth morph.
– Make sure the animation is on frame 0 when exporting.
8) Import the reference mesh into the UDK. Create a new morph target set.

9) Import the morph targets and test to make sure they work.
– The order of the modifier list in 3D Studio Max is very important. If you can’t select vertices using an “Edit Mesh”, check the modifier order. Skin needs to be on top.
– To use morph targets with talk animations, the bone that controls the mouth needs to have its keys deleted. Note: Some of the idle and stand animations have mouth movements as well.
– You can not delete any verts when making morph targets, but you can move them so they can’t be seen (or delete them from the reference mesh).
FaceFX Setup
FaceFX will combine bone animations and morph targets to create out animation. First we will export the jaw animation we made earlier.
1) Load the FaceFX plugin in 3D Studio Max. Unhide the jaw bone. Under “Reference Bones” click the export button and select the jaw bone.
2) Move to the last frame of the mouth animation. Under “Bone Poses” in the FaceFX plugin, click export and enter an animation name.
3) Export the FXA file.
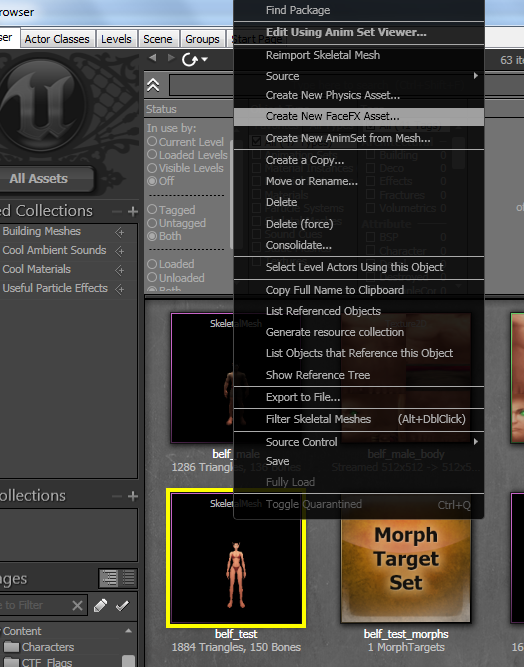
4) In the UDK, Right-click the WoW mesh and select “Create new FaceFX asset”.
5) Right-click on the mesh’s FaceFX asset and select “Import from FXA”.
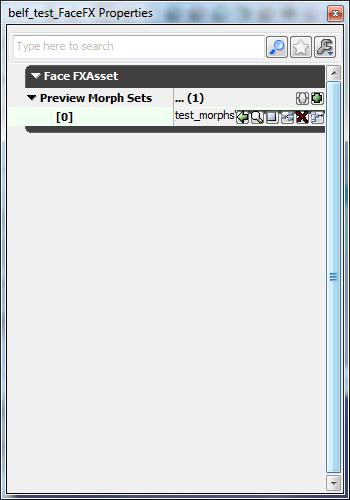
6) Right-click the FaceFX asset and select properties. Add the morph target set.
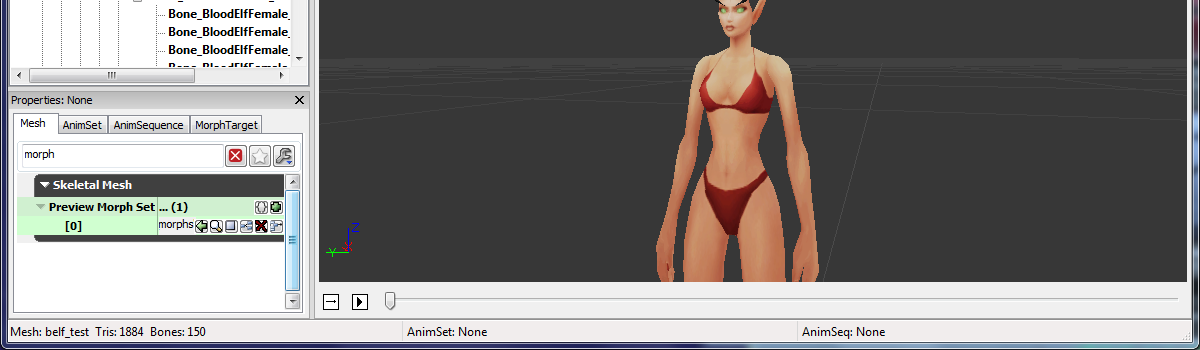
7) Open the mesh in the animation editor. Under the mesh tab, add the morph target to “preview morph sets”.
8) Open FaceFX and select the “Face Graph” tab. Right click the background, under add node select FUnrealFaceFxMorphNode. Put the morph name under target_name.

– Keyframes can be added to the animation graph by right clicking the curve name under animations. Select “Curve Properties”. Untick “Owned by Analysis”.
– A tutorial that covers FaceFX usage can be found here.
Attaching Armor
1) Load the character file you saved earlier (before any of the “Edit Mesh” modifiers were added). Export with ActorX.
2) Attach to the character in the UDK using SkeletalMeshActorMULTI. This will allow both meshes to play the same animation.
3) Apply an invisible material to all the material slots except those you wish to render.
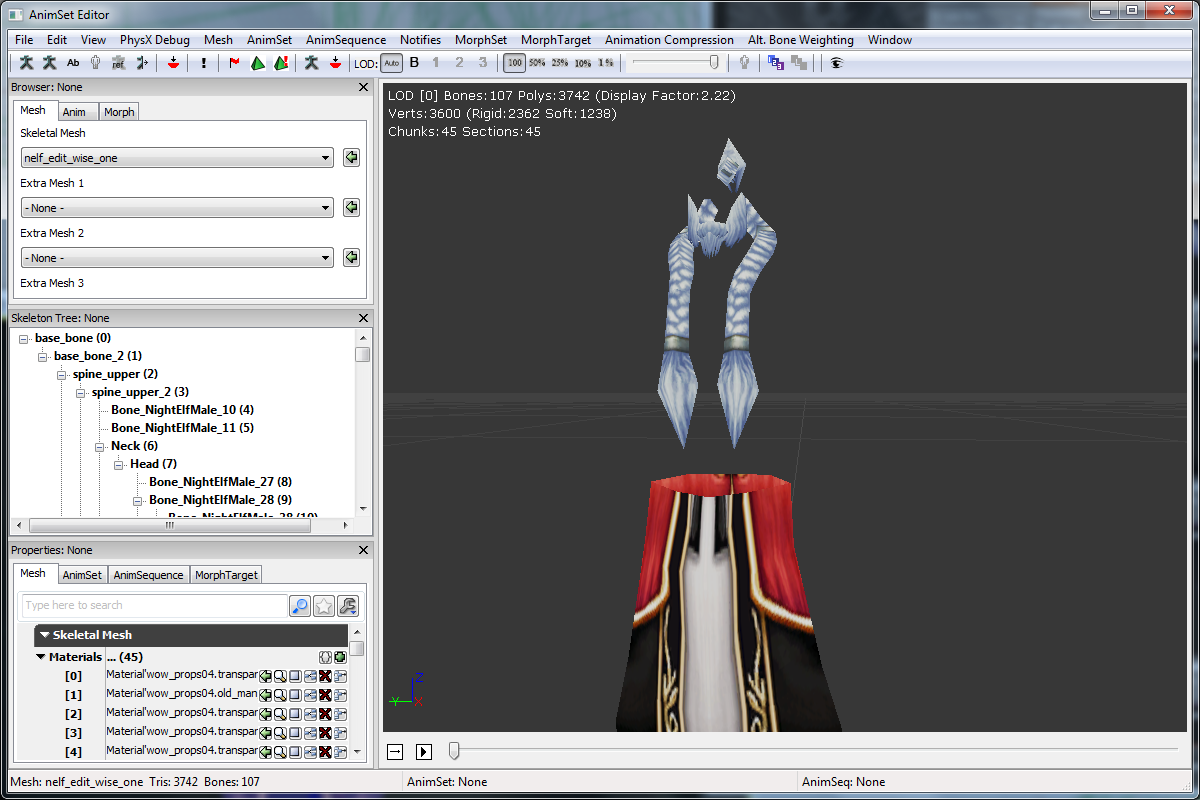
Attaching shoulders and helms
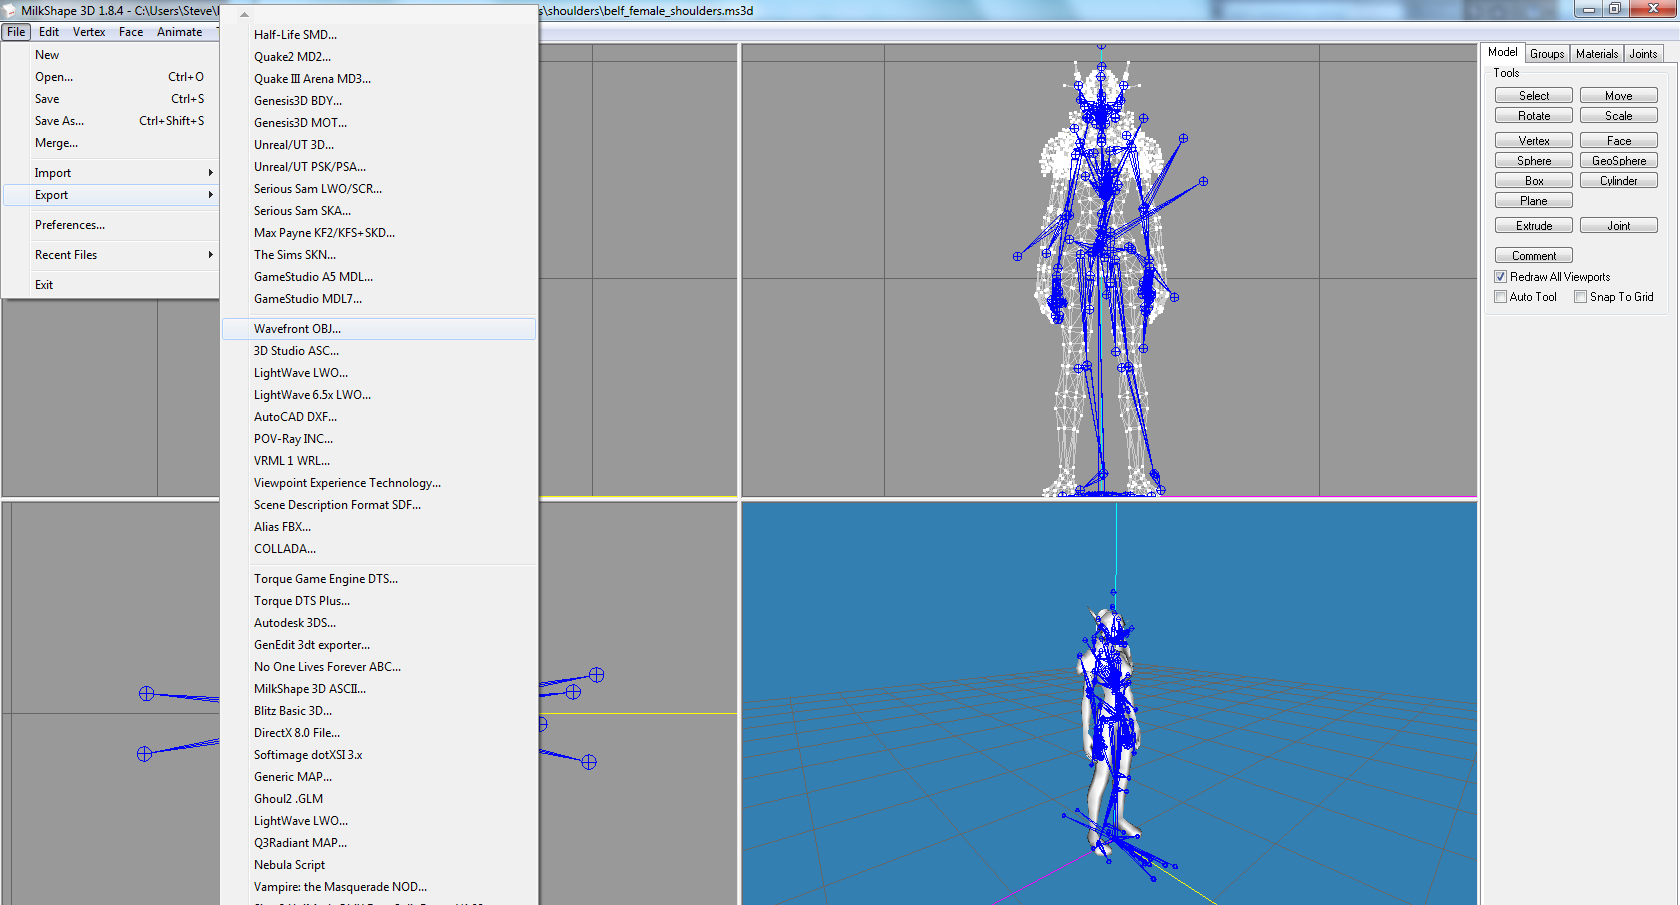
1) Export the character from WoW Model Viewer wearing the shoulders as a Milkshape file.
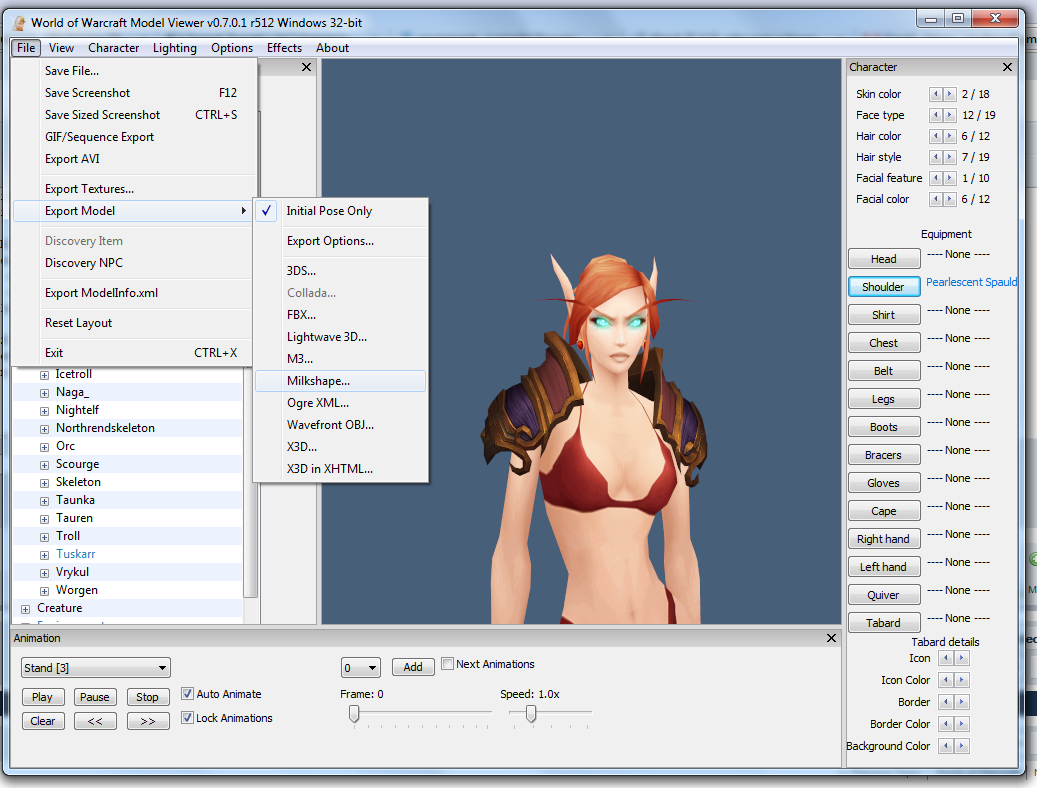
2) Open the Milkshape file and export as an OBJ file.
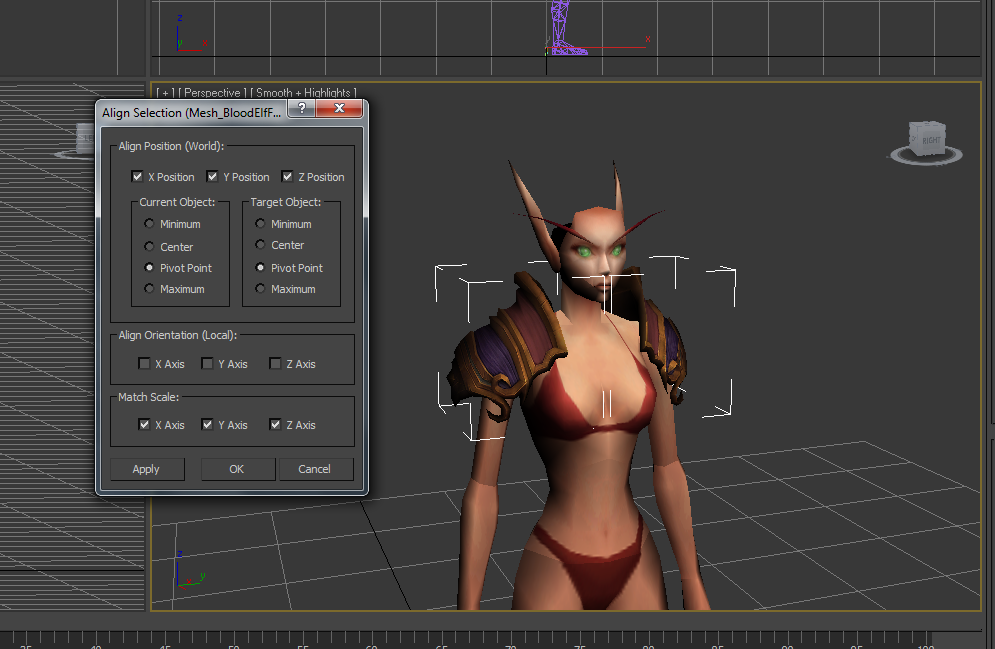
3) Open the WoW character in 3DS Max, import the shoulders OBJ file and make sure “Import as Single Mesh” is not selected.
4) Use the align tool to scale the shoulders to the WoW mesh.
5) Export each shoulder as an ASE file. Import into the UDK.
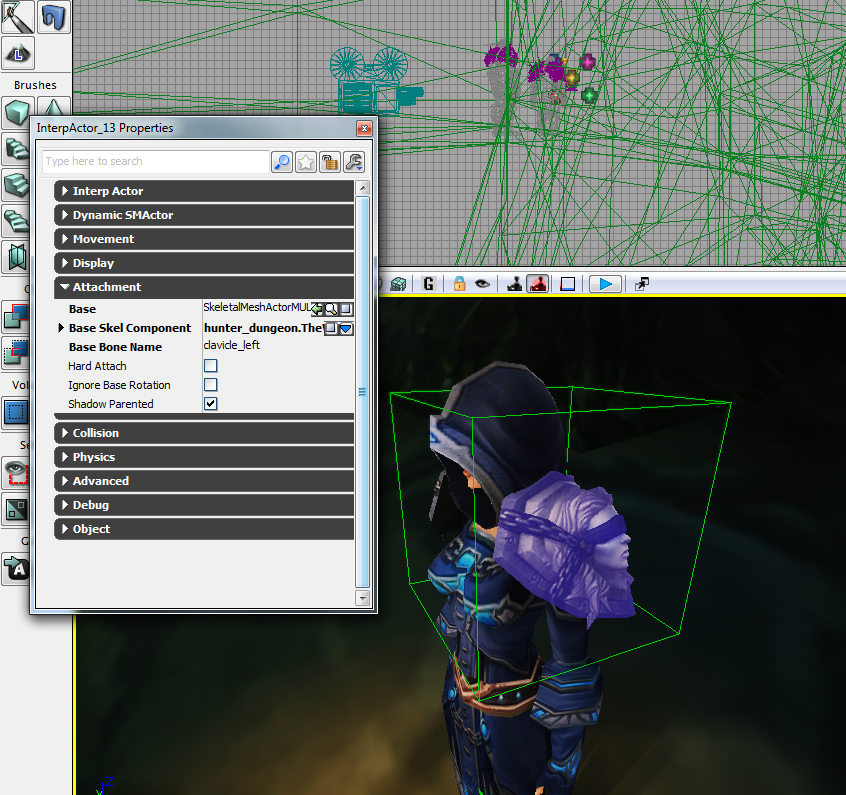
6) Place the model in the level as an InterpActor. Open the model properties and attach it to the appropriate actor bone.
– Offset and scaling can be done in matinee.
Animation Blending Tutorial – Animation Nodes – Matinee Control
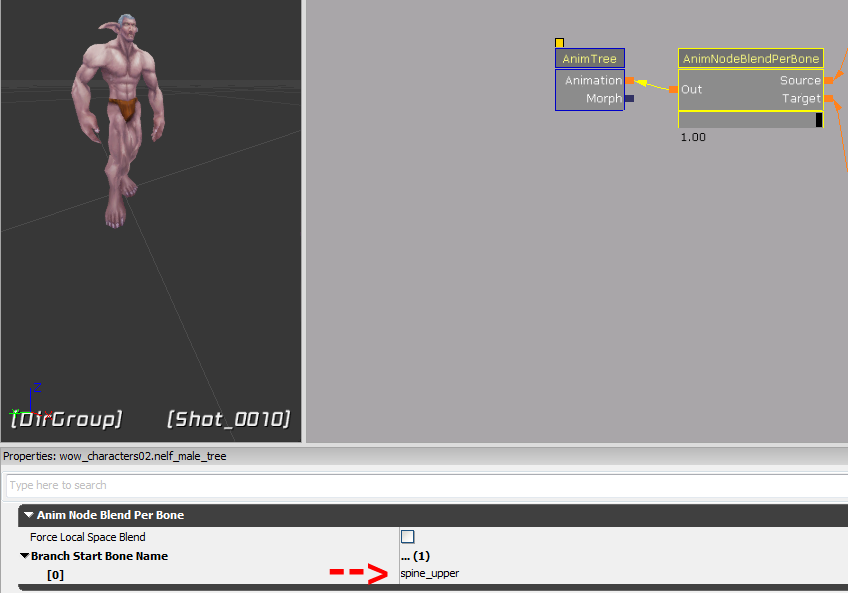
1) Create an AnimTree for the mesh using this setup.
2) Add the waist separator bone to the “Branch Start Bone Name” field.
3) Place the mesh in the map using SkeletalMeshActorMAT. In the properties, set the AnimTree.
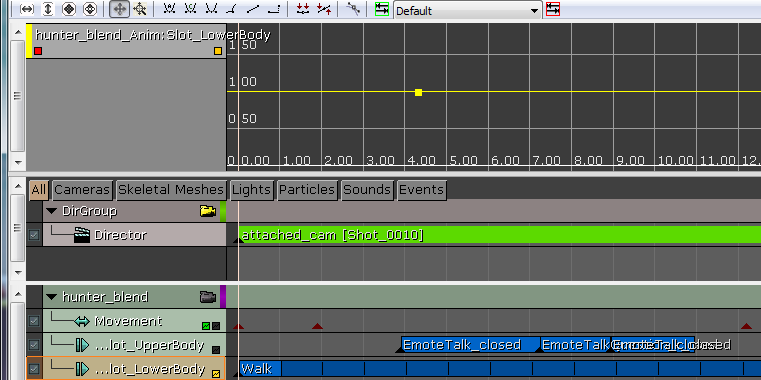
4) Add a matinee slot for the mesh. Add an animation track for Slot_LowerBody and Slot_UpperBody. Use the curve editor to set their values to 1.
Problems and fixes
1) The shading on my character doesn’t look right.
– WoW models are generally emissive. Setting the materials to emissive will remove any blockyness.
2) The face animation is not playing when using a custom character skin.
– Previewing the animation in matinee will usually fix this.
3) Attachments are clipping/disappearing when the camera is in certain positions.
– This may be related to the attachment being too small.
4) Where can I find the hair textures?
– Look for paths similar to “textures\character\bloodelf\hair00_00.blp”.
5) How can I add the glowing eyes used by night elves and unded?
These are separate meshes that need to be exported, then attached within the UDK.