The Valve Source engine games (Half-Life 2, Team Fortess 2, Left 4 Dead, Portal) are great platform for machinima. It’s a engine that is constantly being updated and has a huge fanbase, although there are a few downsides.
Pros
Huge communities dedicated to custom content.
An advanced facial animation system.
Many maps and models to start with.
Cons
No dynamic lighting.
An ancient map editor (Hammer).
All maps and models need to be compiled.
Useful Sites and Forums TF2Maps.net – Team Fortress 2 mapping community. Lots of useful tutorials related to map making. Interlopers.net – A Half-Life 2 community with many technical tutorials. Steam SDK Forums – The official Valve forums. Facepunch Forums – The official Garry’s Mod forums.
Tools Crafty – A Valve map viewer and file browser, with export capabilities. [Download] VTFEdit – A tool to view and convert Valve VTF files. [Download] GCFScape – Allows you to browse and extract files from Valve packages (GCF, VPK, BSP, PAK). [Download] MDLDecompiler – A tool to decompile valve MDL files into SMD format. [Download] VTA Apply – Allows you to extract VTA animations from SMD model files. [Download] GUIStudioMDL – Used to compile QC files. [Download] Source SDK MDLTextureInfo[Download] BSPSource A map decompiler for Source games. [Download] HLLib – Command line tool to extract content from Valve package files. [Download] Propper – Propper allows you to compile VMF brush data as an SMD file. VMEX – VMEX is a map decompiler for Source games. 3DS Max Plugins – Wunderboy’s 3DS Max plugins which include an SMD importer/exporter and a VTA exporter. XVI32 – A simple and free hex editor, needed for decompiling models.
All credit for this goes to MaxOfS2D who first documented this here. For people who don’t use Garry’s Mod regularly, this is a little more detailed tutorial on how to accomplish this.
Bringing the Map into 3DS Max
Exporting a map with Crafty will allow you to export models, textures, and brush geometry. Crafty is capable of opening numerous file formats, including .vmf and .bsp.
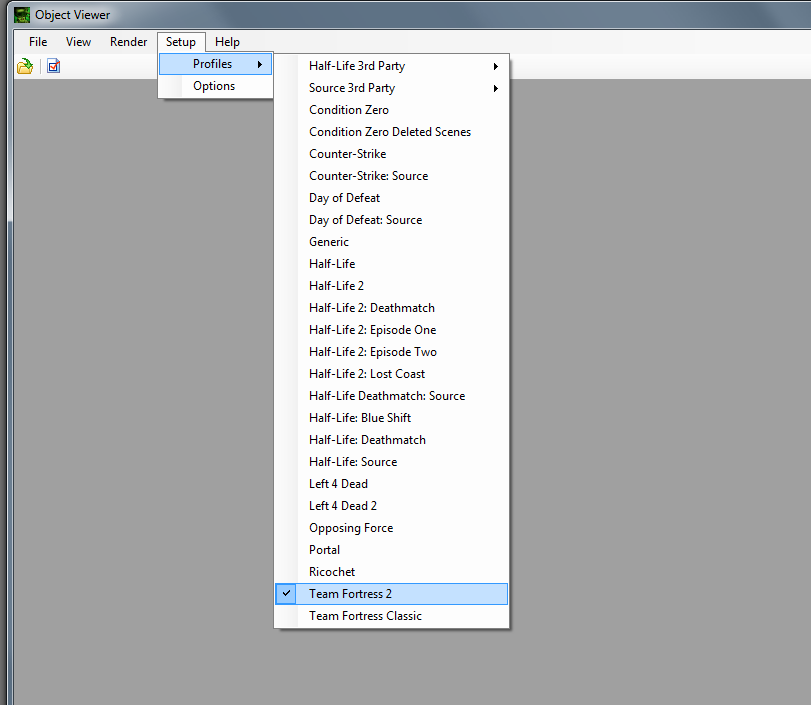
1) Open Crafty and select the game you will be using under Setup > Profiles.
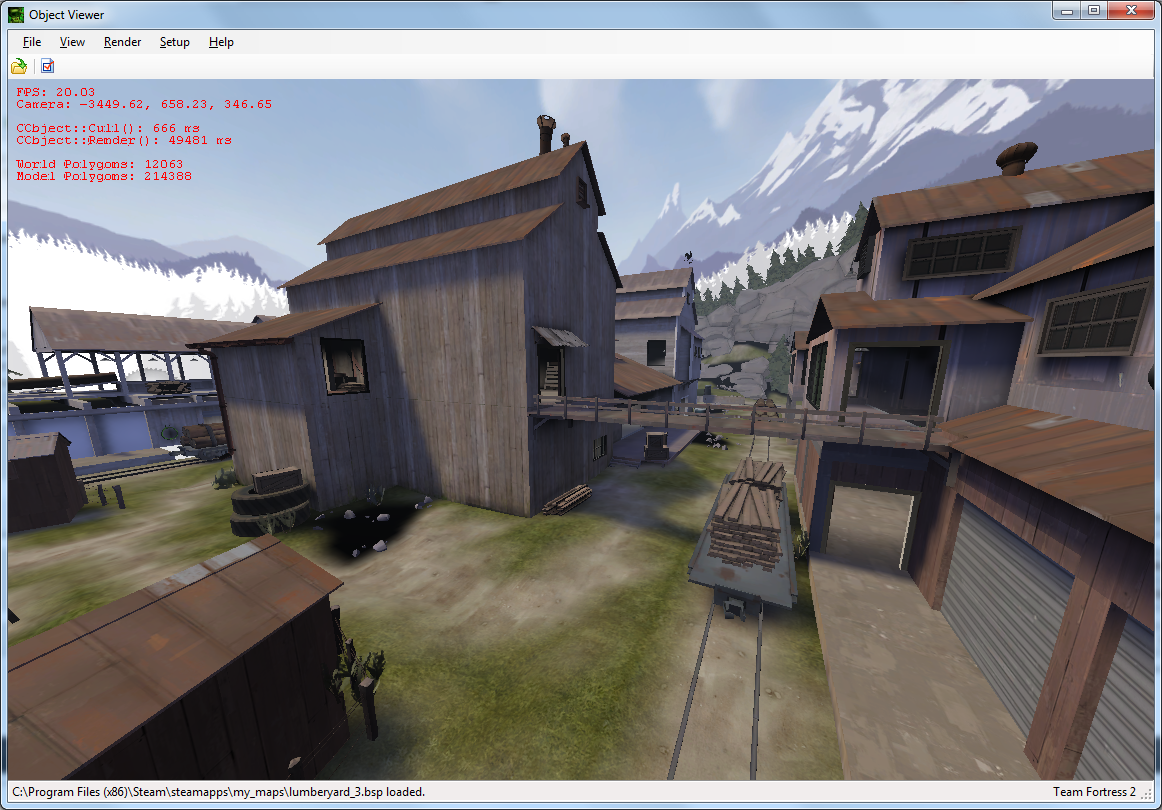
2) Open the map file. This will allow you to fully preview the map.
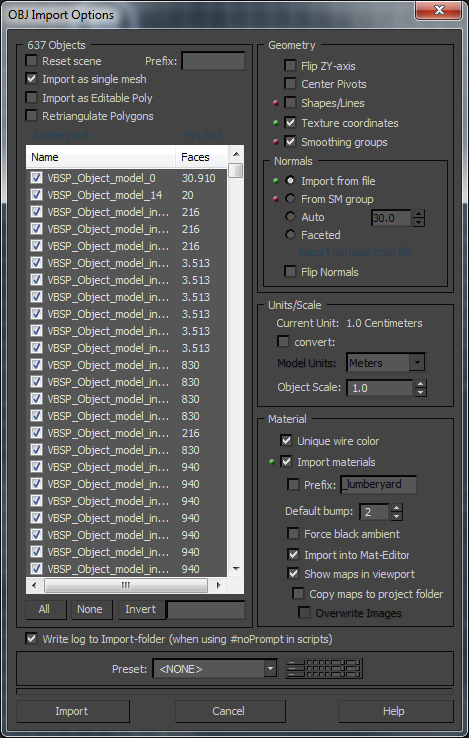
3) Go to File > Export. Export the map as .obj file.
– Note: Exporting maps will also export the textures. These are numerous and will take up a lot of space.
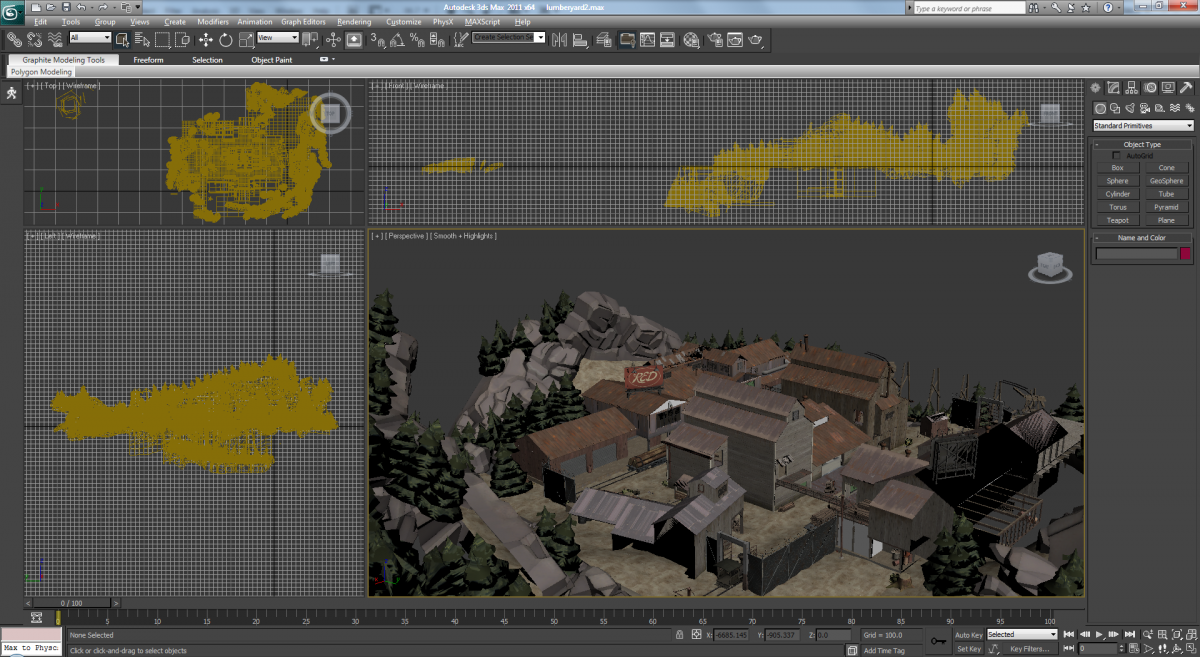
4) Import the OBJ file into 3D Studio Max.
– Make sure the “Flip ZY-axis” option is unselected.
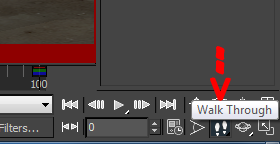
Creating the camera animation 1) In 3D Studio Max, go to Import > Merge and select the camera2.max file. 2) Create the camera animation.
– Using “Walk Through” mode will make this easier. 3) Select the static_prop bone. Use Export Selected to export the animation as an SMD file. 4) Create a QC file for the camera which includes the camera animations. Save and compile with GUIStudioMDL.
– The SMD and QC files used in this example can be downloaded here. 5) Open Faceposer and create a VCD file that includes the camera animation.
Playing the animation in Garry’s Mod
You will need these lua scripts installed first (extract to garrysmod\garrysmod\addons). 1) Spawn the camera.
– The camera should use the Kleiner NPC. 2) Set the name of the camera by typing in console: ent_setname camera 3) Use the teleport.lua script to set the world position of the camera.
– teleport_target camera – Sets the camera as the teleport target.
– teleport_yaw 270 – Fixes the rotation (this step may not be needed for every map).
– teleport_perform – Teleports the camera. 4) Use the imview.lua script.
– imview_select_name camera – Sets the camera as the target.
– imview_toggle – Toggles the camera view. 5) Play the VCD by using the following command “ent_fire camera setexpressionoverride scenes/flying_camera.vcd”, or by using the NPC Scene addon.
The Result
Problems and Fixes 1) Decompiling a TF2 map produces a different 0,0 coordinate compared to in game.
– Check the 3DS Max import settings to make sure the coordinates aren’t being altered. 2) The FOV in game is different compared to 3DS Max.
– Using the Better Camera addon will allow you to set the FOV in Garry’s Mod.
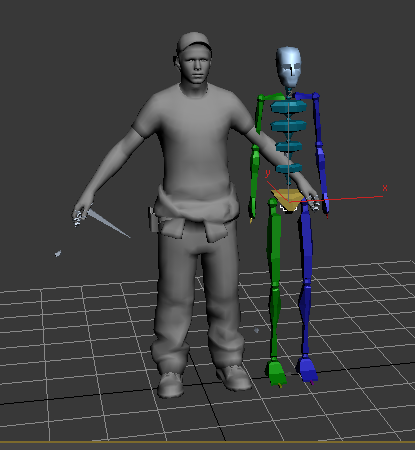
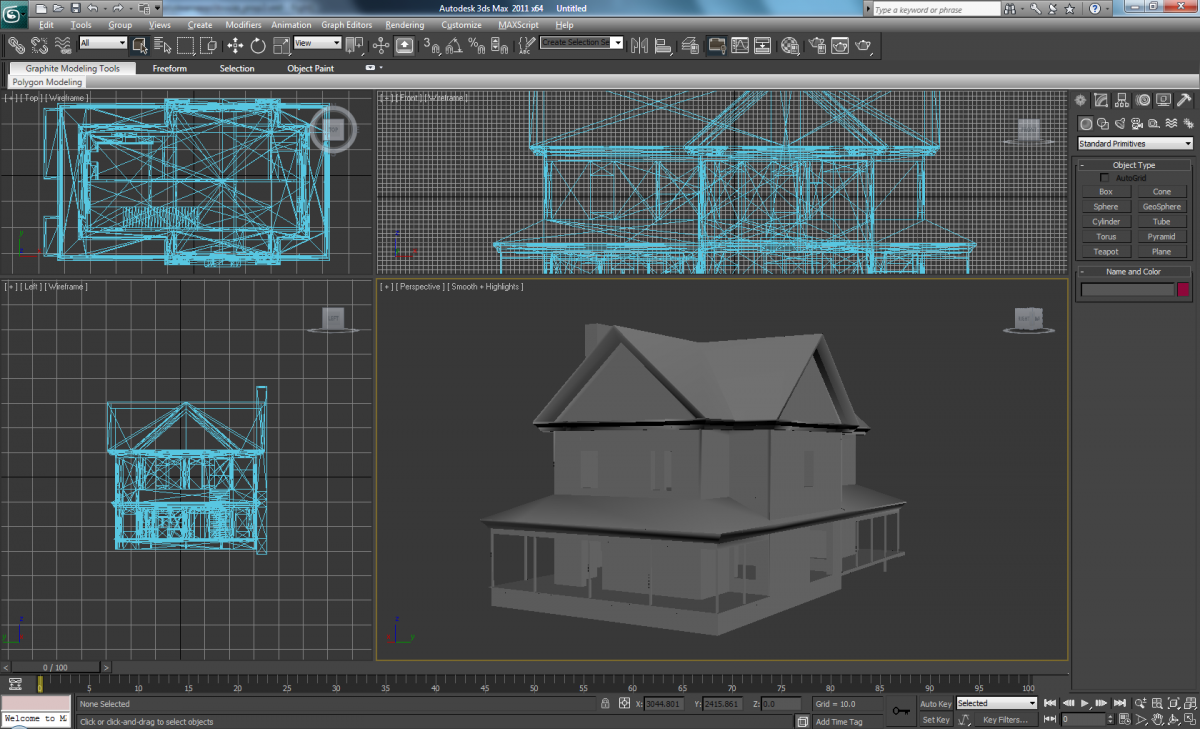
If you wish to create custom animations for a Source character, you will need to create a rig after decompiling the model. One easy way is to accomplish this is to use a biped with the model.
1) Decompile the model (if needed) and import into 3D Studio Max.
– TF2 models don’t need to be decompiled, the SMD files can be found in steamapps\username\sourcesdk_content\tf\modelsrc
2) Under the Create > Systems tab there will be a biped option. Make the biped about the same size as the character.
3) Turn on figure mode. [Pic]
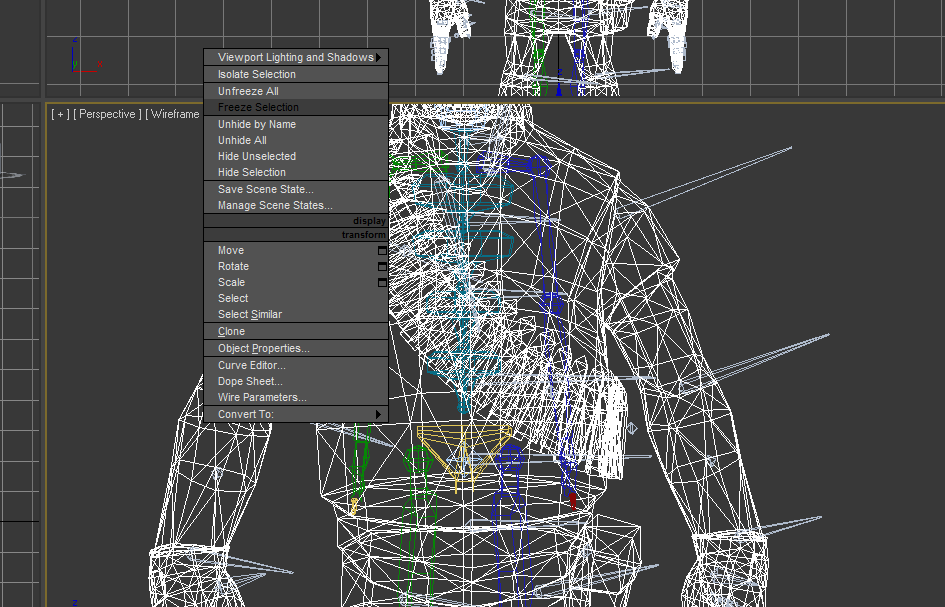
– The “figure mode” button is located in the Motion panel. This needs to be enabled before you can alter the biped. 4) With the biped selected, use the align tool to center the biped to the character’s pelvis bone.
– F3 will toggle wireframe mode, which will make it easier to see what you’re doing. 5) With the body mesh selected, right click the background and select “Freeze Selection”.
– This will make things easier to see and prevent you from accidentally moving the mesh.
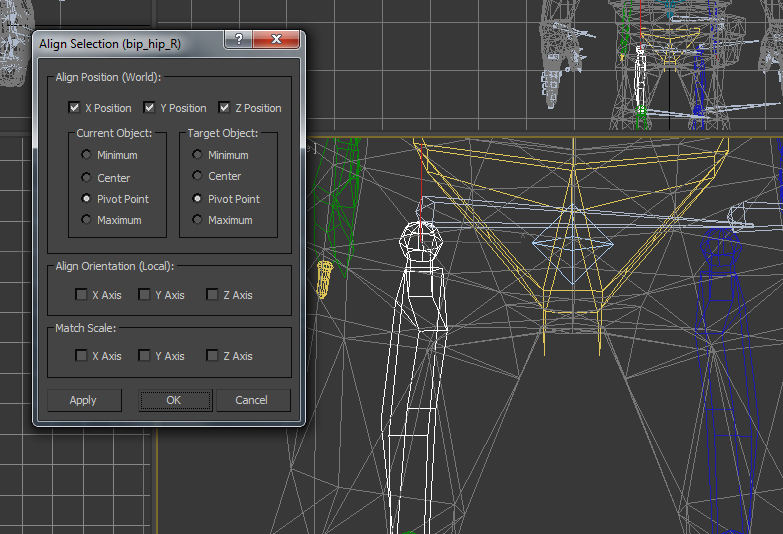
6) Scale and align the biped bones to fit the character. The goal is to match the biped bones to the character’s bones, while making sure they stay in the middle of the mesh.
– Modify the biped structure settings as needed to match the character (number of fingers, number of spine links, etc). [Pic]
– Use the “Xtras” option for things such as the Demoman’s grenade vest or the Scout’s dog tags.
– Align things in the following order: legs, spine, head, arms, fingers.
– Make sure the biped bones are being aligned to the pivot point.
7) Use the link tool to link the character’s bones to the biped bones. 8) Turn off figure mode.
– Optional: Create a new layer and add all the Source model’s bones, then hide the layer.
This is a short guide on how to add a custom animation to an existing character model. This does not go over how to animate, and assumes you have an animation completed and ready in 3D Studio Max.
1) Export your completed animations as SMD files to a new directory.
2) Copy the (name)_definebones.qci file to the new directory (example: F:\Steam\steamapps\username\sourcesdk_content\tf\modelsrc\player\pyro\scripts\pyro_definebones.qci). 3) Copy the toolbox folder to the directory. 4) Run compile_smd_animations.bat.
You should now be able to preview your animation in the SDK Model Viewer.
1) Export your completed animation as an SMD file. [Pic] – Make sure the Valve bones are not hidden when exporting. 2) Using GCFSCape, find the original animation file for the model (example: pyro_animations.mdl), extract it to the local directory, then rename it (example: pyro_animations_original.mdl). [Pic]3) You will need a definebone file. For TF2 characters these are included in the SDK directory (example: pyro_definebones.qci), for other games see this reference. 4) Create a QC file for the animation, mine looks like so. – It’s a good idea to use a prefix for your animation so they’re easy to find, in this example I’ve used a z_ prefix.
5) Compile the animation using GUIStudioMDL. [Pic]
You should now be able to preview your animation in the SDK Model Viewer. [Pic]
Problems and Fixes 1) How can I hide weapons during an animation sequence?
– Move the weapon bone under the model when creating the animation in 3DS Max. 2) When running the compiler I get a “filesystem.dll” error.
– This is usually caused by not having the SDK open when running the compiler. 3) Some of my in-game animations no longer work.
Some animations such as taunts will no longer display from player actions. This can be reverted by switching back to the original animation file.
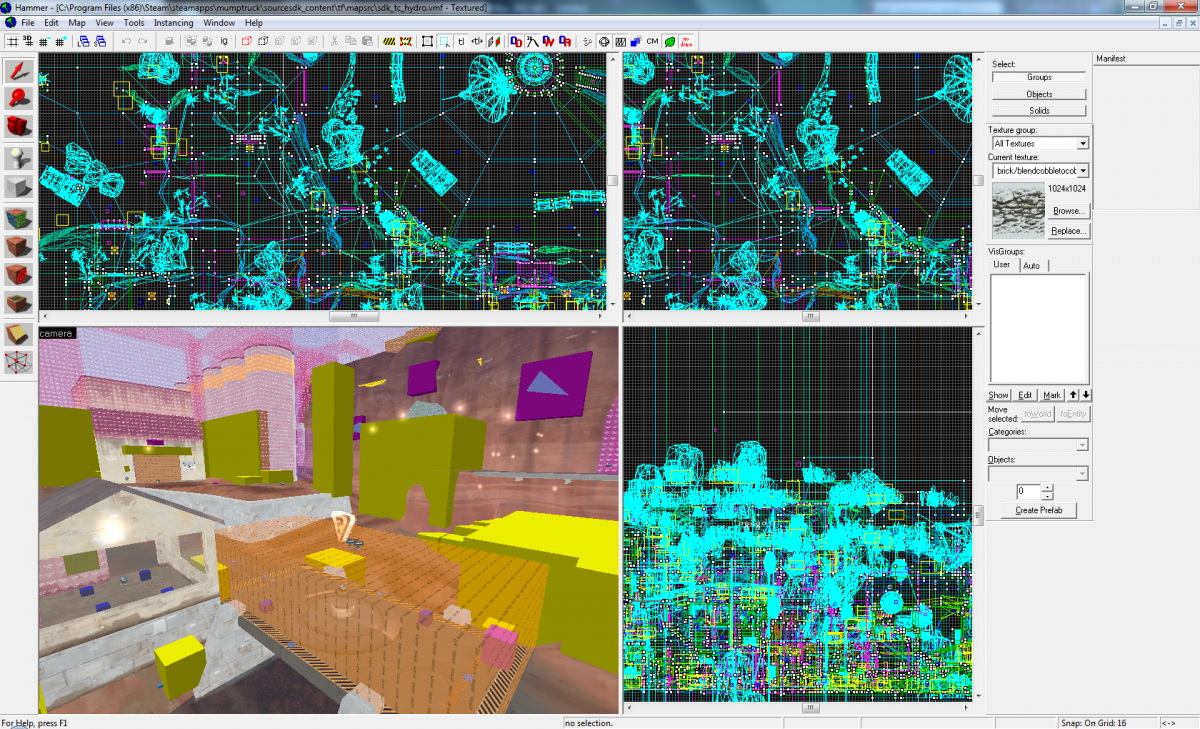
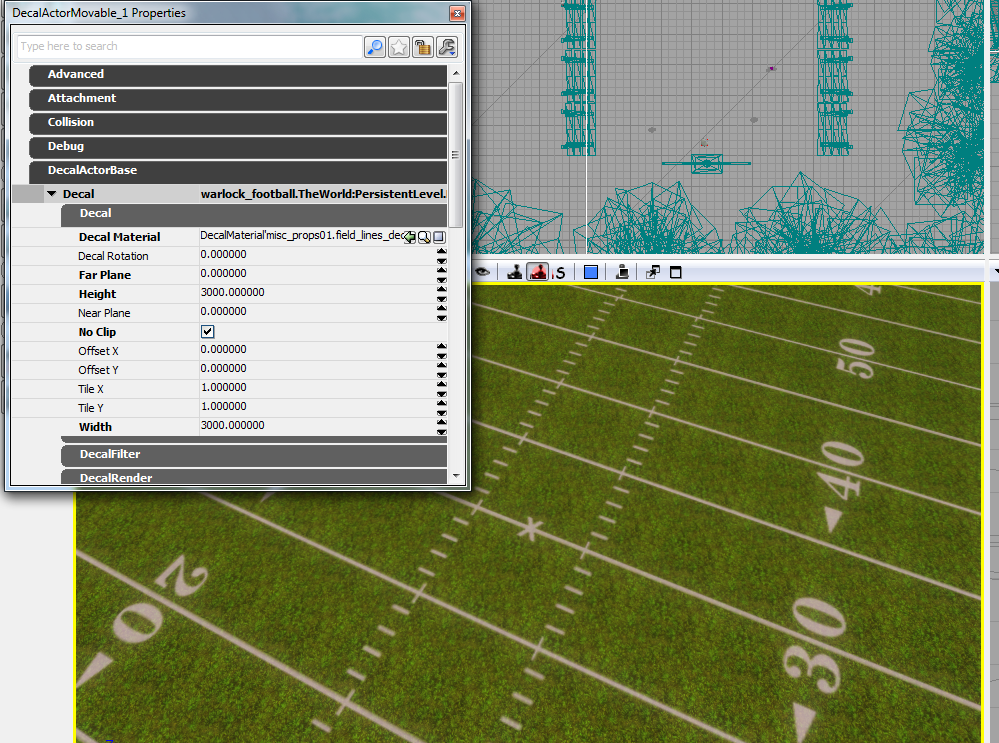
Hammer is the map editor used for Source engine games (Half-Life 2, Team Fortress 2, Portal, Left 4 Dead).
Creating your own maps offers a huge advantage when it comes to machinima. Sure you can always use existing game maps, but adding your own elements and design will bring your machinima to the next level.
The best way I’ve found to learn is by opening up existing map files and see how they’re done. You can find examples in your SDK folder.
– TF2 map VMF files are located in Steam\steamapps\username\sourcesdk_content\tf\mapsrc\
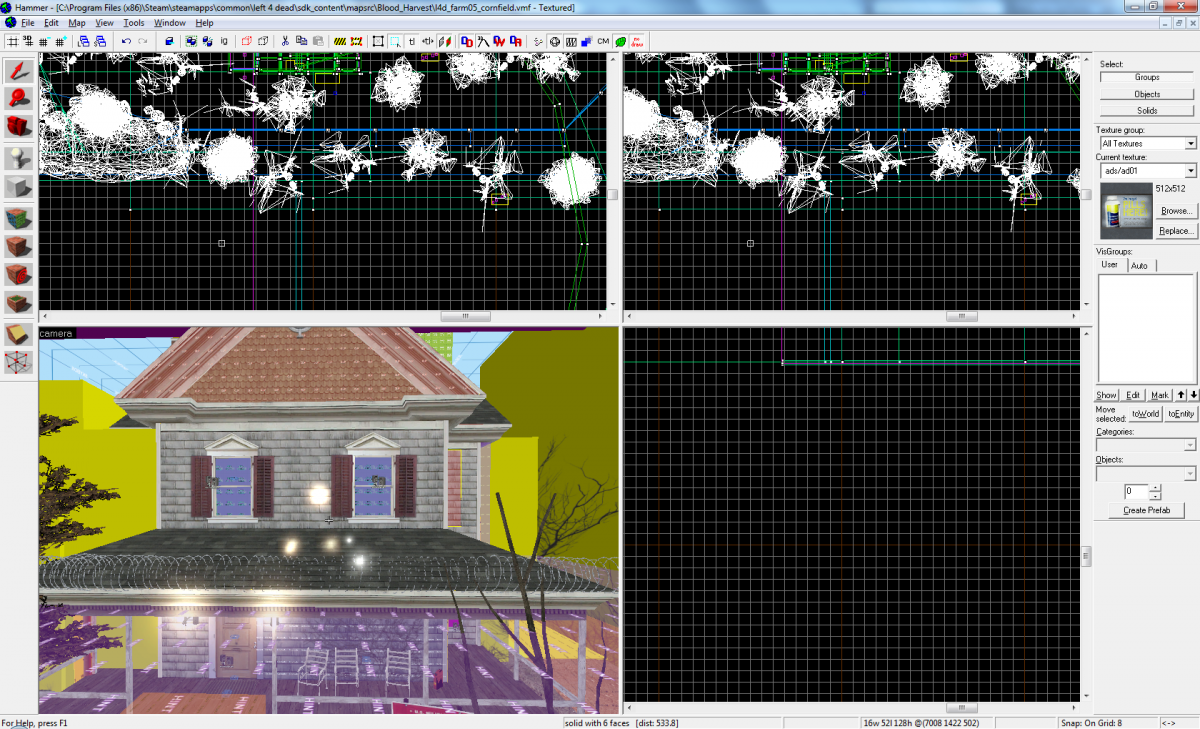
Example Map
When mapping for machinima, there are lots of other elements we dont need to worry about (such as player clipping areas).
You can download a very basic TF2 example map here. These should only take around 30 seconds to compile when using fast compile settings.
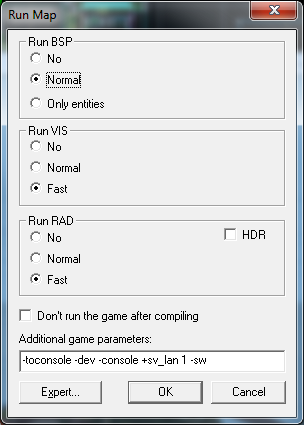
Compiling
Every time you wish to view changes to your map it will need to be compiled (File > Run Map).
Generally you should use fast compile settings. The official Valve maps should take somewhere between 2-6 minutes to compile (examples: 2fort 5:43, badwater 2:35, hydro 4:43). If it’s taking a lot longer there is likely something wrong with the map file.
Tips
– After compiling you may see a pink checkboard texture in some places. This means the cubemaps need to be rebuilt. Type “buildcubemaps” in the console, then reload the map (type “map mapname” in console).
– Add windowed mode to the launch options, this way you can alt-tab quickly without the game crashing.
– Compile only the entities when making minor map changes.
– Use Shift+W to toggle the snap to grid feature in Hammer.
– Use the Z key to toggle the camera in Hammer.
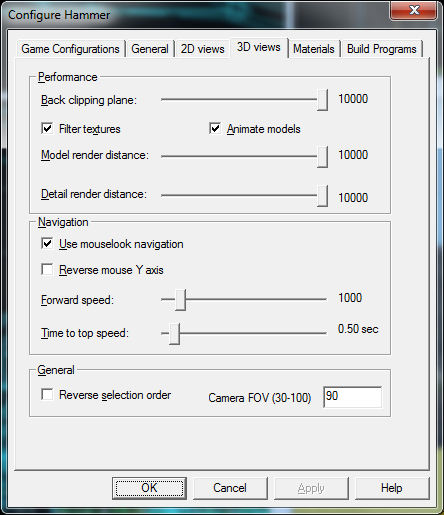
– Increase the model render distance in the Hammer options (Tools > Options > 3D views).
– The skybox and ground detail names can be found under Map > Map Properties.
– TF2 game modes (arena, capture point) are determined my certain map entities.
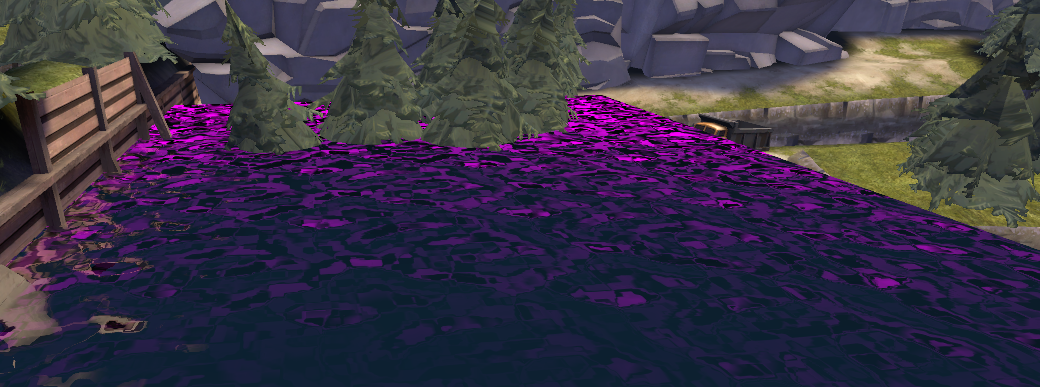
– If your map leaks (or has any other VBSP issue), the water will be invisible.
– Decompiled maps are mainly for learning how something is done, they often won’t recompile properly.
– Make sure your skybox is perfectly sealed, any leaks will cause errors.
– A 3D Skybox can be used to create a background.
VTA Apply[Download] is a small program to extract VTA animations from SMD model files. It has some bugs, but it’s still useful for studying facial animations.
To run this program you will need a reference SMD, and a VTA file which can be obtained by decompiling a model.
– Only the newest version of MDLDecompiler (0.5) will export a VTA file when decompiling.
1) Run the program, you will be prompted to select the input SMD followed by the VTA. 2) You will be prompted to select a frame to export, the names for these frames can be found in the qc file from the model you decompiled.
3) Save the file. Import into 3DS Max. You will have to repeat this process for each frame you want to export.
– Some of the meshes will have a vertex count mismatch. You will need to add vertexes before you can use morphs.
– This will not work with L4D models.
Propper is a Hammer plugin that allows VMF files to be compiled as an SMD. This is useful for making props for your map, or to export the geometry to 3D Studio Max. Make sure to install and configure Propper first. This is a very situational tool, but it can save you a lot of time when you need something specific.
Exporting Map Geometry Using Propper 1) Open the map VMF, select everything you want to compile and copy it to a new map file.
– Propper is not compatible with Left 4 Dead, but you can save the L4D VMF file and reopen it using the HL2 SDK.
– Make sure you delete any extra map entities, as they can sometimes cause problems with the compiling.
2) Select File > Run Map, under advanced select the Propper setting you created during installation.
3) You can now import the compiled SMD into 3D Studio Max.
– The textures will all need to be replaced manually, since the imported model will use VMT files.
Problems and Fixes 1) The texture tiling doesn’t look correct.
– Try changing the UV tiling to 0.25 2) I get a “Unparsable Vertex Data” error when trying to import the SMD file into 3DS Max.
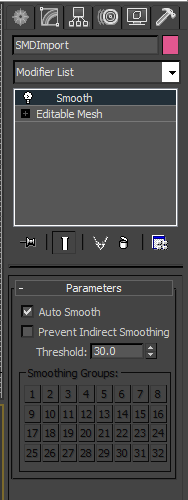
– This can usually be solved by deleting any extra entities (such as func_breakable) before compiling with Propper. 3) A mesh I exported has ugly shadows when imported into another game engine.
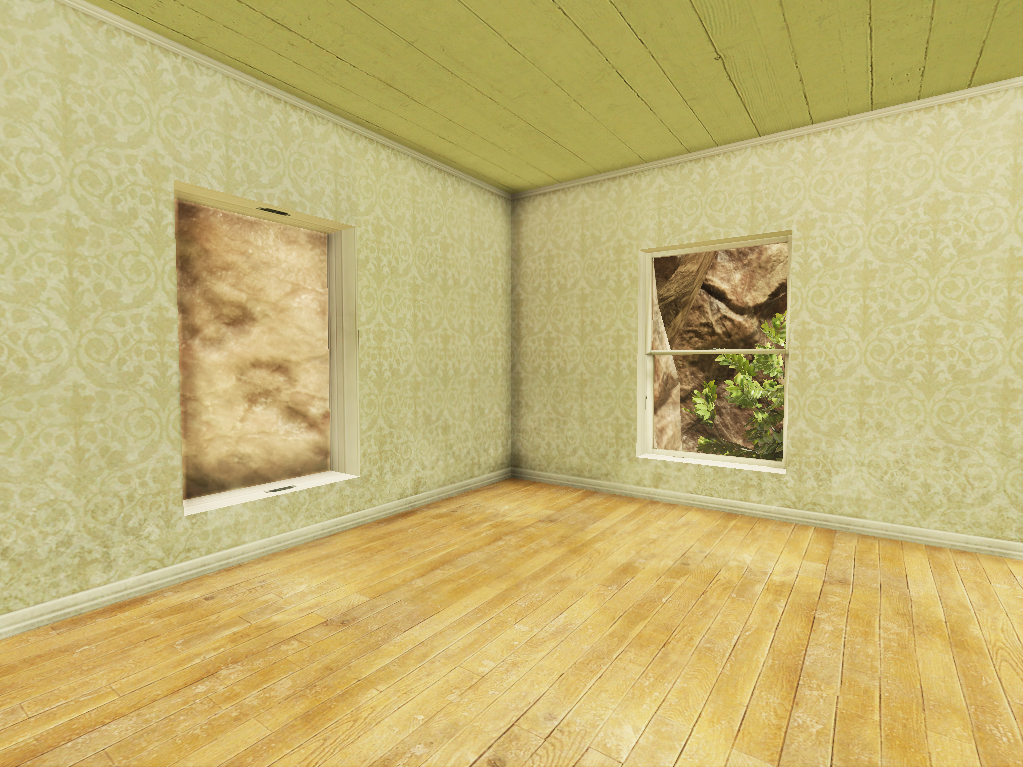
– This can usually be fixed by applying a smooth modifier to the mesh in 3DS Max. The result.
UDK (Unreal Development Kit) allows you to create games using the Unreal 3 engine. It can also be used for machinima. However, most of the people who use UDK are trying to make games, not machinima. Therefore it may be difficult to find answers related to machinima. I’ve tried to address some of those here.
UDK Advantages
Dynamic lighting
Easy scaling of objects
Simple importing of textures and models
Real-time map previews
A powerful material editor
Matinee (timeline editor)
Moving cameras
Increasing the UDK Quality
After installing the UDK, there are a few options you can change to increase the visual quality. 1) Open UDKEngine.ini which is located in UDK\UDK-2011-11\UDKGame\Config\ 2) Change the following settings:
bUseMaxQualityMode=True (default is False)
bUseTextureStreaming=False (default is True)
– Set the UDKEngine.ini file to read-only after modifying it, or else the settings will revert the next time you run the UDK.
– The ResX and ResY settings set the resolution of your preview window.
– Using a Post Process Chain on your map can be used to set the anti-aliasing.
Scripts
I use a small custom script to attach Skeletal Meshes together when creating machinima, you can download it here. Add these to UDK\Development\Src\Engine\Classes. You will be prompted to rebuild scripts next time you start UDK.
Creating a Bink video 1) Using a video editor, render a video in AVI or WMV format (16:9 aspect ratio is recommended). 2) Convert the file using radvideo.exe. 3) Import the BIK file into the UDK and create a material. Apply the material to a mesh.
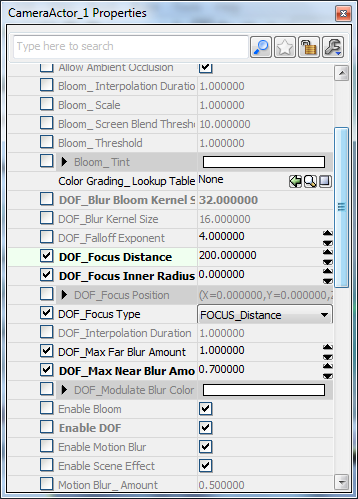
Understanding camera DOF
Cameras in unreal have a number of properties that can be set. The DOF settings are among the most important when making machinima.
DOF_Focus Distance – Distance from the camera to where the blur begins.
DOF_Focus Inner Radius – How much to blur things close to the camera. This can generally be left at 0.
DOF_Max Far Blur Amount – How blurry the background is.
DOF_Max Near Blur Amount – If DOF_Focus Inner Radius is set to 0, this will provide a blur to everything. Enabling this can help hide aliasing problems.
Tips
– Keeping package size small can make saving quicker.
– Saving maps under a new name for certain events can be helpful. Example: dungeon_intro and dungeon_collapse.
– When making machinima, using seperate cameras for each Matinee sequence is a good idea.
– Recording directly from the editor preview window is nearly as good as recording in the game itself. It also doesn’t require spawn points.
– To load a map using the console, type “open mapname”.
– Try to use as many models as you can, instead of brushes.
– Unreal Tournament 3 and Monday Night Combat packages can be opened directly in the UDK, although they should be renamed and resaved.
– Trying to open a game package that isn’t from UDK or UT3 will crash the UDK.
– The “environment color” setting inside WorldInfo can be helpful for setting the mood of your map.
– Adding a fog effect can also help with the mood of your map.
– You cant open maps unless the uncooked map file has been released, but you can use Umodel to extract their models and textures.
– The log window can be found under View > Browser Windows > Log.
Matinee Tips
– CTRL + W will duplicate a matinee keyframe.
– The matinee play rate can be altered to create a slow motion effect.
– It’s generally a good idea not to replace the first keyframe of a track, instead set the time of the first keyframe to .1 when making machinima.
– Matinee data can be copy and pasted between maps.
– Don’t do camera cuts in Matinee. Use your video editor instead.
Problems and Fixes 1) What causes the black fuzz in my level?
– Ambient Occlusion. Turn this off in the WorldInfo settings. 2) How can I export a movie frame by frame?
– “C:\UDK\UDK-2011-11\Binaries\Win64\UDK.exe” NightAndDayMap.udk -BENCHMARK -MAXQUALITYMODE -NOTEXTURESTREAMING -DUMPMOVIE -FPS=30 -ResX=1920 -ResY=1080 3) How can I prevent rescaling of 2048×2048 textures?
– Under the import options, select “texturegroup_vehicle” under the LODGroup setting. 4) Water is producing ugly shadows.
– This is likely caused by using a custom water material. Try using one of Epic’s water materials instead. 5) How can I select a brush?
– Click on the surface while holding Ctrl+Shift. 6) I am unable to select objects with translucent materials.
– Go to View > Allow Translucent Selection 7) I am unable to delete a SkeletalMesh.
– Make sure a FaceFX asset is not currently assigned to the SkeletalMesh. 8) My level doesn’t look cinematic enough.
– More detail is always better. Keep adding more props to the background. It’s an easy solution to a common problem. 9) Creating a mirror effect isn’t working properly.
– Scenecapturereflectactor and the brush need to be aligned to the same spot for the mirror effect to work. 10) How can I check my map for missing assets?
– Go to Tools > Check Map for Errors. 11) I’m getting a warning that says “Map should have KillZ set”.
– Open the WorldInfo properties and adjust the Kill Z setting.
Unreal Tournament 3 uses the Unreal 3 engine. The assets can be opened in UDK, or exported using Umodel,
– Fraps footage will have the “UT3” prefix.
– The game packages have the extensions .upk and .ut3. Both can be opened in UDK (although it may give a few errors).
– Packages are located in “unreal tournament 3\UTGame\CookedPC”.
– While UT3 comes with an Unreal Editor, the editor has not been updated since release. Using UDK is a better option.
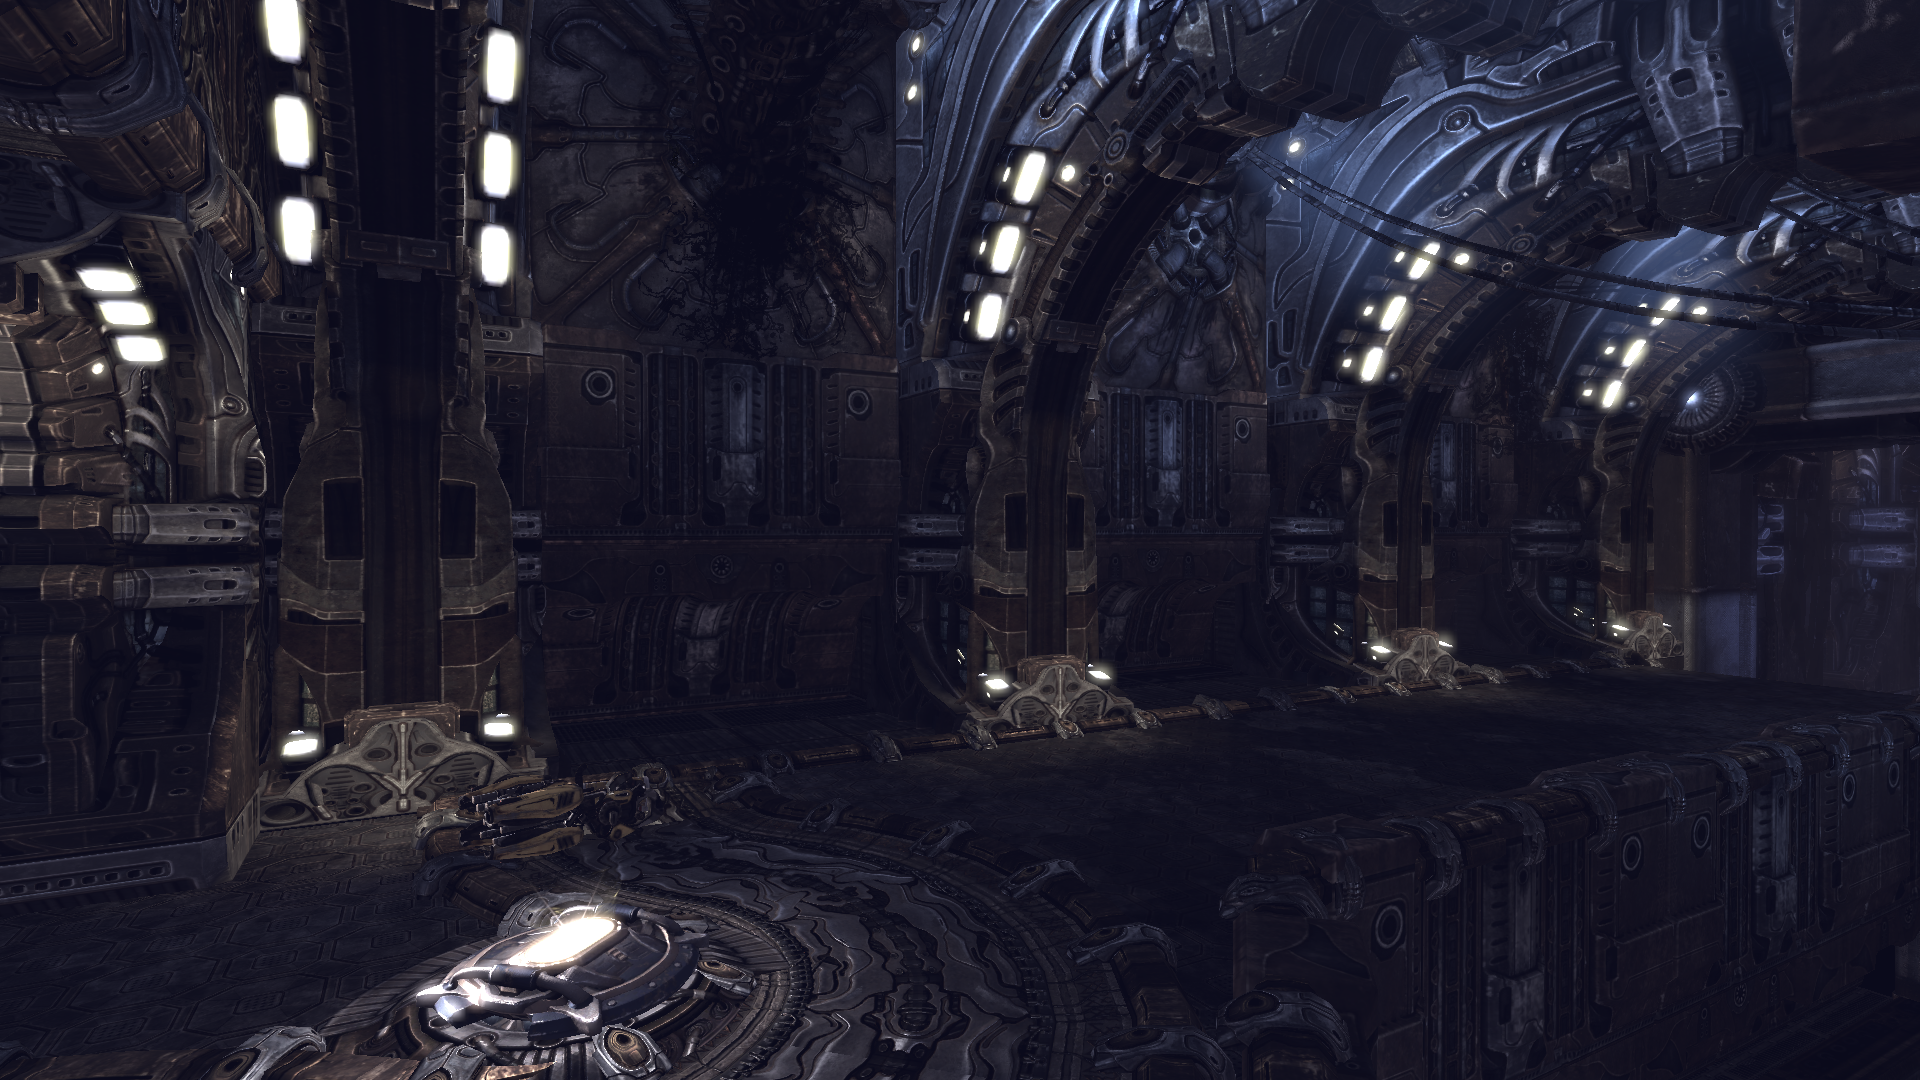
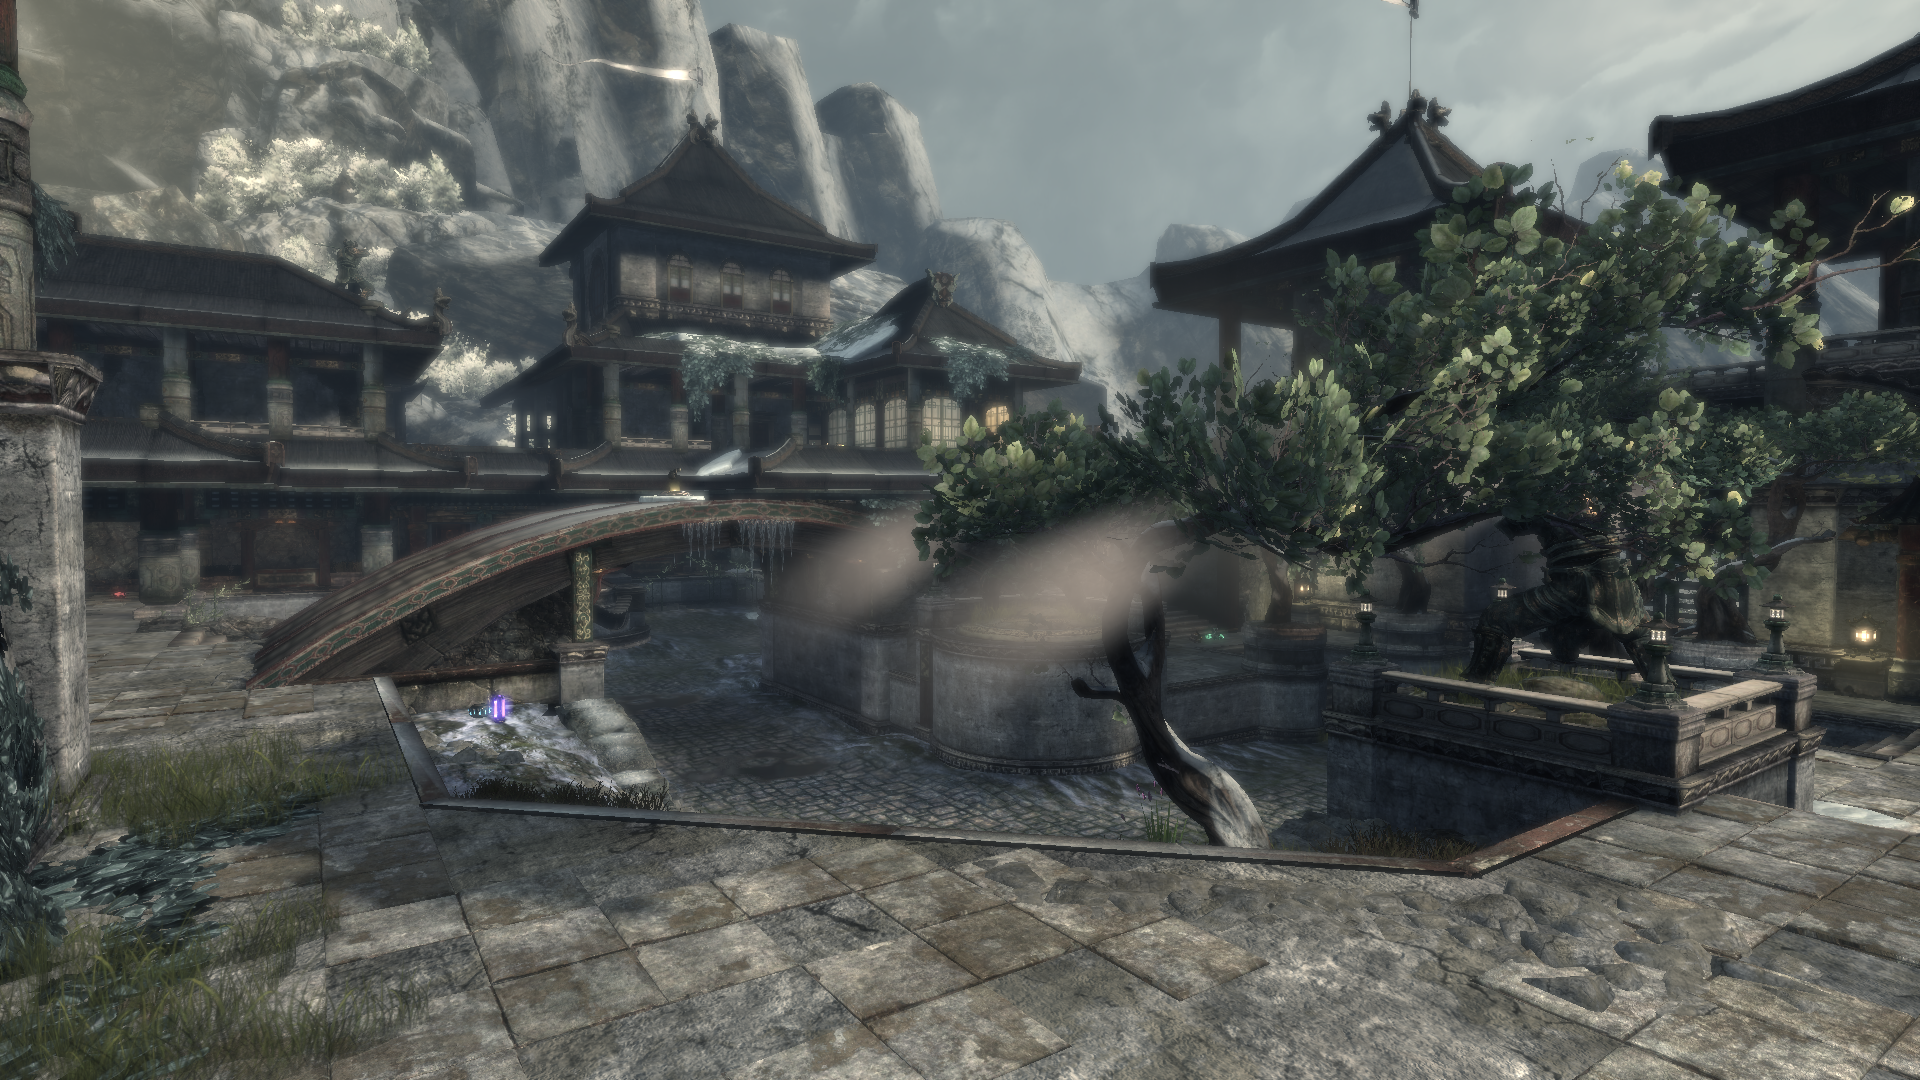
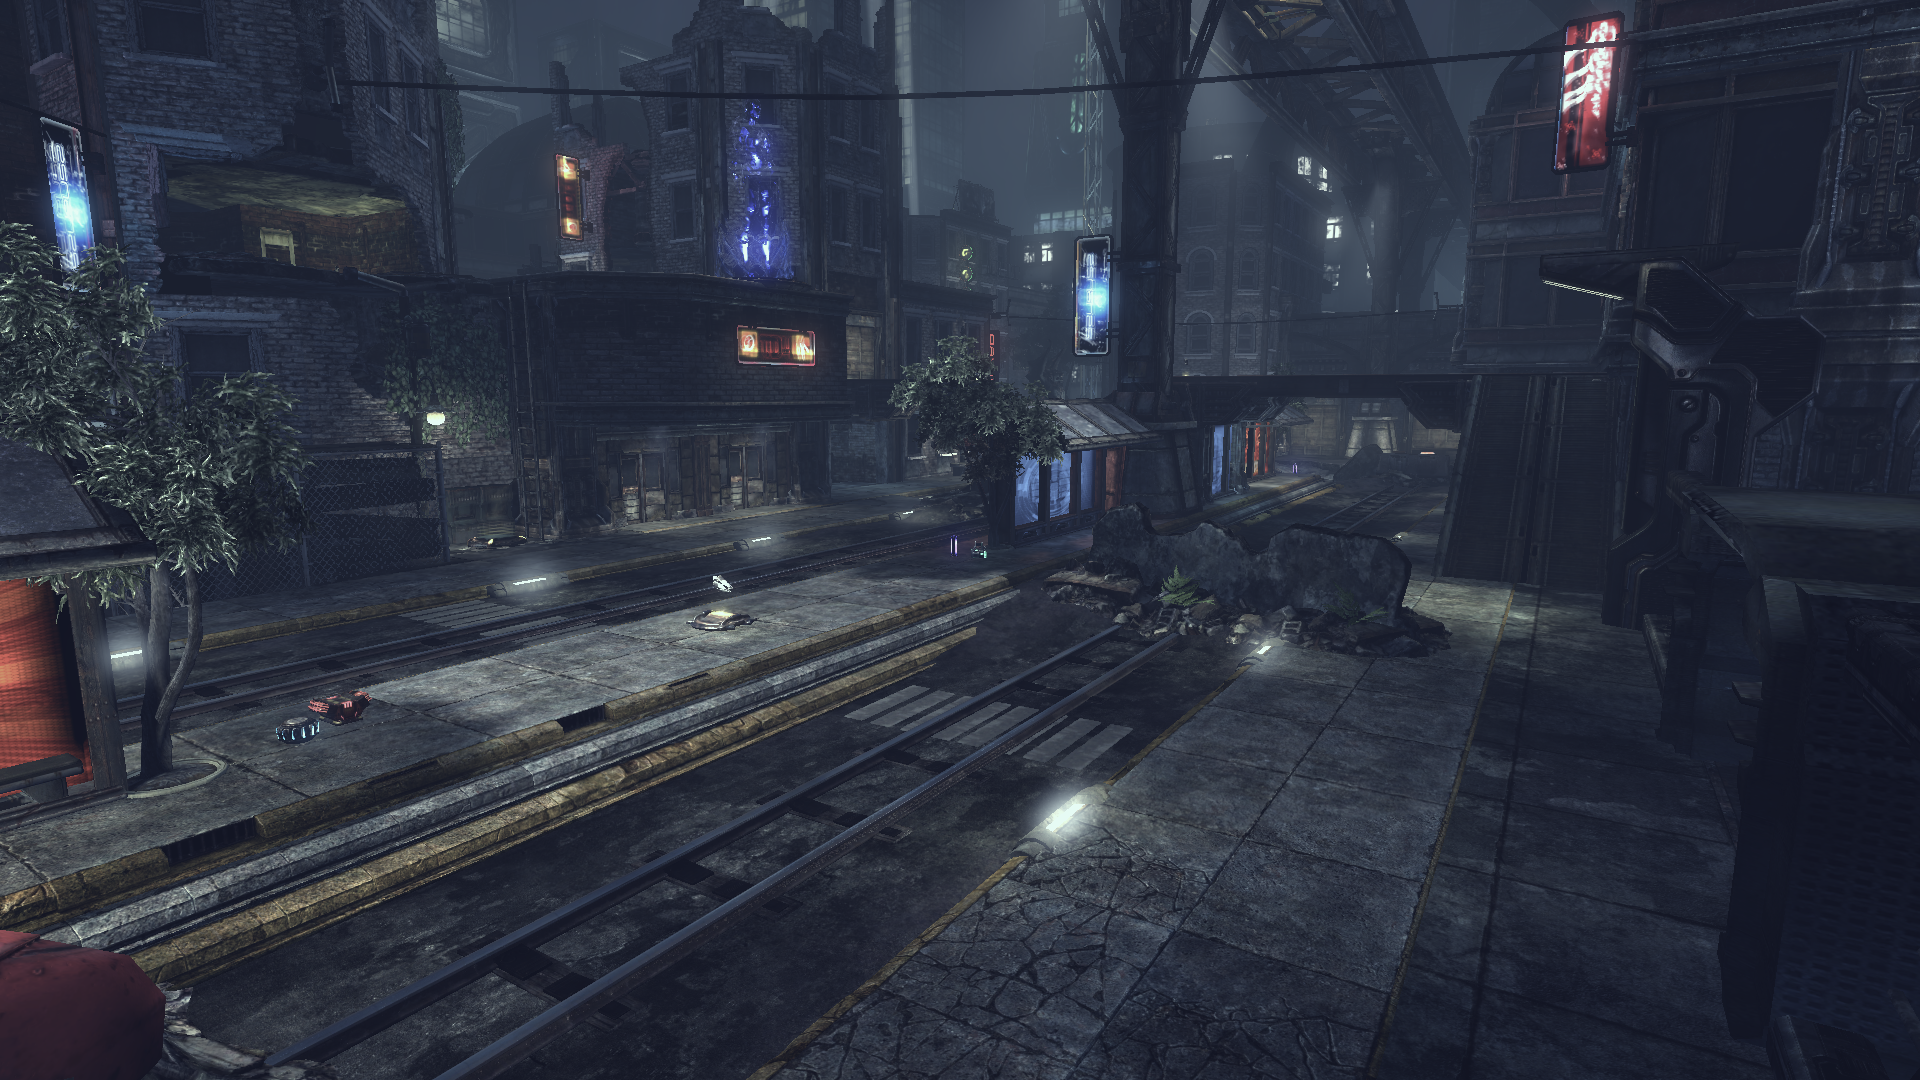
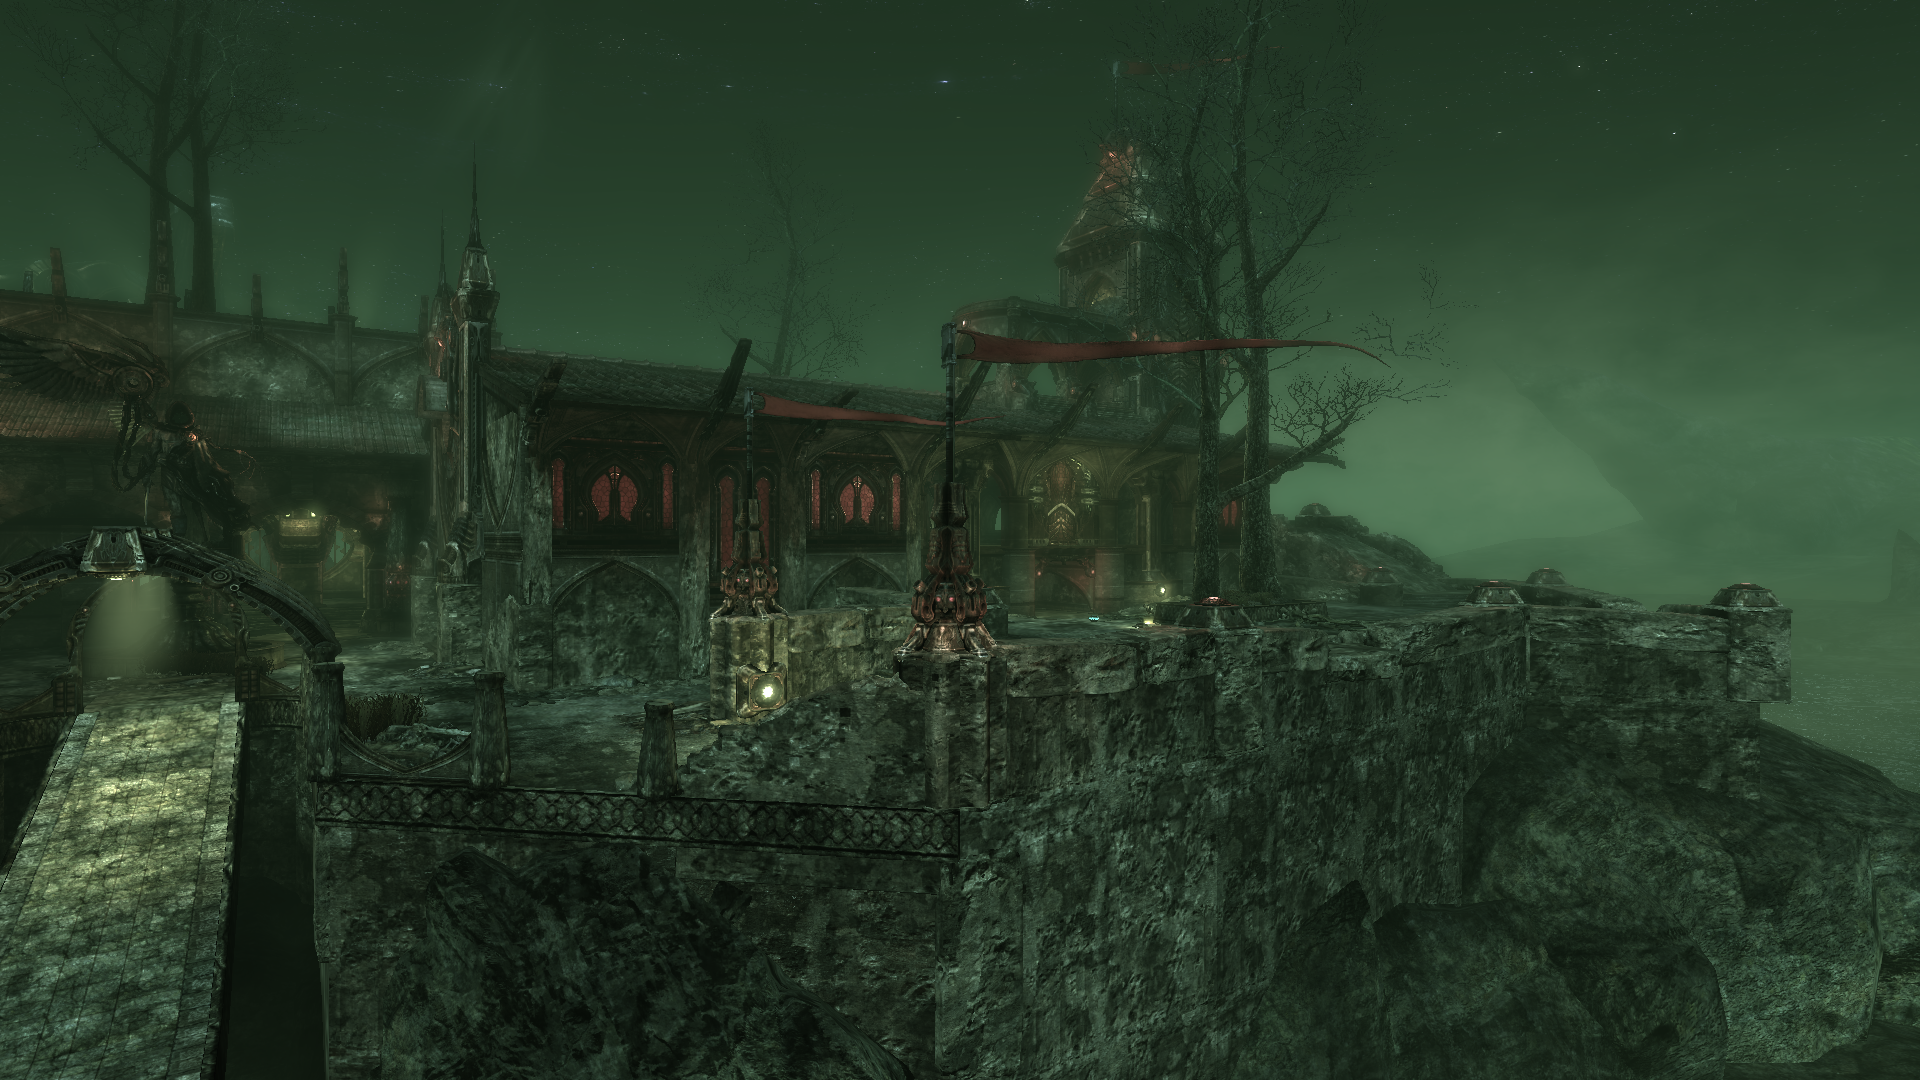
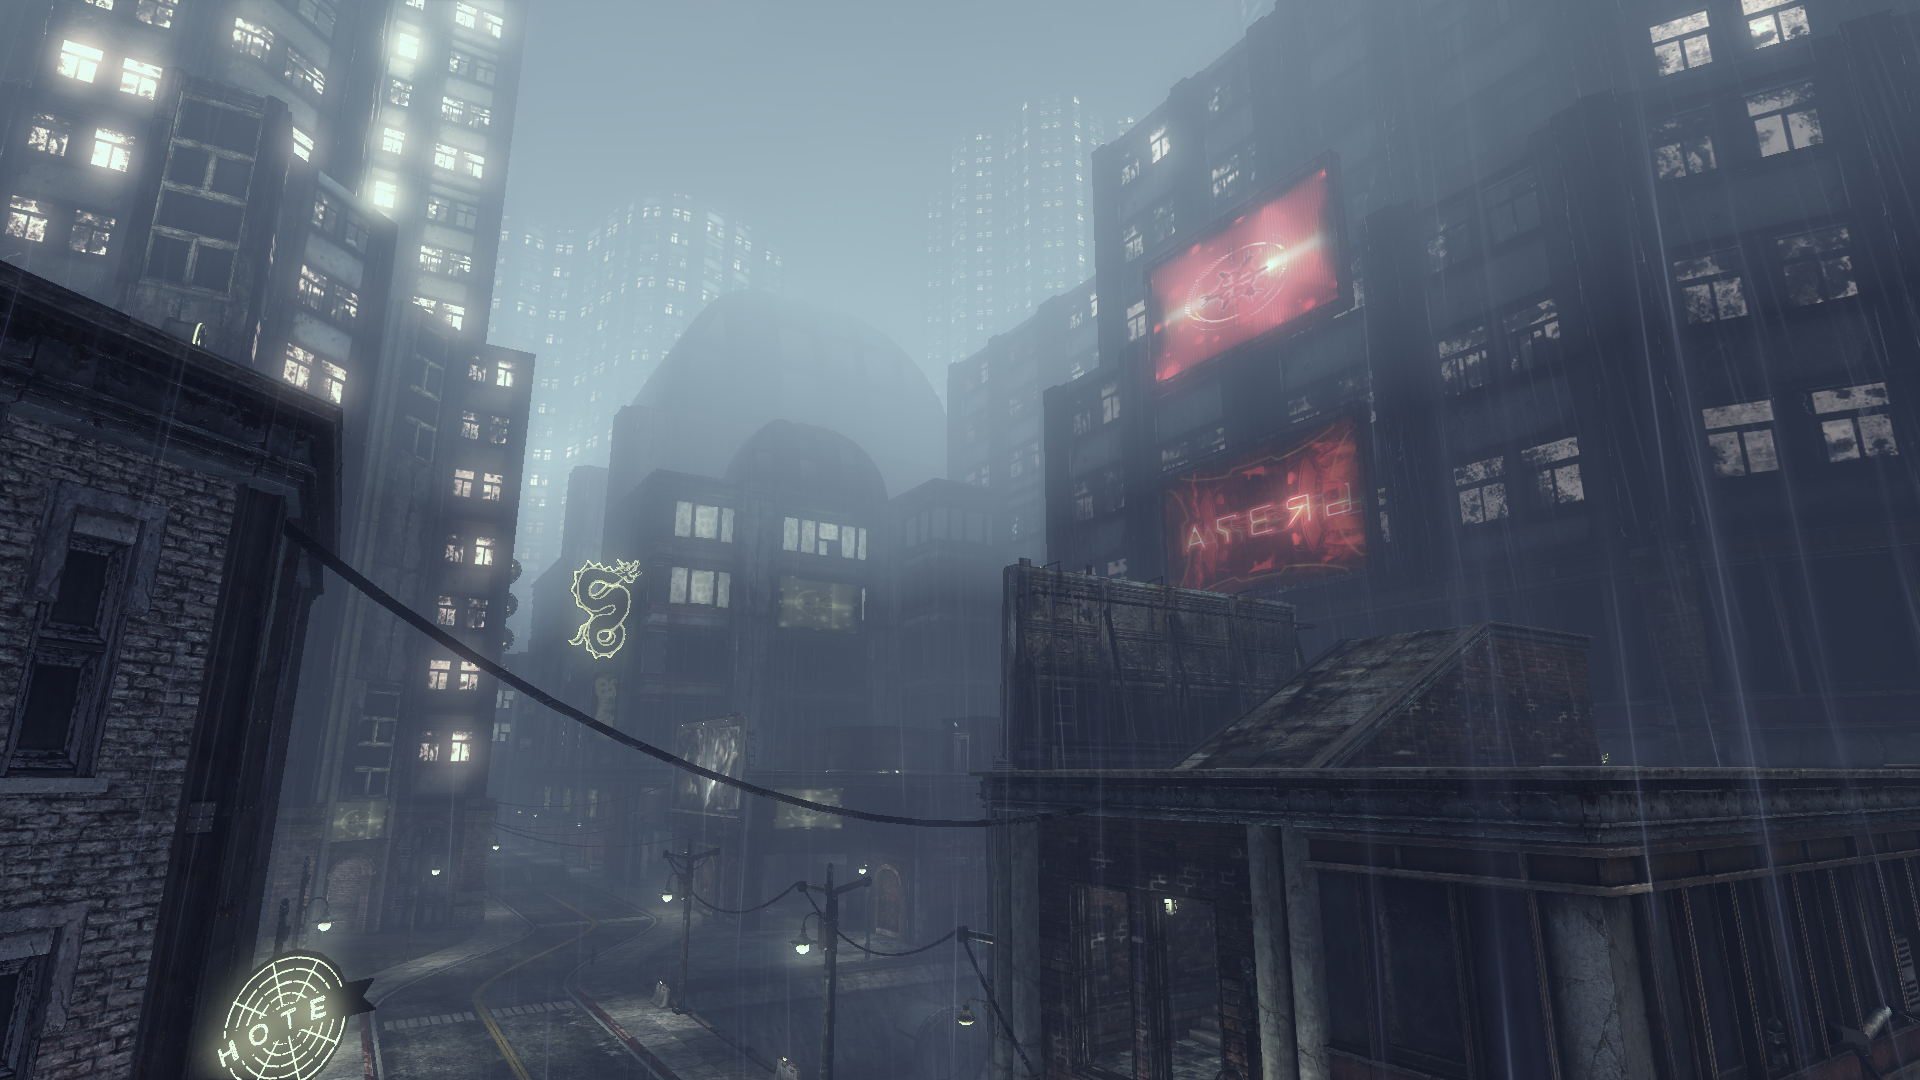
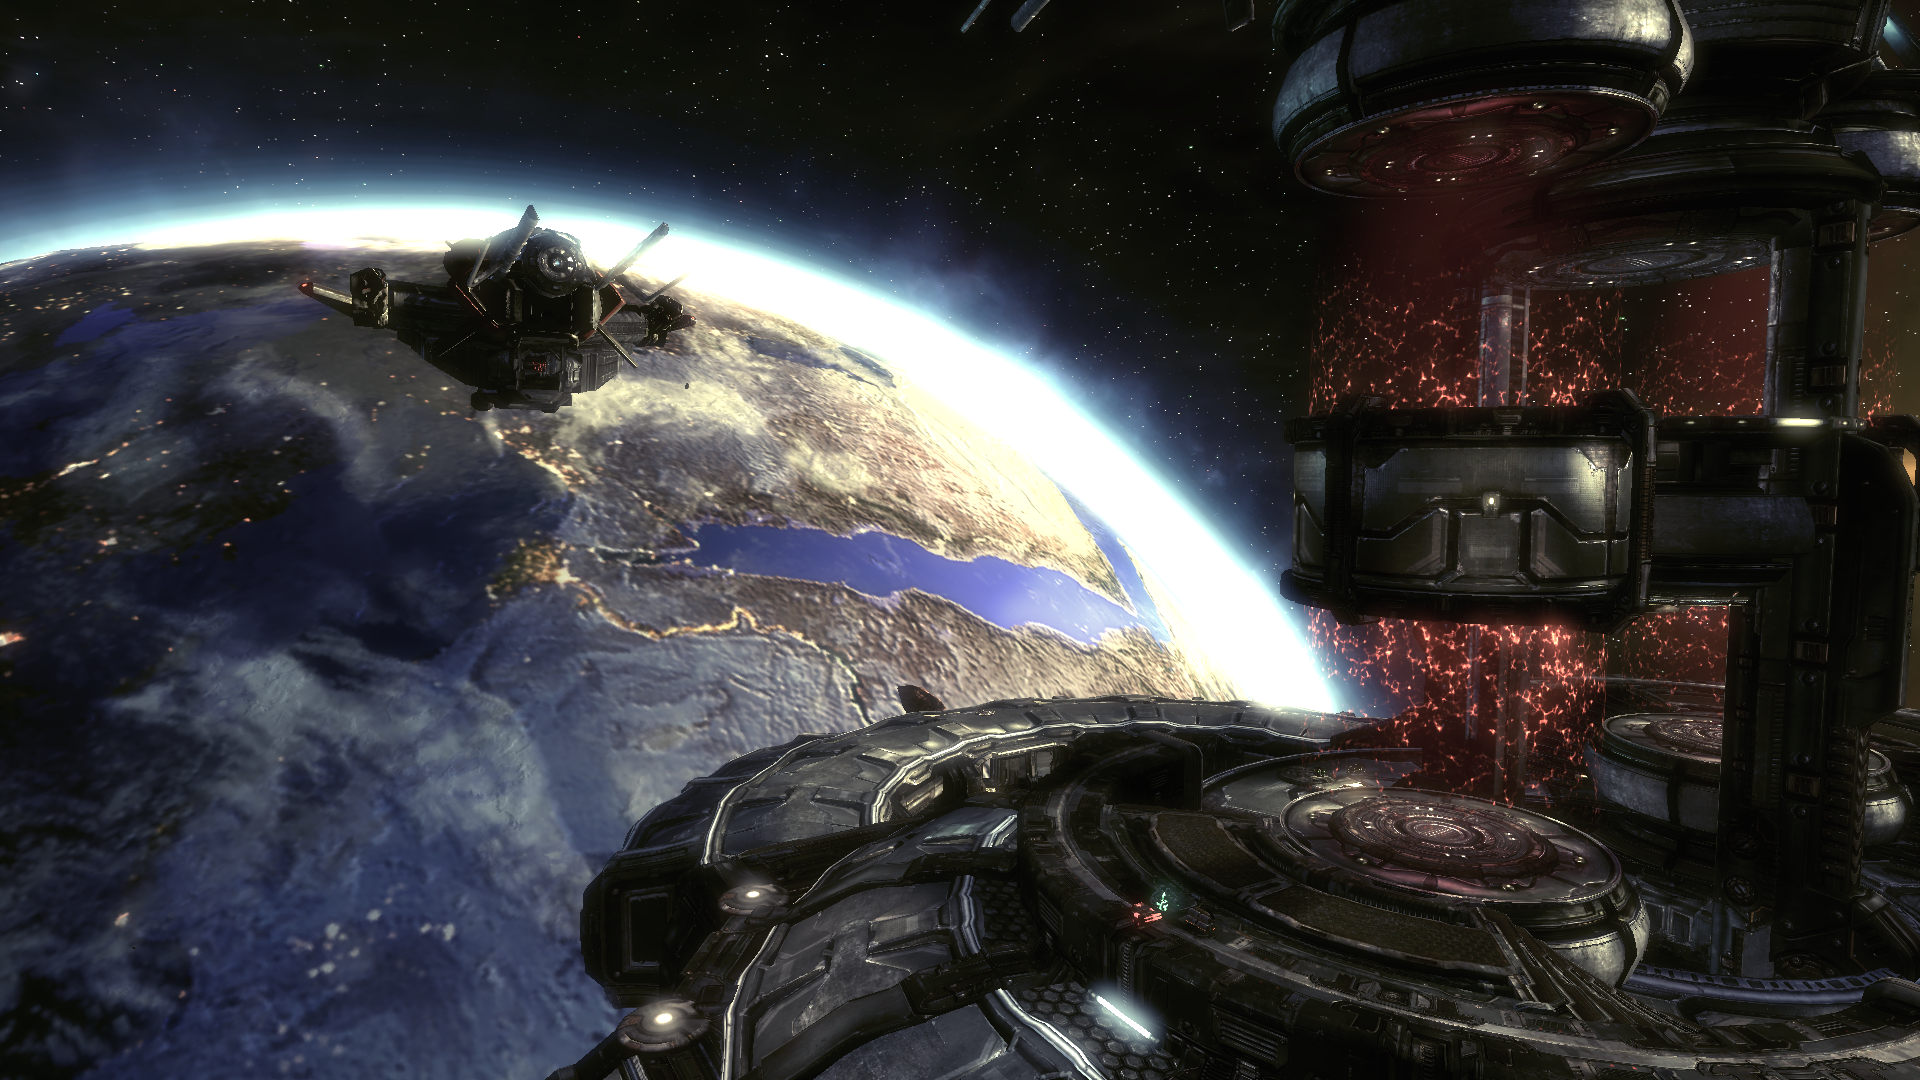
Official Maps Examples
A few examples of the different visual settings in UT3.


![[Pic]](https://www.lagspike.com/images/source_biped5.png)
![[Pic]](https://www.lagspike.com/images/biped_structure.png)
![[Pic]](https://www.lagspike.com/images/custom_anim1.png)
![[Pic]](https://www.lagspike.com/images/copy_tf2_animations.png)
![[Pic]](https://www.lagspike.com/images/load_qc.png)