UDK (Unreal Development Kit) allows you to create games using the Unreal 3 engine. It can also be used for machinima. However, most of the people who use UDK are trying to make games, not machinima. Therefore it may be difficult to find answers related to machinima. I’ve tried to address some of those here.
UDK Advantages
Dynamic lighting
Easy scaling of objects
Simple importing of textures and models
Real-time map previews
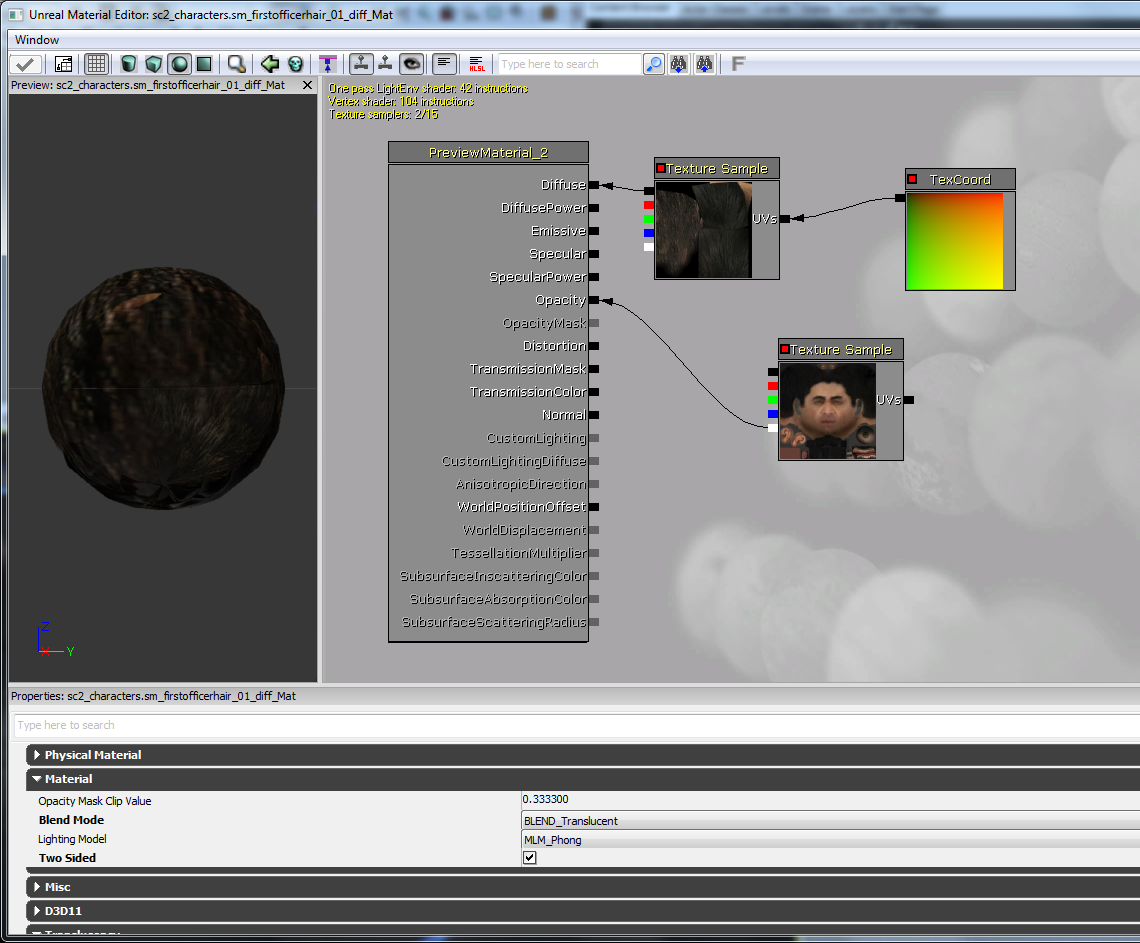
A powerful material editor
Matinee (timeline editor)
Moving cameras
Increasing the UDK Quality
After installing the UDK, there are a few options you can change to increase the visual quality.
1) Open UDKEngine.ini which is located in UDK\UDK-2011-11\UDKGame\Config\
2) Change the following settings:
bUseMaxQualityMode=True (default is False)
bUseTextureStreaming=False (default is True)
– Set the UDKEngine.ini file to read-only after modifying it, or else the settings will revert the next time you run the UDK.
– The ResX and ResY settings set the resolution of your preview window.
– Using a Post Process Chain on your map can be used to set the anti-aliasing.
Scripts
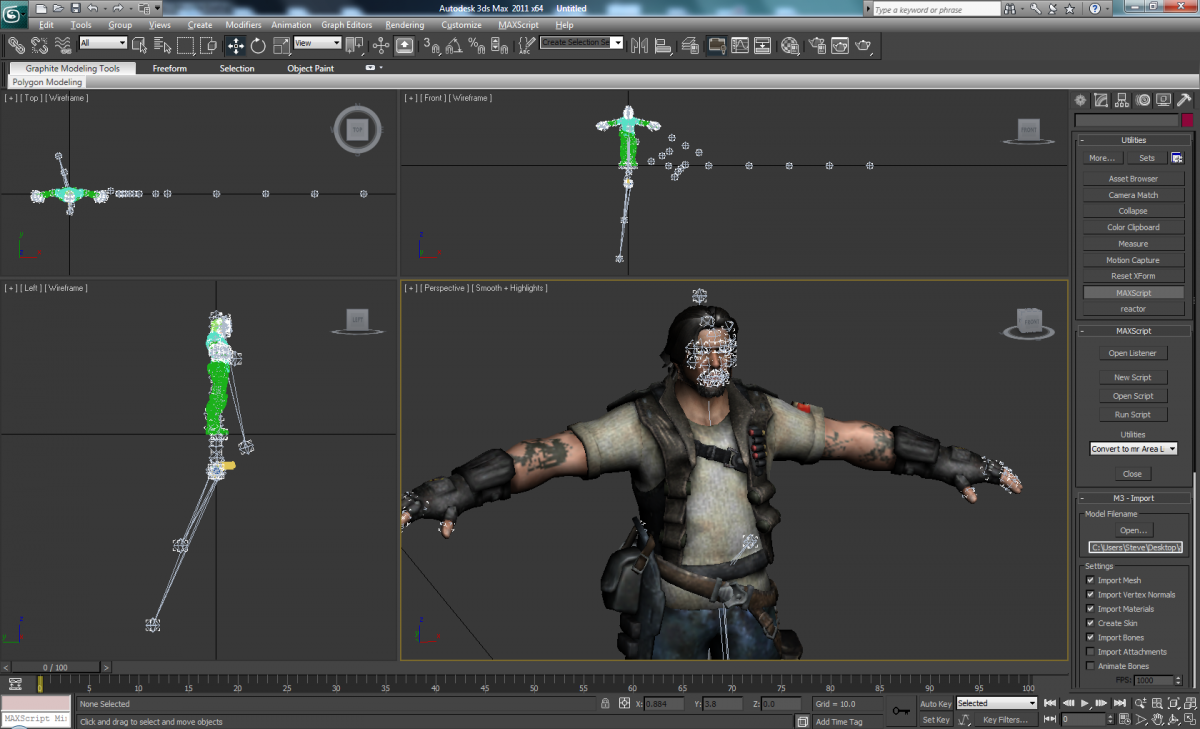
I use a small custom script to attach Skeletal Meshes together when creating machinima, you can download it here. Add these to UDK\Development\Src\Engine\Classes. You will be prompted to rebuild scripts next time you start UDK.
Creating a Bink video
1) Using a video editor, render a video in AVI or WMV format (16:9 aspect ratio is recommended).
2) Convert the file using radvideo.exe.
3) Import the BIK file into the UDK and create a material. Apply the material to a mesh.
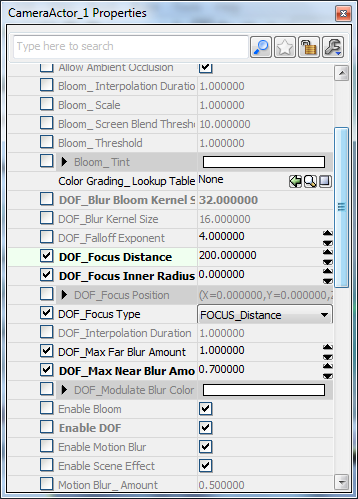
Understanding camera DOF
Cameras in unreal have a number of properties that can be set. The DOF settings are among the most important when making machinima.
DOF_Focus Distance – Distance from the camera to where the blur begins.
DOF_Focus Inner Radius – How much to blur things close to the camera. This can generally be left at 0.
DOF_Max Far Blur Amount – How blurry the background is.
DOF_Max Near Blur Amount – If DOF_Focus Inner Radius is set to 0, this will provide a blur to everything. Enabling this can help hide aliasing problems.
Tips
– Keeping package size small can make saving quicker.
– Saving maps under a new name for certain events can be helpful. Example: dungeon_intro and dungeon_collapse.
– When making machinima, using seperate cameras for each Matinee sequence is a good idea.
– Recording directly from the editor preview window is nearly as good as recording in the game itself. It also doesn’t require spawn points.
– To load a map using the console, type “open mapname”.
– Try to use as many models as you can, instead of brushes.
– Unreal Tournament 3 and Monday Night Combat packages can be opened directly in the UDK, although they should be renamed and resaved.
– Trying to open a game package that isn’t from UDK or UT3 will crash the UDK.
– The “environment color” setting inside WorldInfo can be helpful for setting the mood of your map.
– Adding a fog effect can also help with the mood of your map.
– You cant open maps unless the uncooked map file has been released, but you can use Umodel to extract their models and textures.
– The log window can be found under View > Browser Windows > Log.
Matinee Tips
– CTRL + W will duplicate a matinee keyframe.
– The matinee play rate can be altered to create a slow motion effect.
– It’s generally a good idea not to replace the first keyframe of a track, instead set the time of the first keyframe to .1 when making machinima.
– Matinee data can be copy and pasted between maps.
– Don’t do camera cuts in Matinee. Use your video editor instead.
Problems and Fixes
1) What causes the black fuzz in my level?
– Ambient Occlusion. Turn this off in the WorldInfo settings.
2) How can I export a movie frame by frame?
– “C:\UDK\UDK-2011-11\Binaries\Win64\UDK.exe” NightAndDayMap.udk -BENCHMARK -MAXQUALITYMODE -NOTEXTURESTREAMING -DUMPMOVIE -FPS=30 -ResX=1920 -ResY=1080
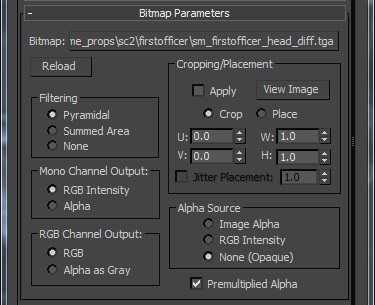
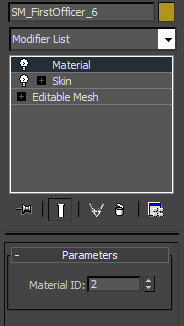
3) How can I prevent rescaling of 2048×2048 textures?
– Under the import options, select “texturegroup_vehicle” under the LODGroup setting.
4) Water is producing ugly shadows.
– This is likely caused by using a custom water material. Try using one of Epic’s water materials instead.
5) How can I select a brush?
– Click on the surface while holding Ctrl+Shift.
6) I am unable to select objects with translucent materials.
– Go to View > Allow Translucent Selection
7) I am unable to delete a SkeletalMesh.
– Make sure a FaceFX asset is not currently assigned to the SkeletalMesh.
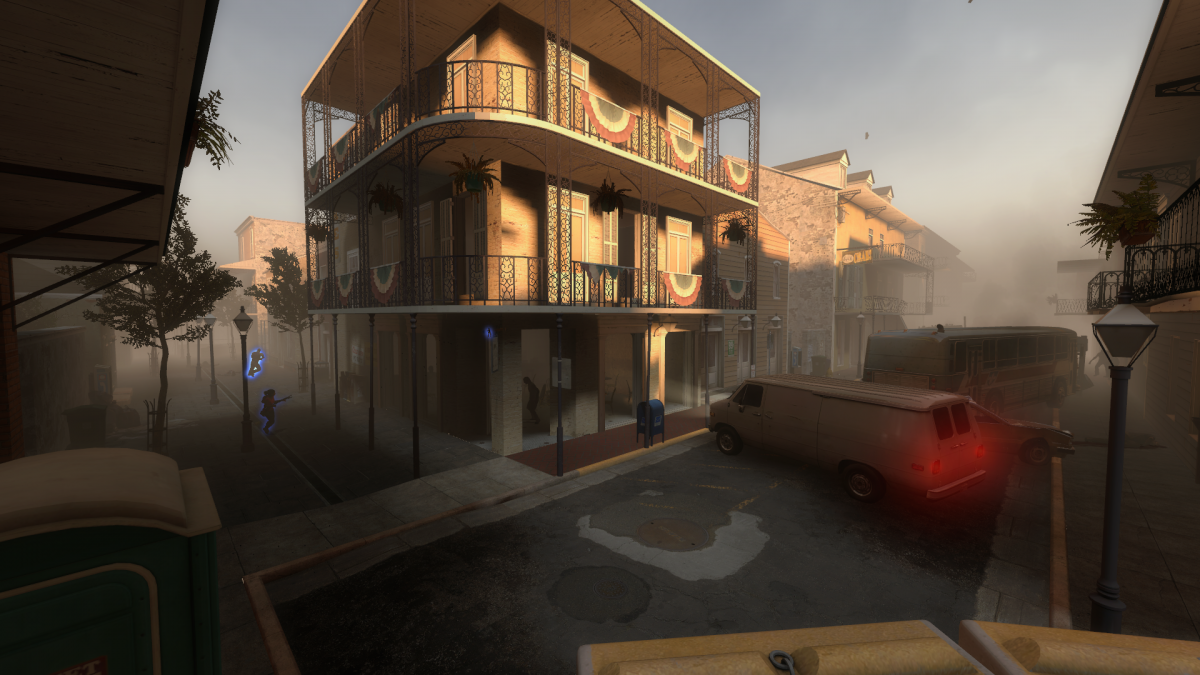
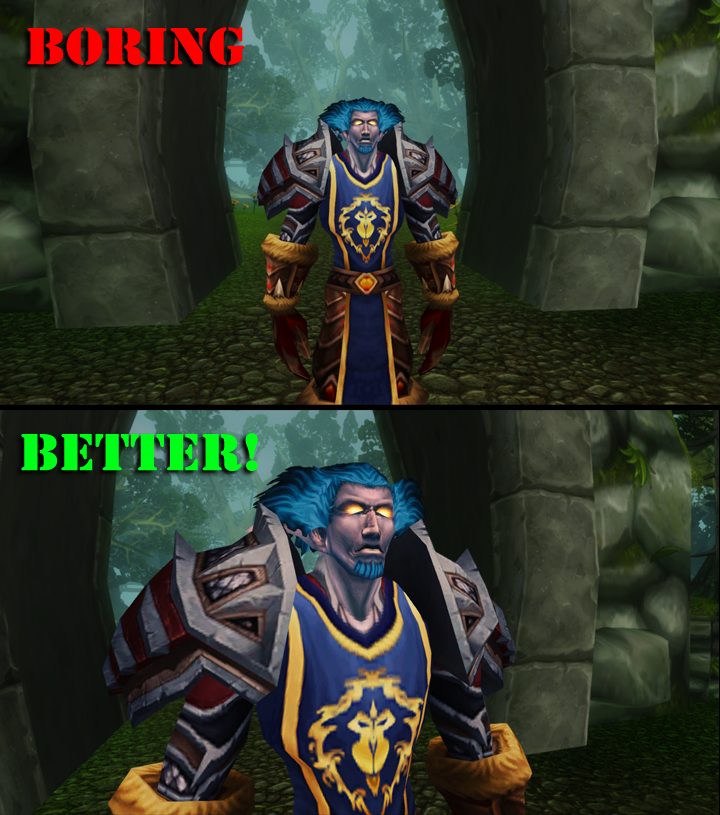
8) My level doesn’t look cinematic enough.
– More detail is always better. Keep adding more props to the background. It’s an easy solution to a common problem.
9) Creating a mirror effect isn’t working properly.
– Scenecapturereflectactor and the brush need to be aligned to the same spot for the mirror effect to work.
10) How can I check my map for missing assets?
– Go to Tools > Check Map for Errors.
11) I’m getting a warning that says “Map should have KillZ set”.
– Open the WorldInfo properties and adjust the Kill Z setting.
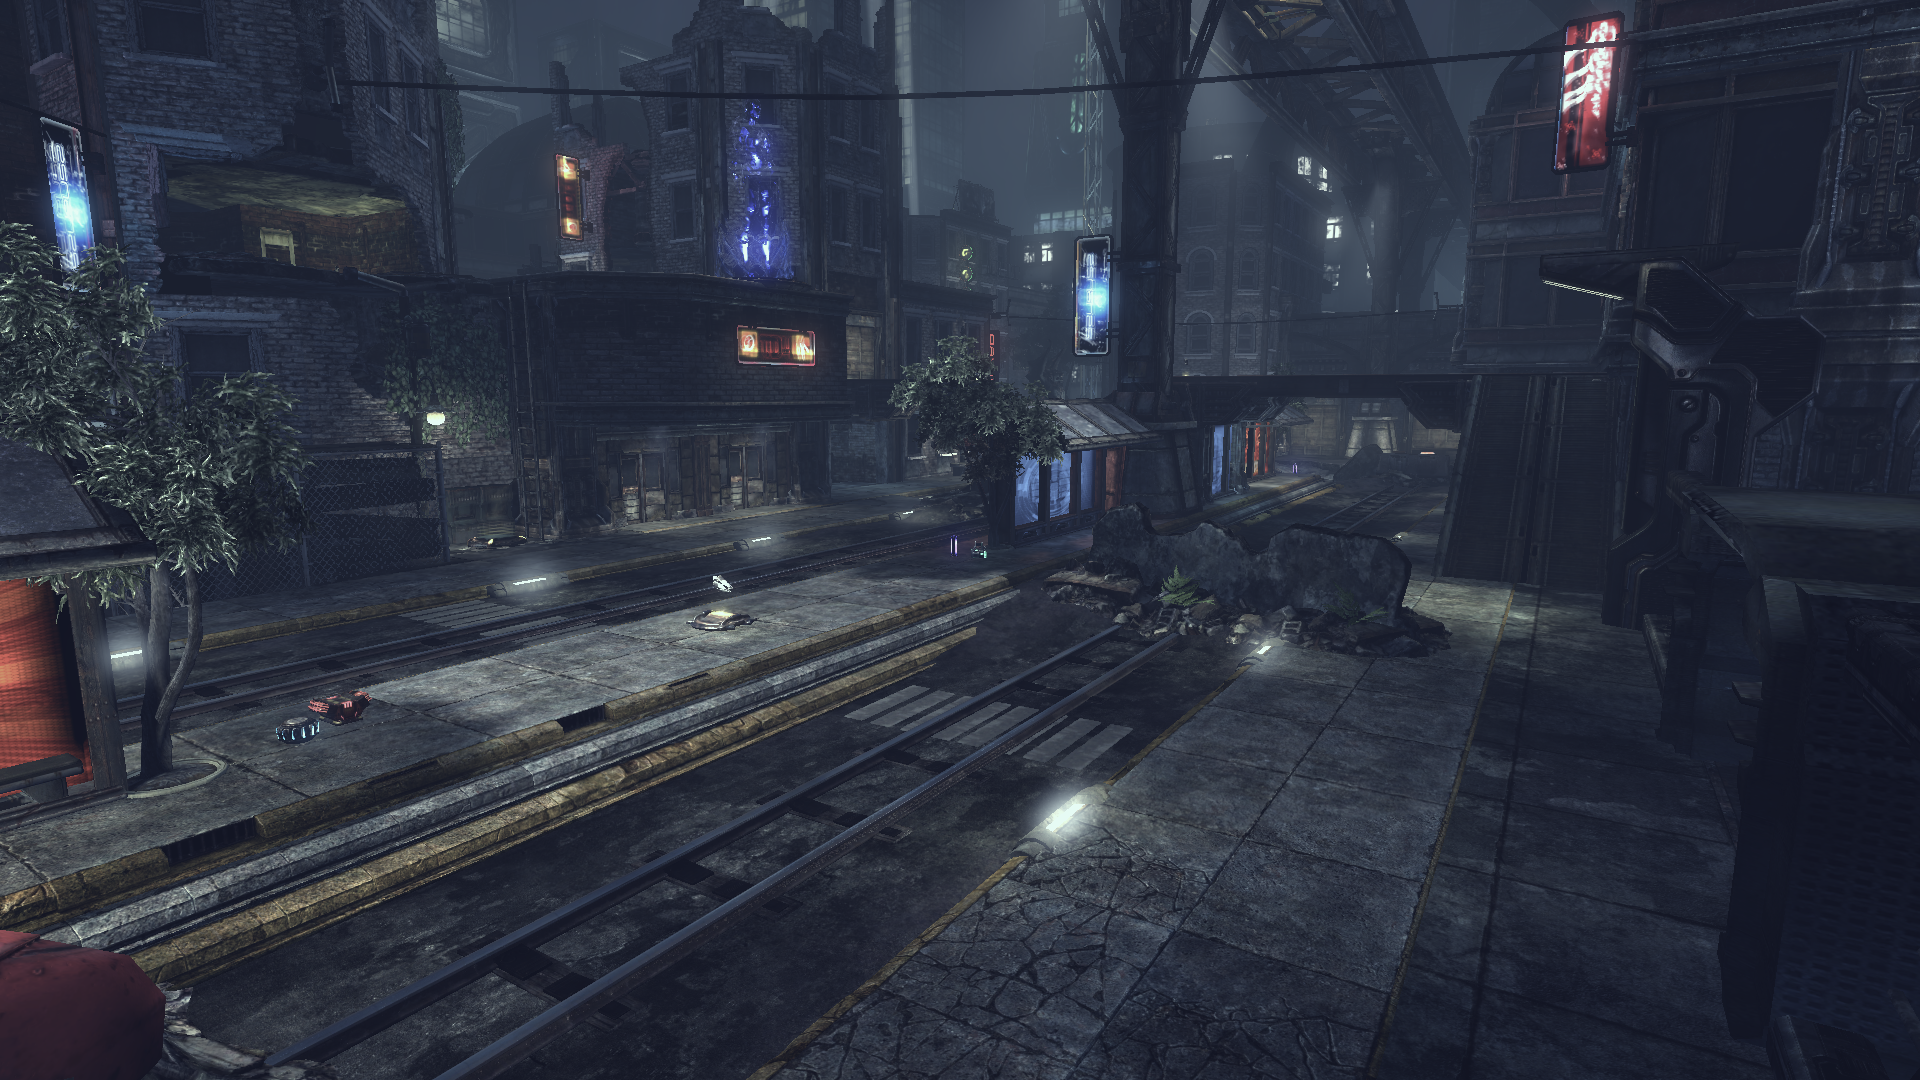
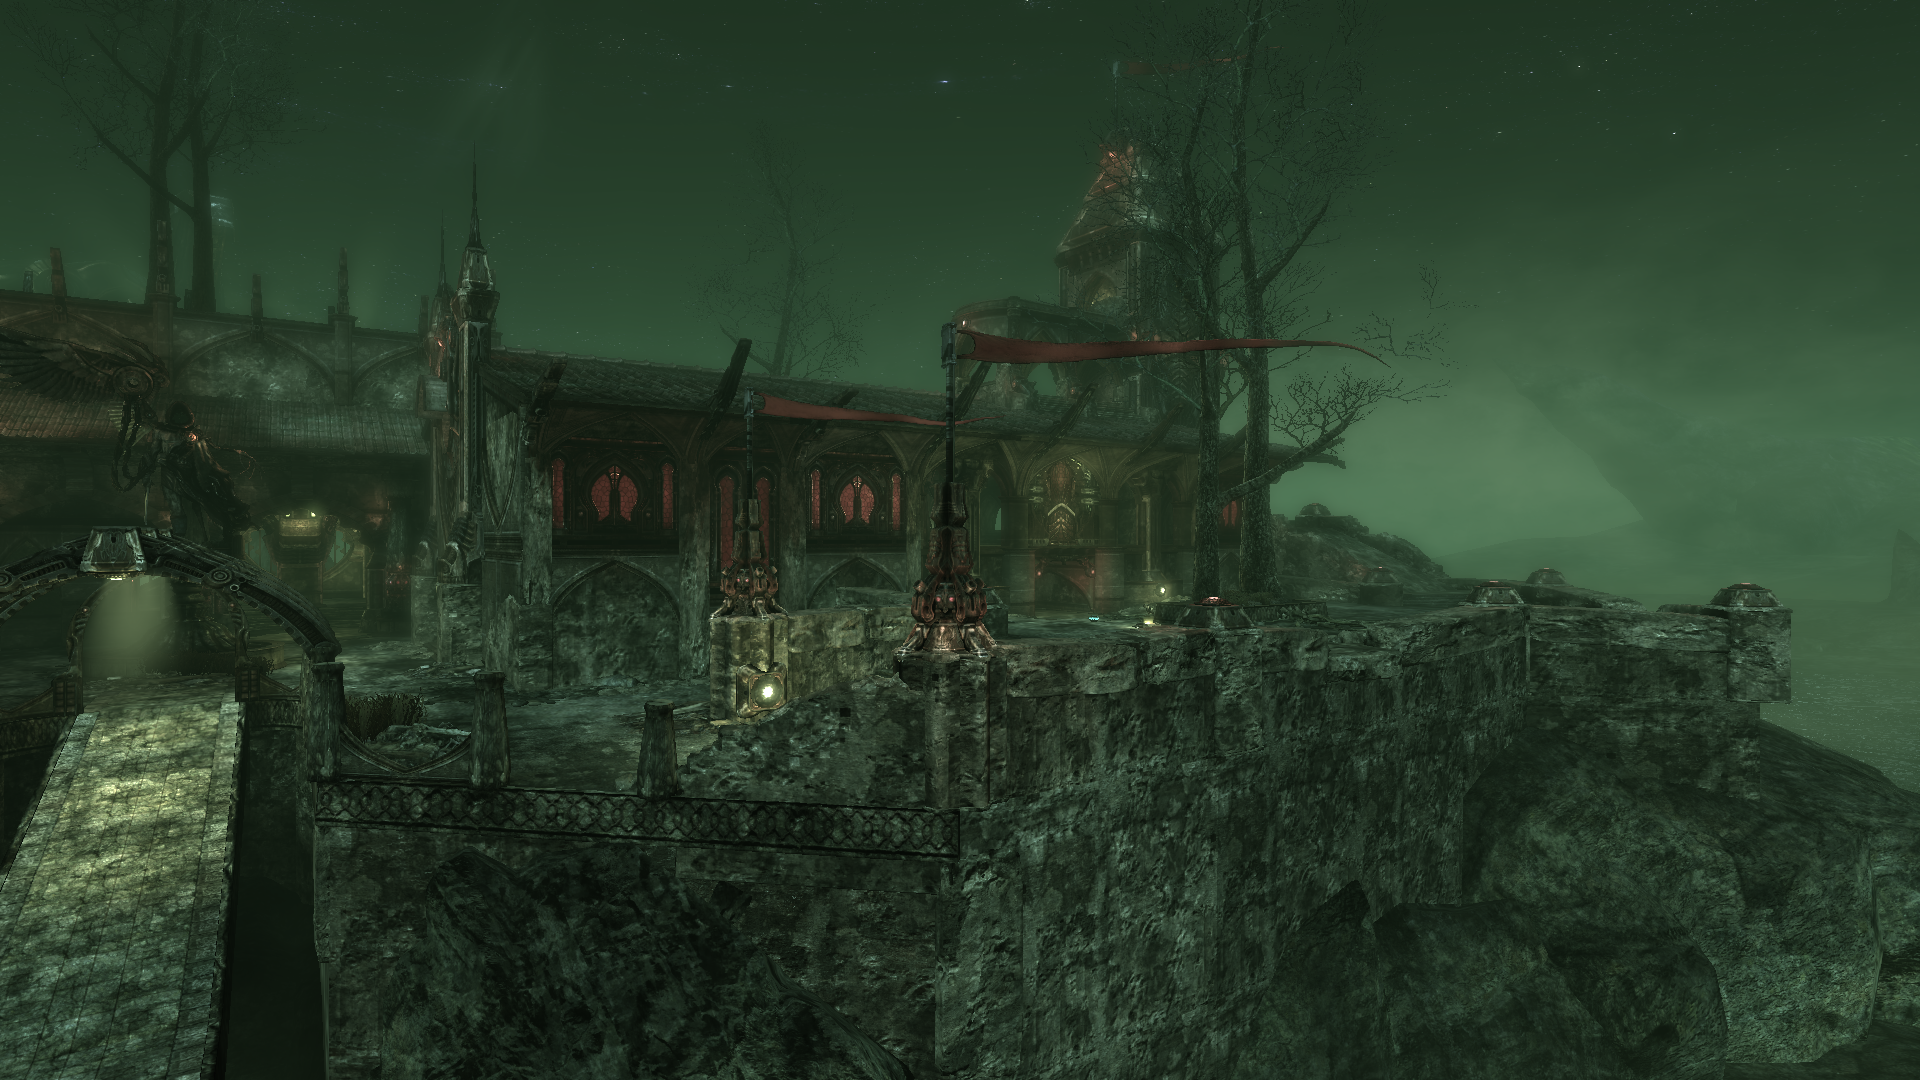
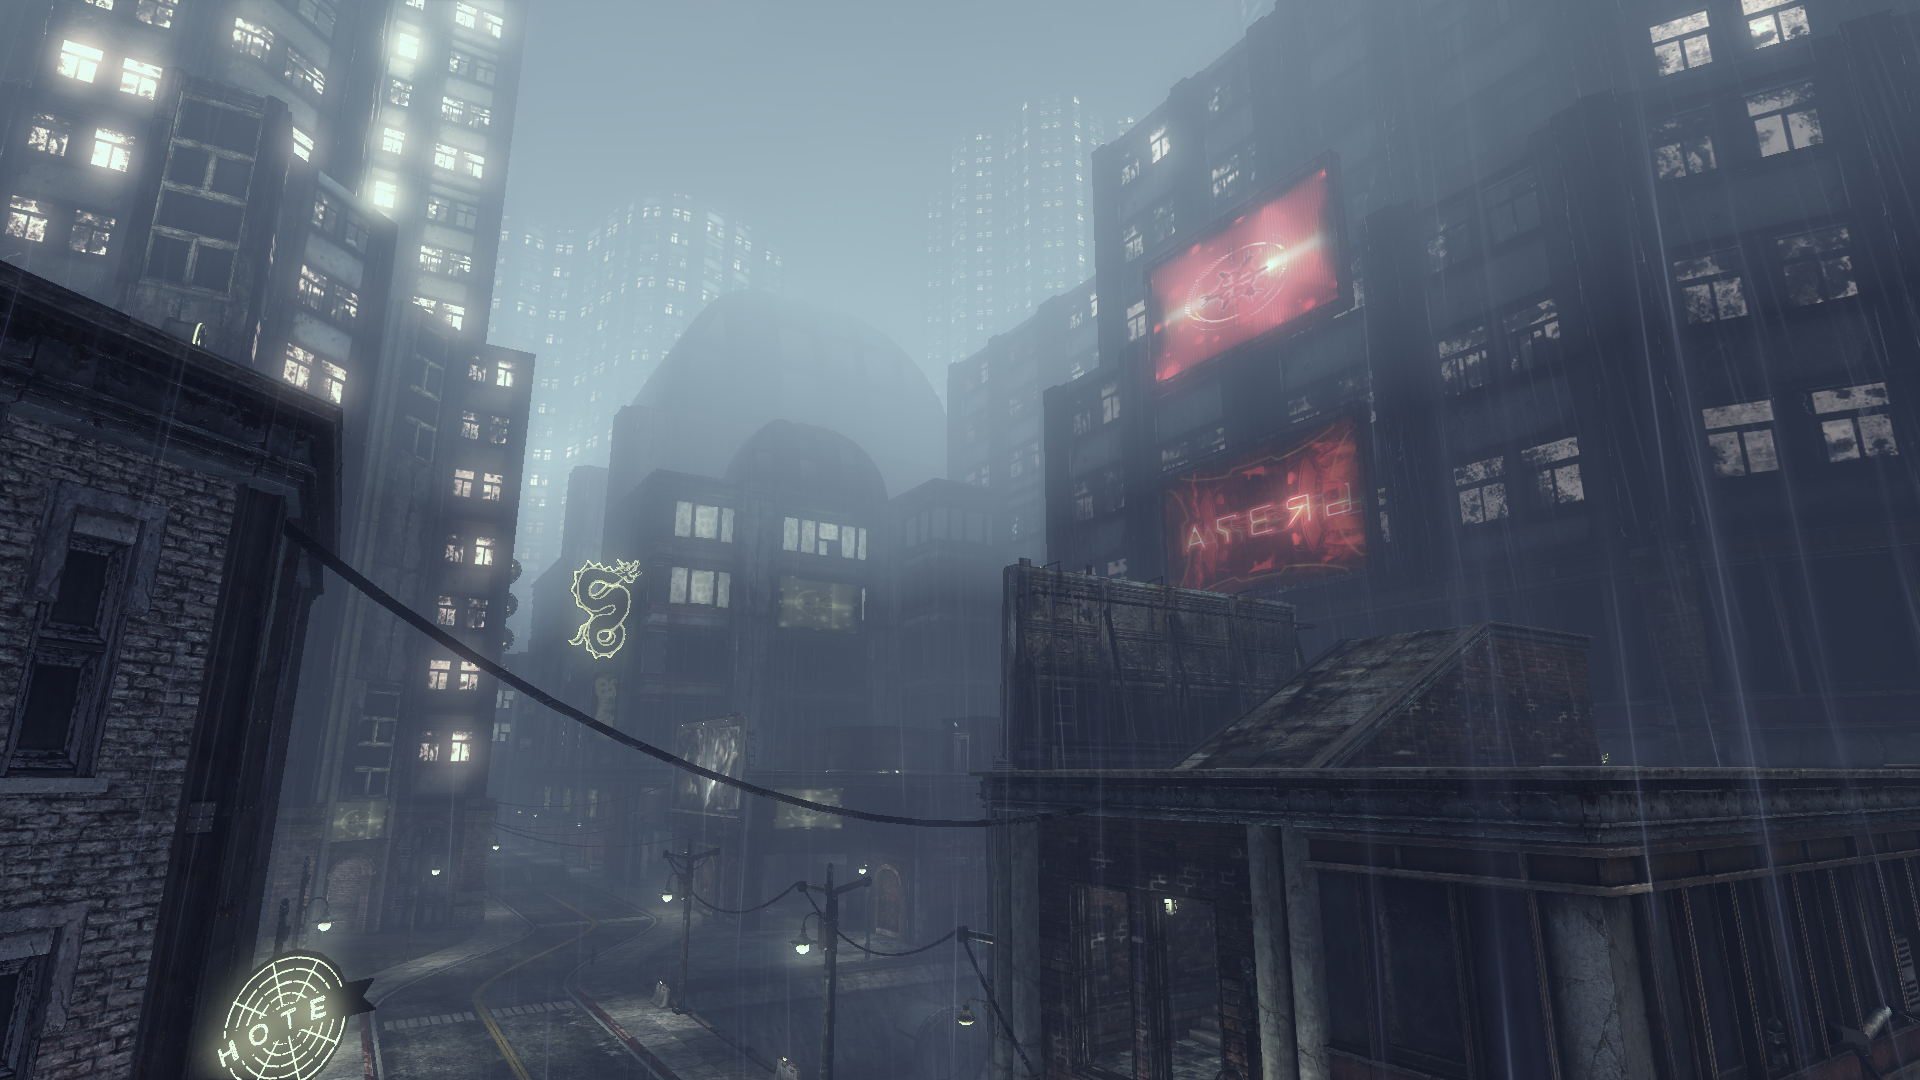
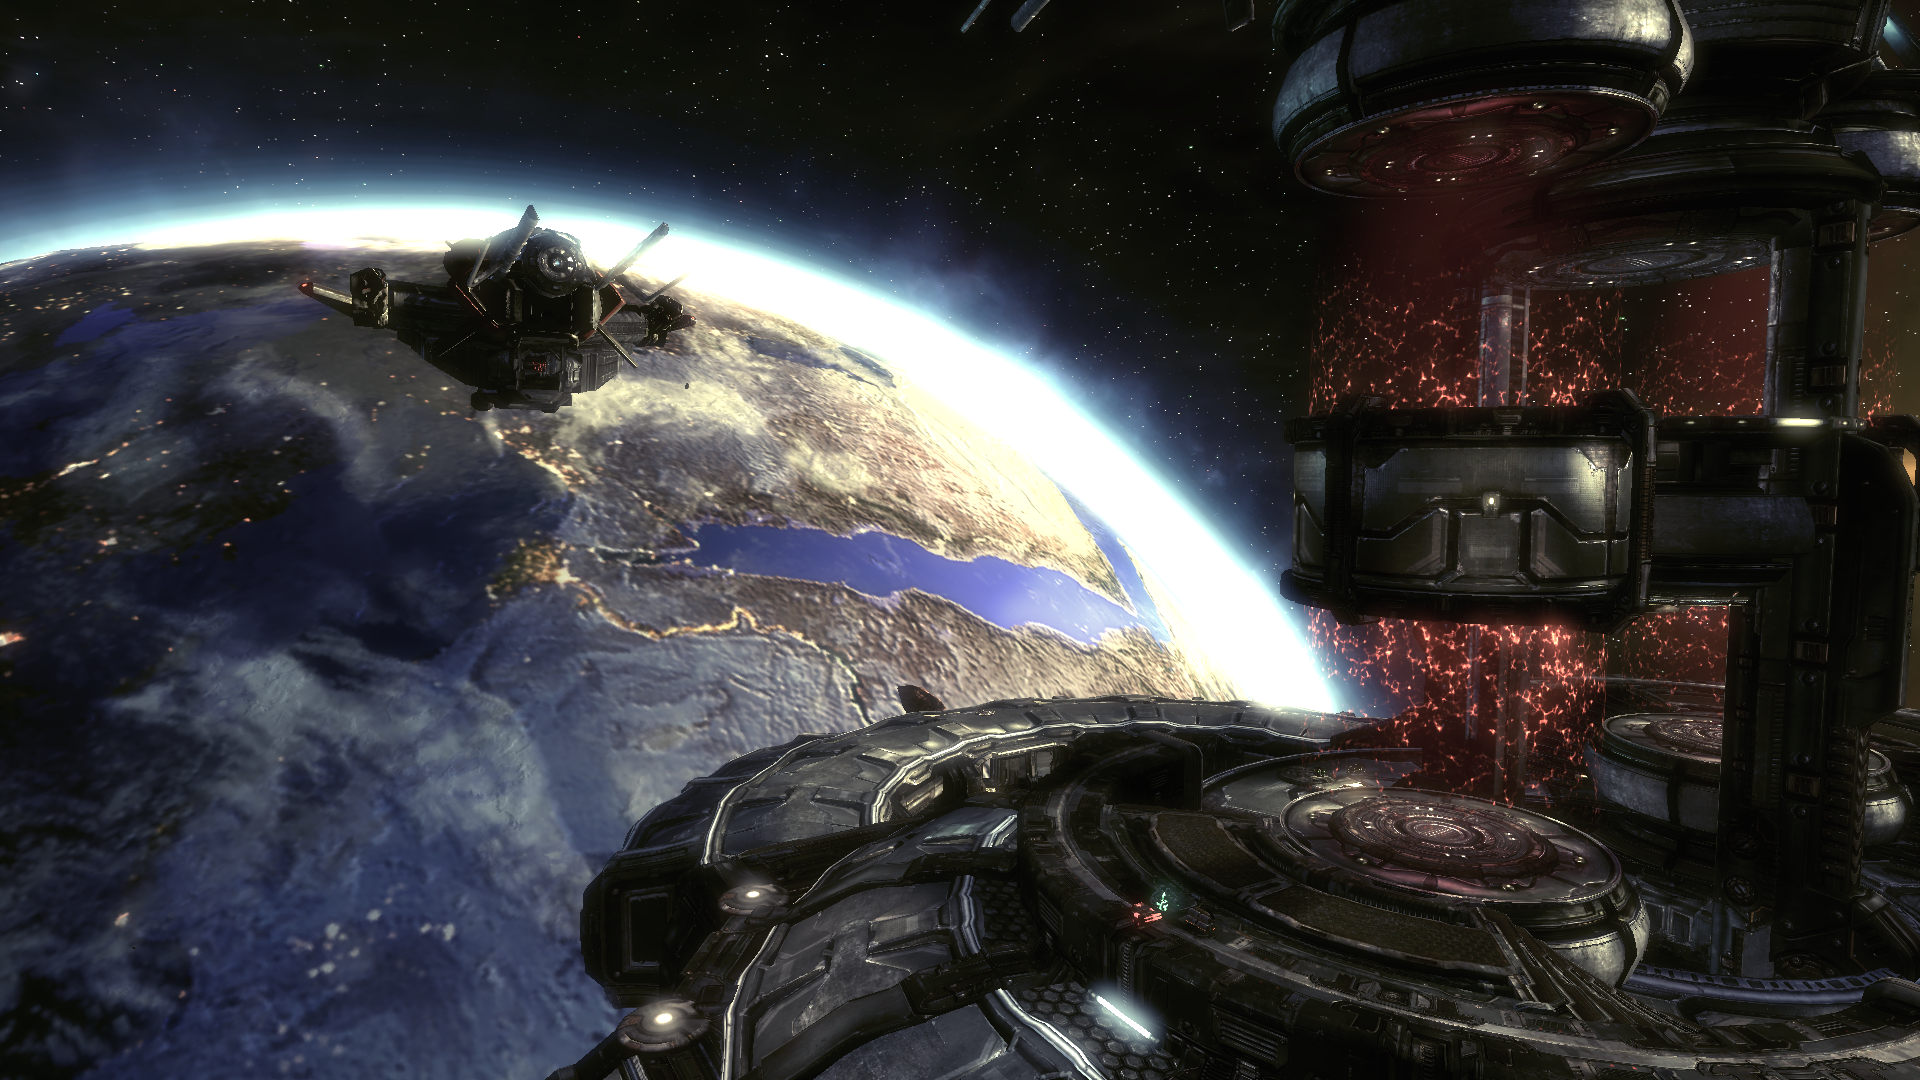
Custom UDK Map Examples
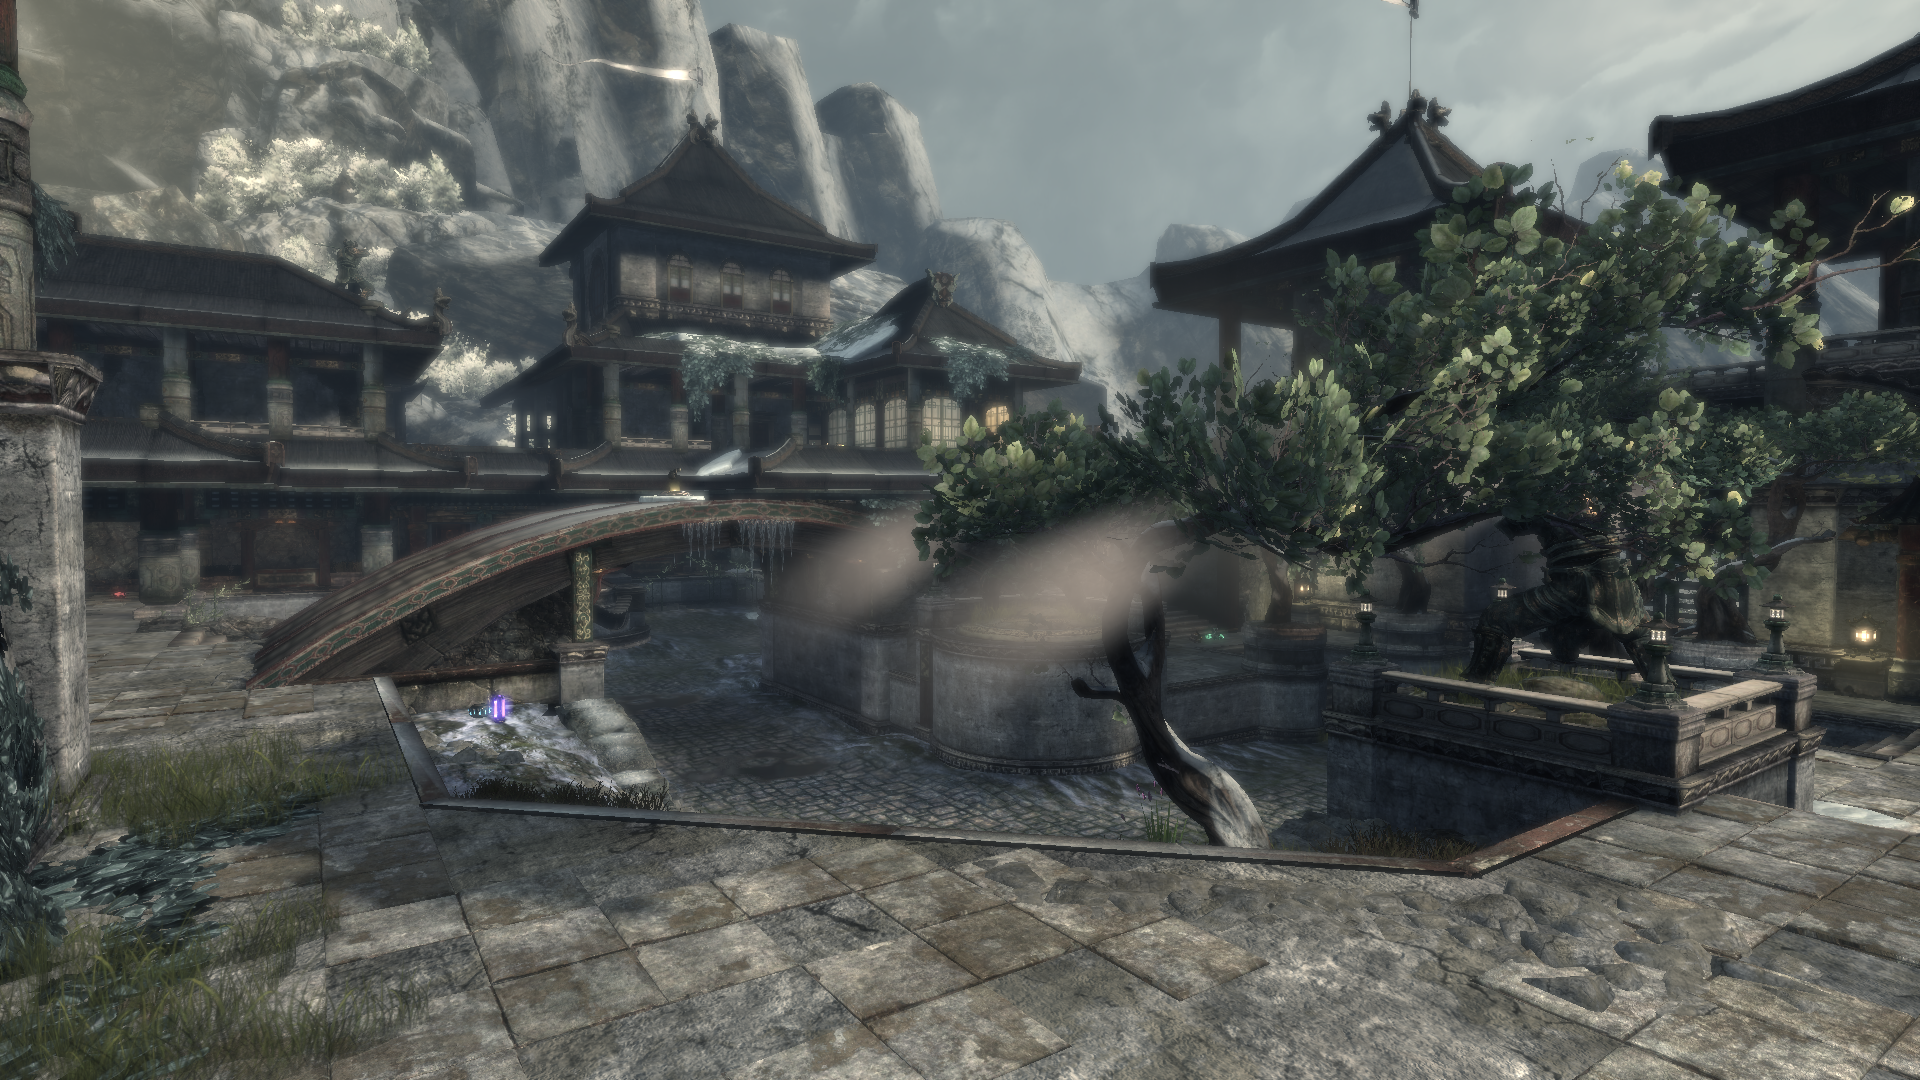
Moated Grange Environment
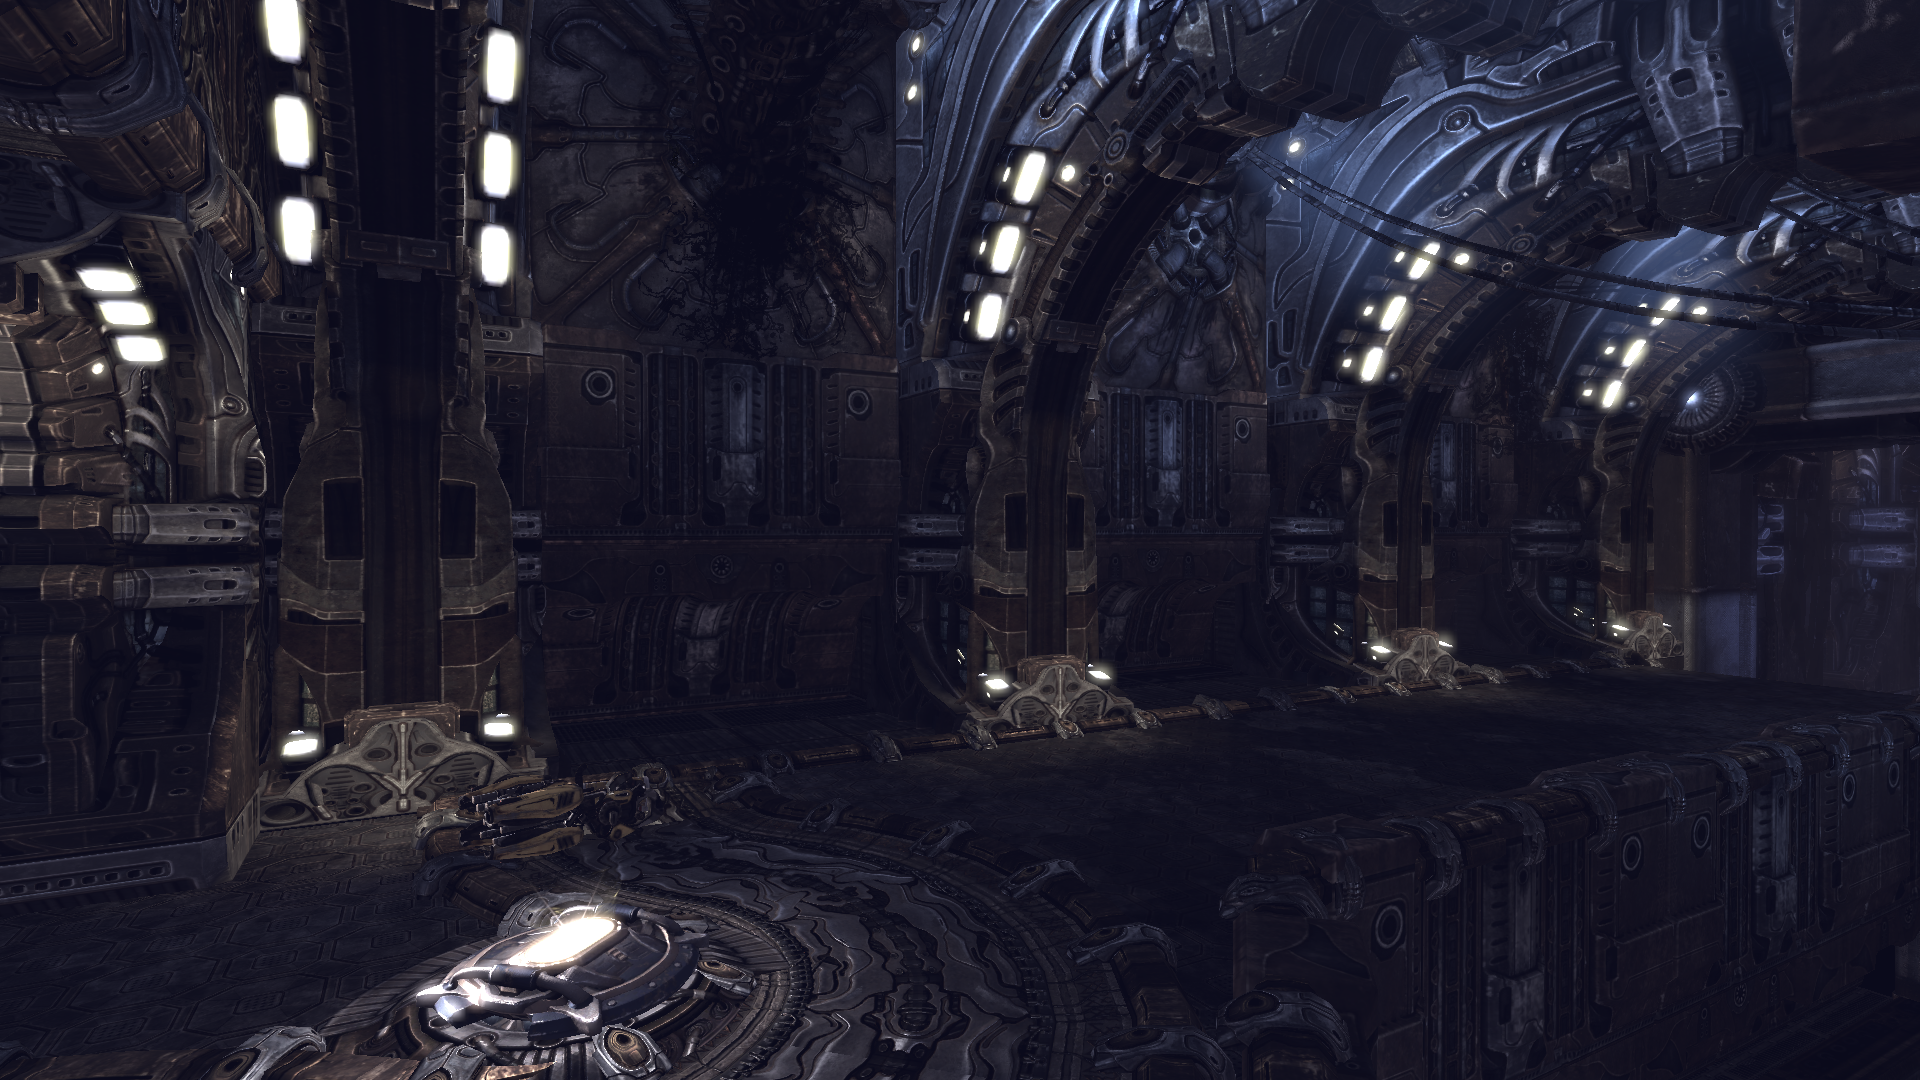
Demon Throne
Unreal WoW – Warsong Gulch Preview
Autumn Park
Helpful Links
Hourences Unreal Engine 3 Tutorials
Controlling a Material in Unreal Matinee
Unreal Engine 3 Console Commands
How to add soft body (jiggle bones)
Toggle cinematic mode to remove the HUD
Umodel
UT3 necrify effect – Example


![[Pic]](https://www.lagspike.com/images/source_custom2.png)
![[Pic]](https://www.lagspike.com/images/source_custom3.png)
![[Pic]](https://www.lagspike.com/images/source_custom4.png)
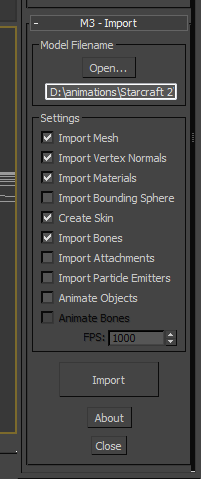
![[Pic]](https://www.lagspike.com/images/3dr_import_dropdown_value.png)